Winter is coming, but Jack Frost won’t be nipping at your ears in this adorable elf hood. You’ll be outfitting your whole family (newborn -> large-headed adult) and all your friends with these adorable “Just Add Ears Hoods”. Today I’m making the elf hood, but this free pattern also has Hoodie and Pixie point shapes included. Fleece hoods are great for Holiday photos and perfect for outdoor holiday events.
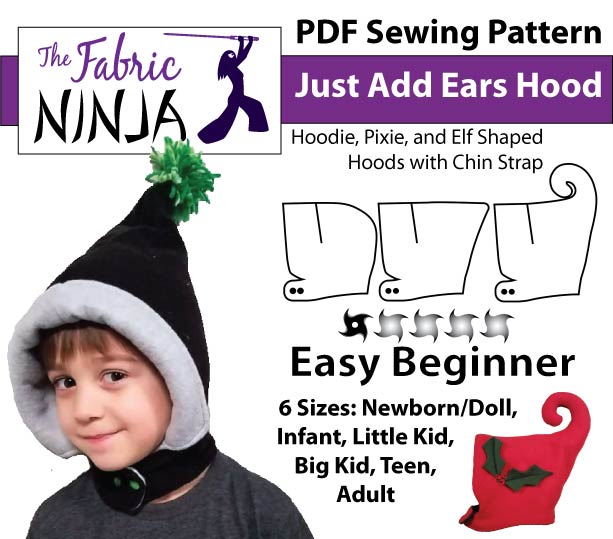
If you want all the nitty-gritty details about this pattern, check out the main pattern post. I’m going to quickly cover the main points here. Six sizes: Newborn/Doll, Infant, Little Kid, Big Kid, Teen, Adult. The hood has a chin strap and is fully-lined. Today I’m making it with fleece, but knits and woven fabric can also be used. The pattern has a dart for adding ears, I am not adding ears on this hood, but you can. You’ll find lots of ear shapes in the Animal Elements patterns. The hood is designed to allow the face edge to fold back and the neck to fold up. These allow for fit customization and make one hood last for years as your kid grows.
Instantly Download the Elf Hood Pattern (including all the other shapes) and Holly & Berries Templates in PDF (form below) or click here for SVGs (includes PDFs)
Supplies
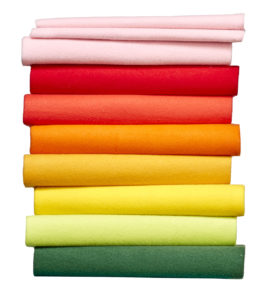
Fabric
Layer your fabrics to get the protection you need. Note: Cotton feels cold when wet. I used Blizzard Fleece from Joann Fabric for both outside and lining because I live in Indiana and it is cold, wet, and windy.
Warm & Wet: Raincoat fabric like Rip-Stop Nylon or Laminated Cotton. Lining with mesh like Koolnit to keep the raincoat fabric from clinging.
Cool & Windy: Rip-stop Nylon, Wool, dense Fleece, Soft shell.
Cold & Snow: Fleece, Pre-Quilted Fabric, Minky, Wool, Dense Flannel, Softshell, Dense Knits, Faux Sherpa and Silk.
Chilly & Dry: Flannel, Fleece, Knits like Cotton Lycra, Sweatshirt Fabric, Sweater Knit or Quilters Cotton outside
lined with fleece or flannel.
 Yardage Chart
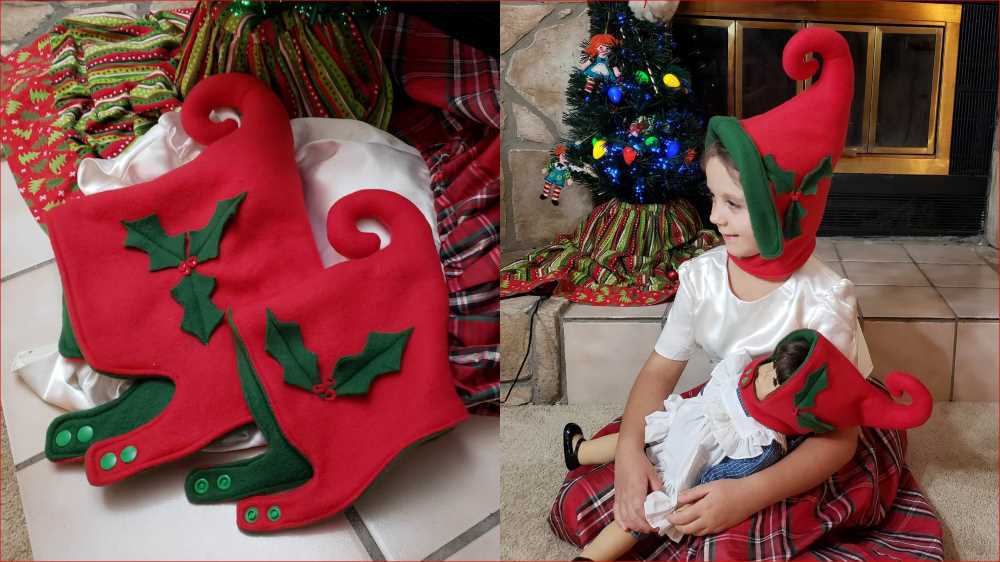
Yardage amounts are the same for 45″ and 58″ fabrics. I used red fleece outside and green fleece for the lining.
- Newborn/Doll: Outside: 1/2 yard or Fat Quarter, Lining: 1/4 yard
- Infant (0-12 months): Outside: 1/2 yard or Fat Quarter, Lining: 1/2 yard or Fat Quarter
- Little Kid (6 months -2 years): Outside: 1/2 yard, Lining: 1/2 yard
- Big Kid (2-6 years): Outside: 1/2 yard, Lining: 1/2 yard
- Teen (7 years+, Teen, Adult): Outside: 2/3 yard, Lining: 2/3 yard
- Large (Adults with large heads and roomie on average heads): Outside: 3/4 yard, Lining: 3/4 yard
Notions
• Snaps or button: 2 to 4 sets. I use KamSnaps.
• Stuffing: Polyfill or dryer lint.
Typical sewing supplies like pins and matching thread. Find my favorites in my Resource List.
Sewing Instructions
This free pattern also has a step-by-step tutorial, which you can download along with the PDF and SVG patterns. Just click on the link for the type of pattern you want to get the patterns and the detailed tutorial. The following tutorial is an overview.
Do you prefer a video?
You can watch it here:
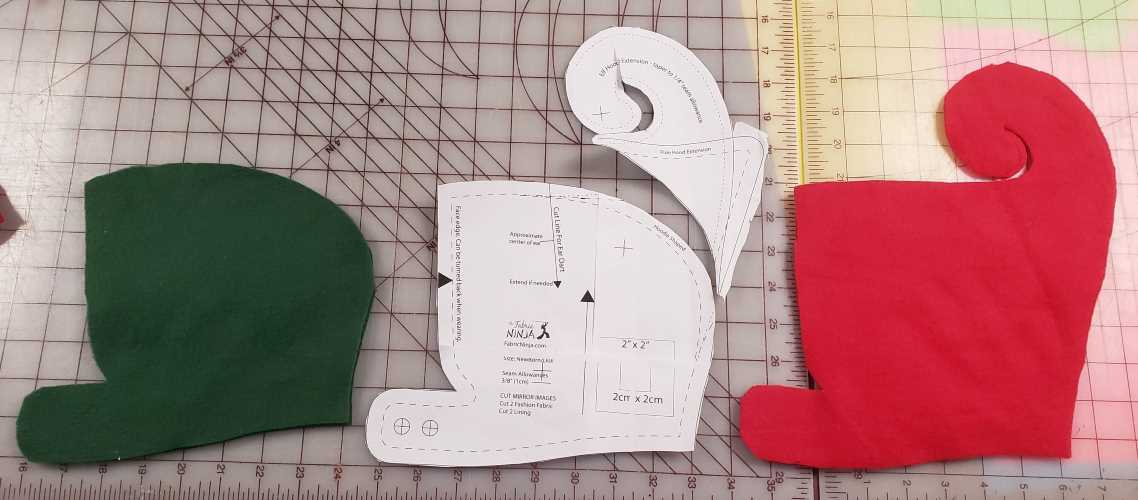
1. Cut out your 2 mirror images of the Elf Curl hood from your outside fabric and 2 mirror images of the hoodie shape from your lining fabric. You will have 4 pieces of fabric when done.
2. Cut out Holly & Berries decoration. When cutting small pieces you may find tracing easier than keeping the pattern piece in place while cutting.
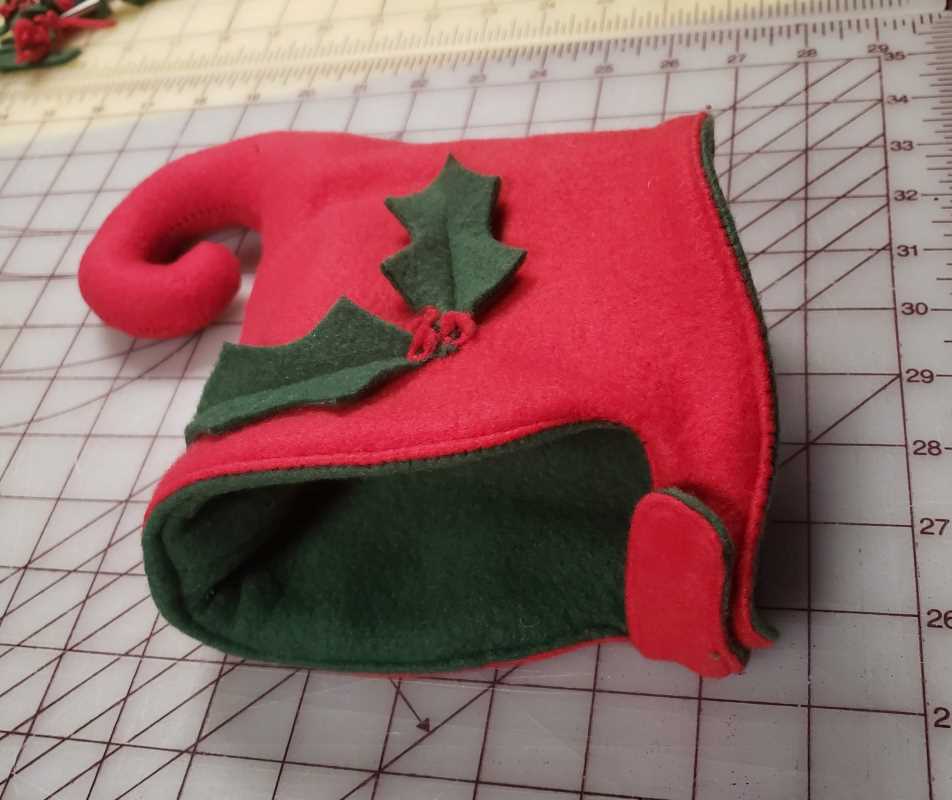
3. Place decoration on the hood where you like. Larger hoods can easily support a 3rd leaf. Remember that the face edge can be turned back and the neck band up, so keep it away from those edges.
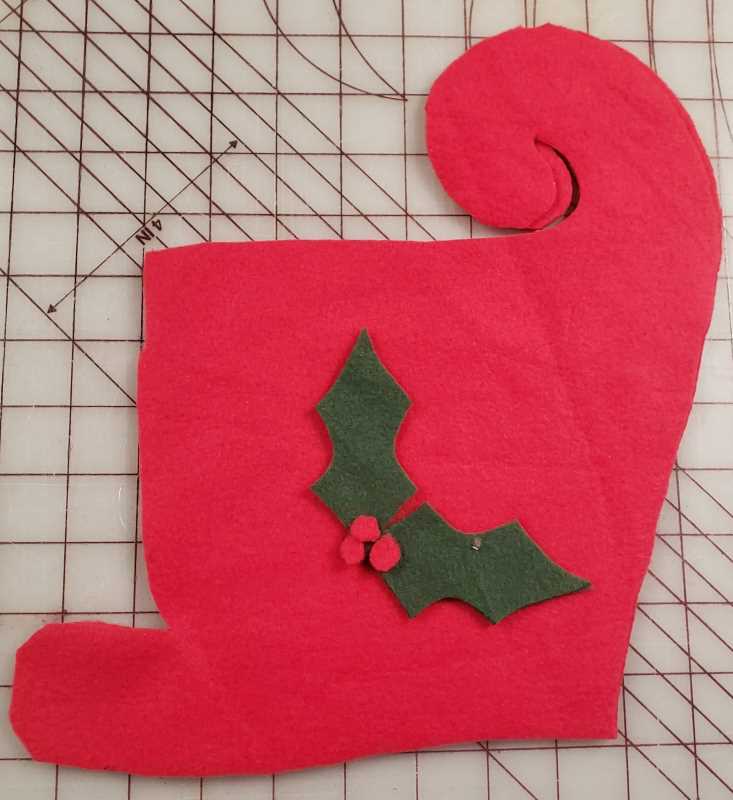
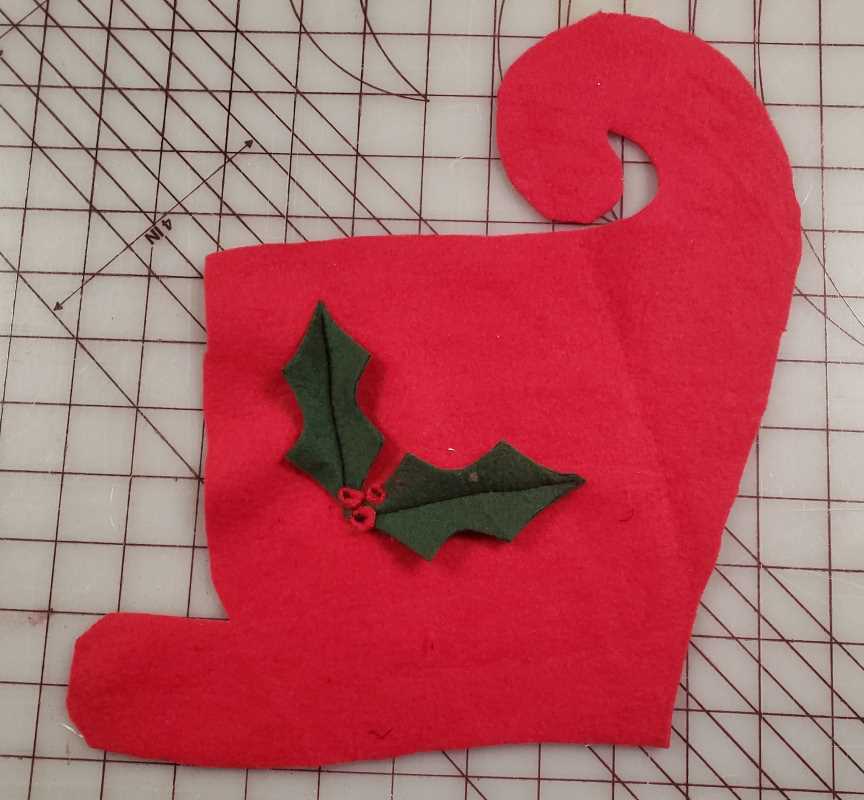
4. Sew decoration into place. My holly and berries are fleece, so I don’t need to sew along the edges, which would prevent fraying in woven fabrics. So I am sewing a single stem though each leaf and a dot of zig-zagging on each berry. Later trials have shown that white stitching on the berries looks like a cartoon reflection mark, which helps them to look round.
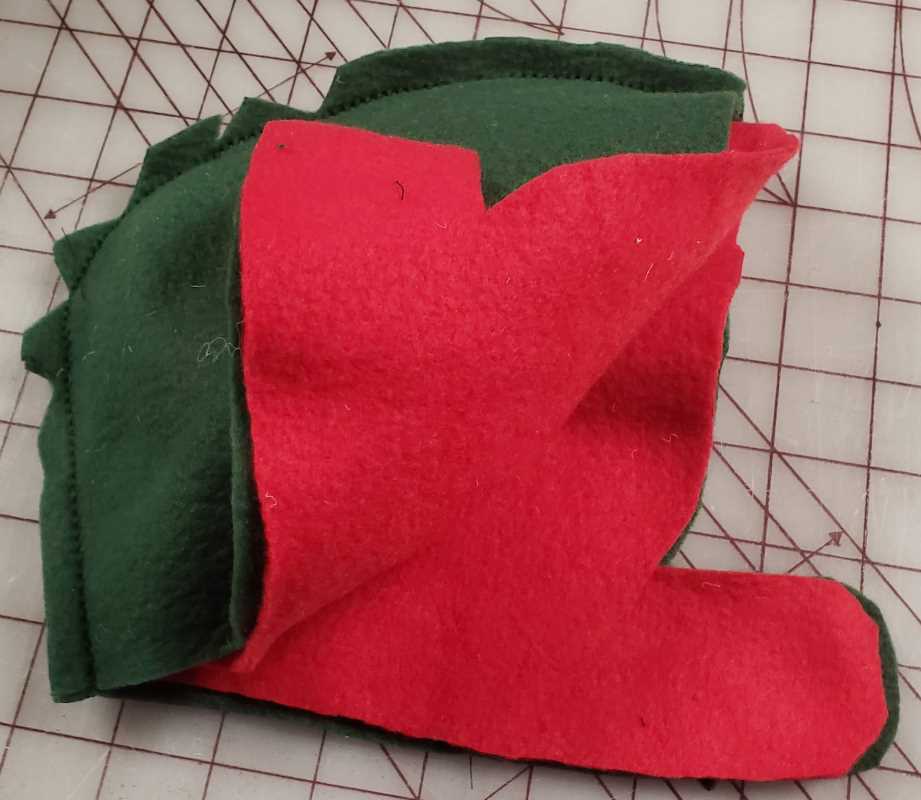
5. Place each layer (outside and lining) right-sides together. Then sew along the curved back seam. Do not sew the face edge or the bottom. A slightly longer straight stitch (3.0) or a narrower zig-zag work great. Your head doesn’t change size when it moves, so you don’t really need to make this a stretch seam.
6. When sewing the elf curl, reduce seam allowance to 1/4″ for easier sewing and later easier turning.

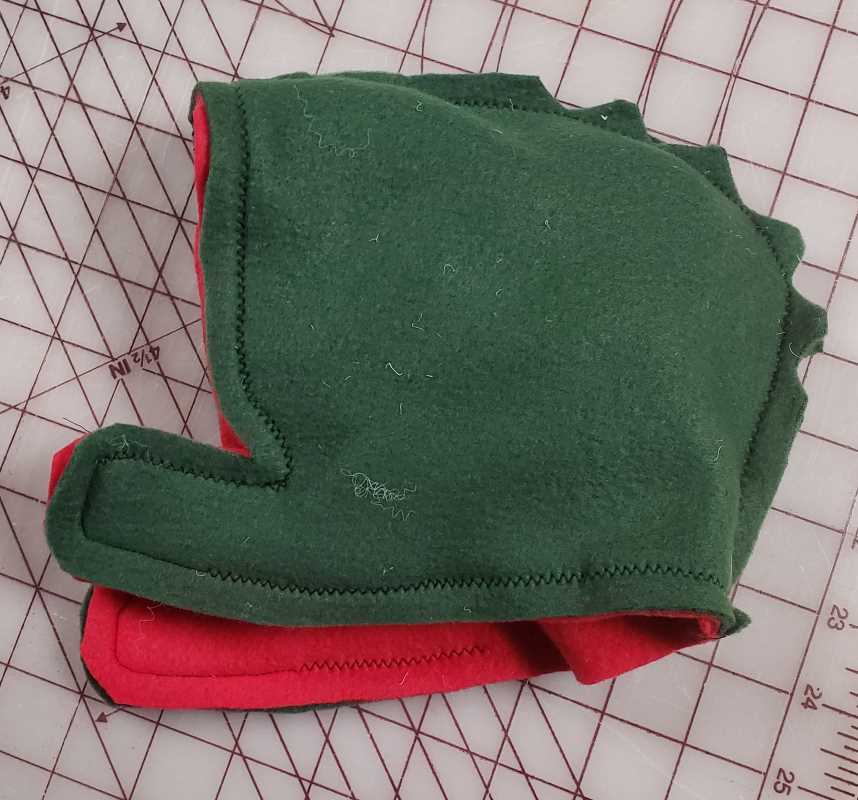
7. Notch and clip the curves. If you are working with fleece, you can alternately trim the seam allowance to 1/8″ around the curves.
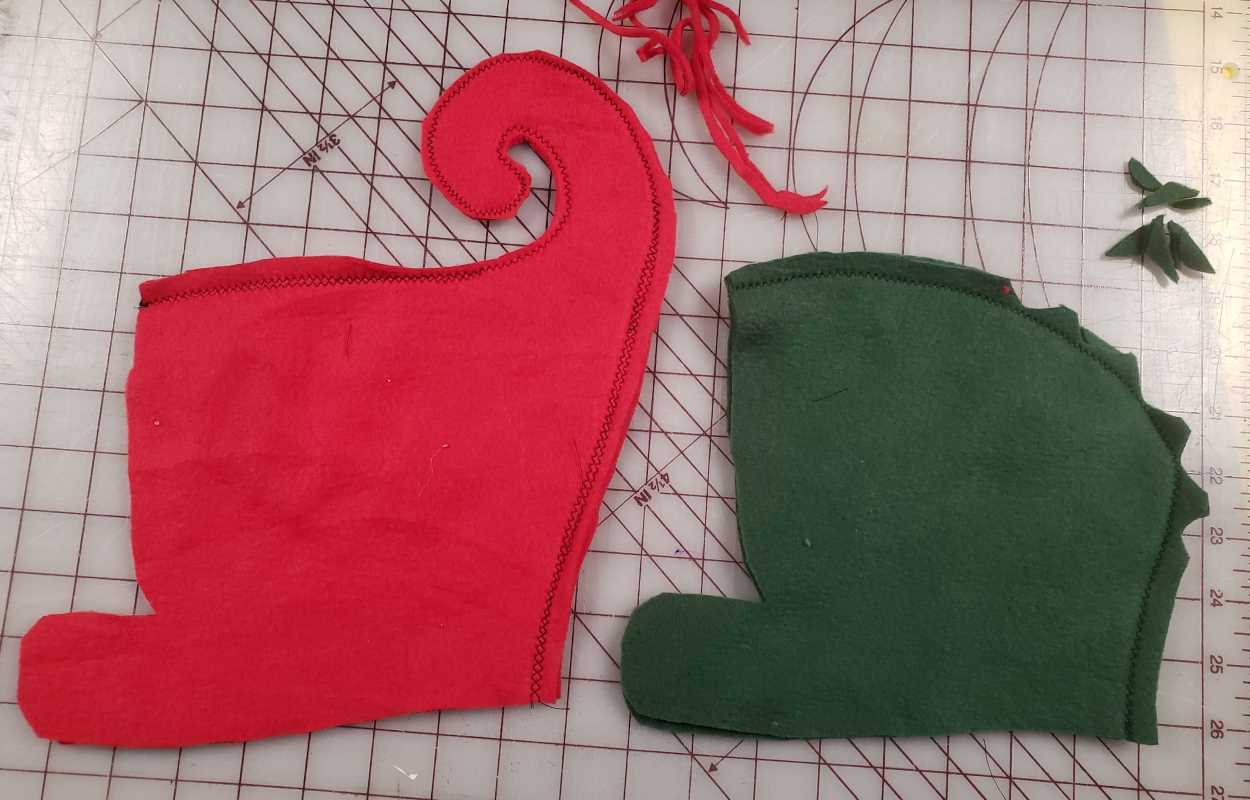
8. Flip the outside hood (elf curl) right side out. If there is any bunching you may need to clip the seam allowance more.
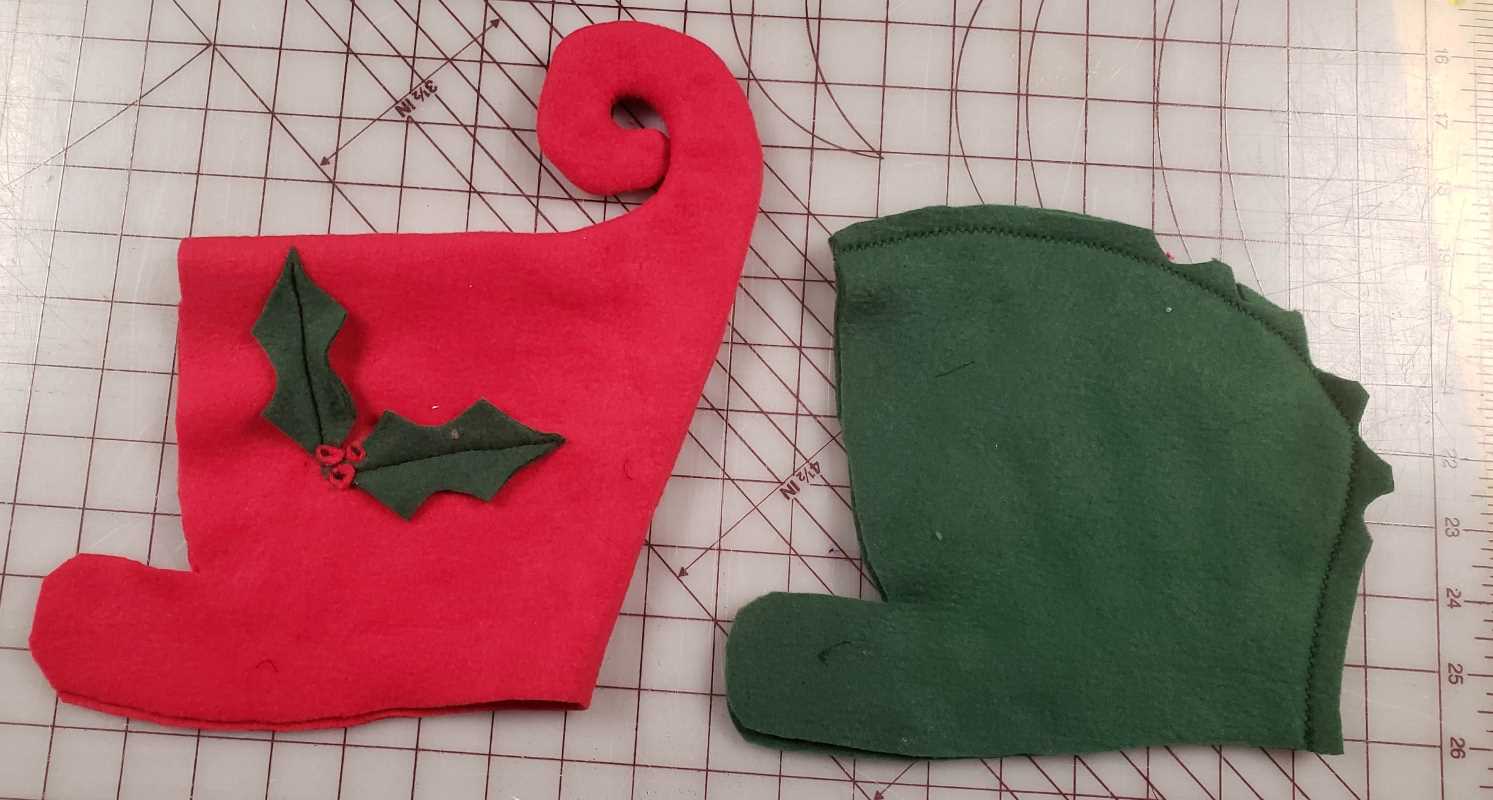
9. Stuff the elf curl with Polyfill or similar material, like dryer lint. You will be overfilling it a little to create a padded area between the hoodie curve and elf curl. This just helps it stand up nicely.

10. Layer it up for sewing. Place outside and lining right-sides together aligning top and back of head seams.
11. Sew around the hood leaving a 3″ opening in the neck band for turning. You can use the same longer straight stitch or narrower zig-zag for sewing this.
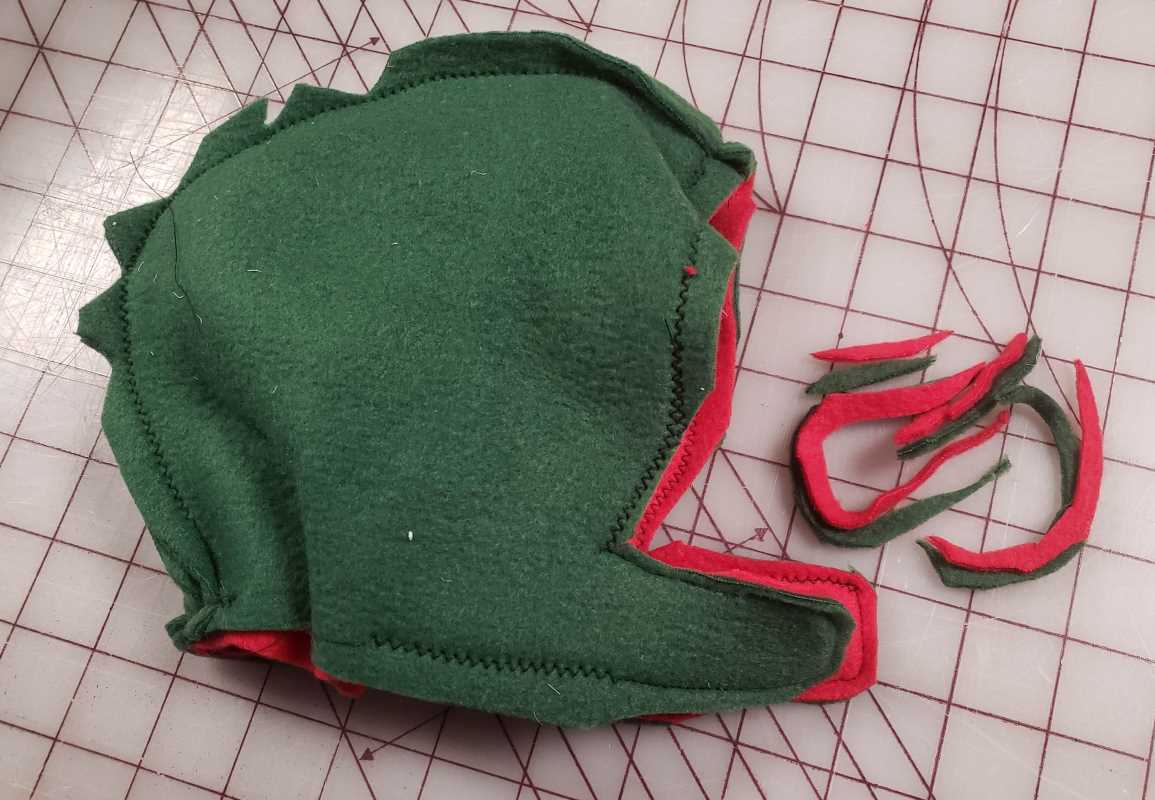
12. Notch and clip the curves around the neck band. If you are working with fleece, you can alternately trim the seam allowance to 1/8″ around the curves.
13. Flip right-side out through opening in neck band.
14. Top-stitch along the edge for stability and to close the turning hole.
15. Then add snaps or buttons as desired to the neck band.
16. Wear with pride! Make more for your friends.
Instantly Download the Elf Hood Pattern (including all the other shapes) and Holly & Berries Templates in PDF (below) or click here for SVGs (includes PDFs) This pattern also makes a great unicorn or dinosaur hood.
Thank you so much for the pattern and the video for the fleece elf hat. I have 12 Great Grands. Most of them little. They will love these. Thank you again for your generosity.
Thank you. These are adorable.
Adorable! I was wondering how you keep the stuffing in place.
If your stuffing is not naturally staying in place, you can take a few tiny stiches that attach the lining the outside fabric. These would be around the top back of the head, just helping the lining do it’s job.
Wonderful tutorial! These hoods are adorable and look like they’ll stop the cold winter weather.
Thanks so much for this project! I can’t wait todo it for my little one