Welcome to the Fabric Ninja Resources Page; a list of tools and supplies to maximize your sewing time and improve the items you make. I have used and tested every recommendation on this page; most of them I use every time I sew. Many of the resources listed here are crucial to making my sewing time efficient and my product look professional.
Before digging in, an important disclosure:
Some of the links below are affiliate links, which means that if you choose to make a purchase, I may earn a commission. This commission comes at no additional cost to you. Please understand that I have experience with all of these tools and products, and I recommend them because they are helpful and useful, not because of the small commissions I make if you decide to buy something. Please do not spend any money on these products unless you feel you need them or that they will help you achieve your goals.
Quick Links – To the Section You Want
Look for Quick Answers?
This Ultimate starter Kit from Eversewn is perfect. Bundle includes: tailor scissor, cthread clippers, magnetic pin cushion, safty pins, seam gauge, measuring tape, water soluble pen, iron vanishing pen, seam ripper with ball, rotary cutter, clips, glass head pins, quilting ruler, and Cutting mat-green color.
Sticky Things
Pins and patterns weights are great, but I love these sticky things to make cutting and sewing quicker and easier. Use one of these sticky things to hold All-The-Things still.
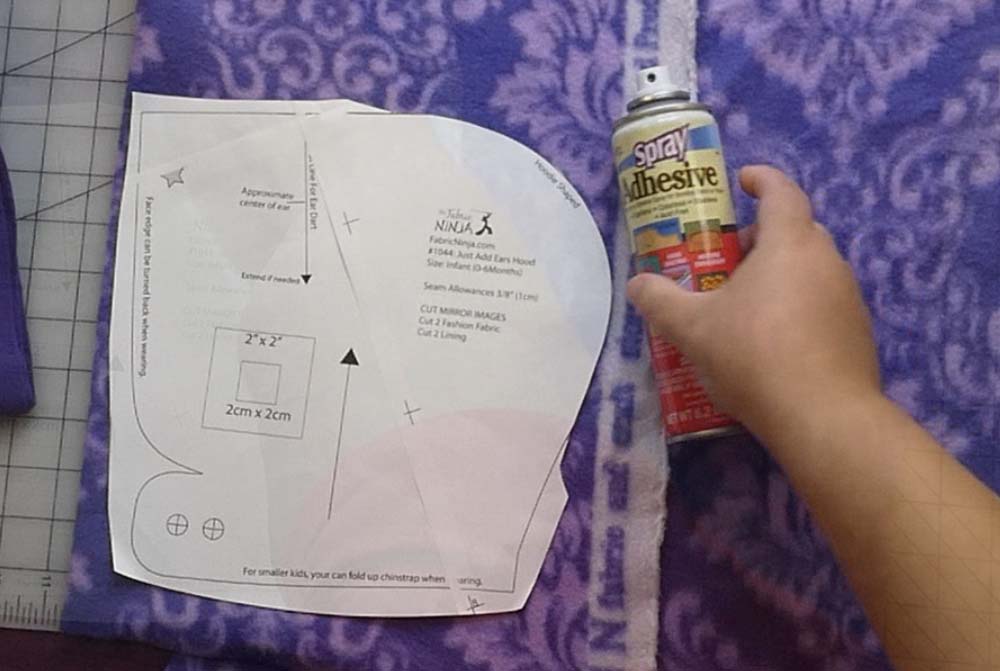
I use this dritz spray adhesive for so many things. It turns anything into a sticky note. It’s great for holding patterns down to your fabric, especially when the pattern pieces are small. I also use it for floating my machine embroidery projects, and to “baste” the layers of a quilt together before machine stitching.
Wonder tape and Steam-A-Seam 2. These are sewing room must haves. They work very similar to each other. Wonder tape washes out, so it’s temporary, and does not require an iron. Seam-A-Seam 2 is permanent and can technically replace stitching, although I always sew anyway. It’s great for making fusible bias tape used for some embellishing (fabric decoration) techniques, and does require and iron for use.
Use either of these products for
- For Hems (Knit fabric? Use wonder tape, to preserve the stretch once washed away)
- For zipper placement.
- For closing turning holes
- Fabric decoration
- Tack facings
Pin & Clips
Maybe you don’t need or want to use adhesive products. Consider a good-o’-fashion pin. Or even a newfangled clip.
I really love flower head pins. They are super sharp and just fine enough. The large head is easy to hold, to see, and to sew over (shhh…don’t tell). Although sewing across pins is not a great idea, sometimes it’s necessary, or accidentally happens. These pins won’t get stuck under your presser foot, causing your machine to jam. I can’t forget ironing! You can iron right over them, and they don’t melt or scratch your iron. Glass head pins are great too, as they don’t melt!
Clips
Clips are great for leather, vinyl, and PLU (polyurethane laminate – waterproof). Pin holes can leave marks or affect waterproofing. Clips make it easy to hold you pieces together, without the annoyance of pinning in the seam allowance. Many people love using clips for knits too; No chance of snagging a delicate knit on a rough pin (they shouldn’t be rough, but it happens). I still find pins faster than clips most of the time, but I have been using them for 30 years (yes, I started sewing very young). Clips are often easy for beginners. Don’t be afraid to think outside the box. Binder clips and hair clips also work great.
Pins and clips both have a way of spreading. So don’t forget the Magnetic Pincushion or make your own clip bag.
Marking
When marking things, you need to think about how long you want your marks to last and what they need to withstand. Do you want to iron our marks, and still have them there?
Markers
I love this Tailors Chalk because it has so many colors, so you can always find a color that will show on your project. It comes completely or mostly out when ironing, so be aware of all the steps in your sewing pattern before you use it. Also chalk is not the most accurate of mark unless you keep the edge sharp.
I use Blue water soluble markers all the time. They last thought ironing unless you use a lot of steam. They always come out with water, so you can just wash your item and they are gone.
This 2-Part Marker Sewline marker is great. The pink one marks a brown black color that stays through ironing. Then you use the white marker to erase it. Great for things you don’t want to wash right away to get out blue marks.
Some fabrics, like fleece, can be pretty tricky to mark. Frixion markers are great for this. They disappear when ironed, so it’s nice to temporary markings. Warning, they marks will come back if your item gets frozen, because it’s heat reactive ink. So a quick trip in the dryer will make them gone again. Same thing for the pen, if it sits in a hot car the ink may not show up. Just stick in the freezer and it will work again.
Transfer Paper
A great way to save from cutting your patterns is to use chalk transfer paper. Lay your pattern on your fabric, then slip the transfer paper under the paper marking side down. Use a marking wheel or plastic marking tool to transfer the chalk to your fabric exactly where you need it. You can also use transfer paper for buttonhole markings, darts, and any other line that you need to reference.
You can also trace your patterns off from the top with Swedish tracing paper. The great thing about Swedish tracing paper is that you can sew it. You can actually mock up your garment and try it on. Mark an alterations and then use it over and over as our pattern piece. It’s woven so it is very stable and lasts a long time.
Measuring Tools
From big to small, we have to measure it all.
Body Measurements
For taking body measurements, I love super long tape measures. I’m a plus-sizes lady and quite frankly the 60″ tapes don’t cut it. Can you imagine how a client must feel when your tape measure isn’t long enough? Sewing is supposed to be about loving your body now matter the shape or size. This 120″ tape measure is accurate and flexible with no accidental embarrassing moments.
Small Measurements
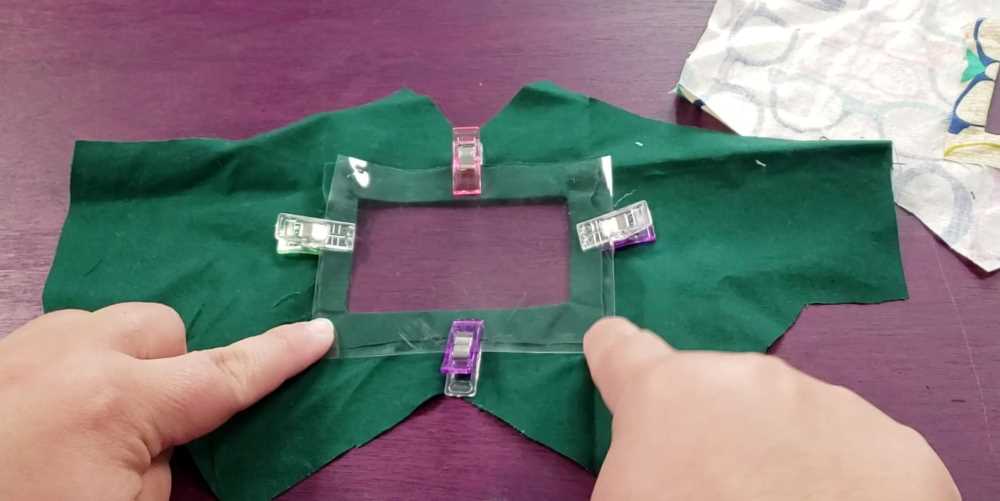
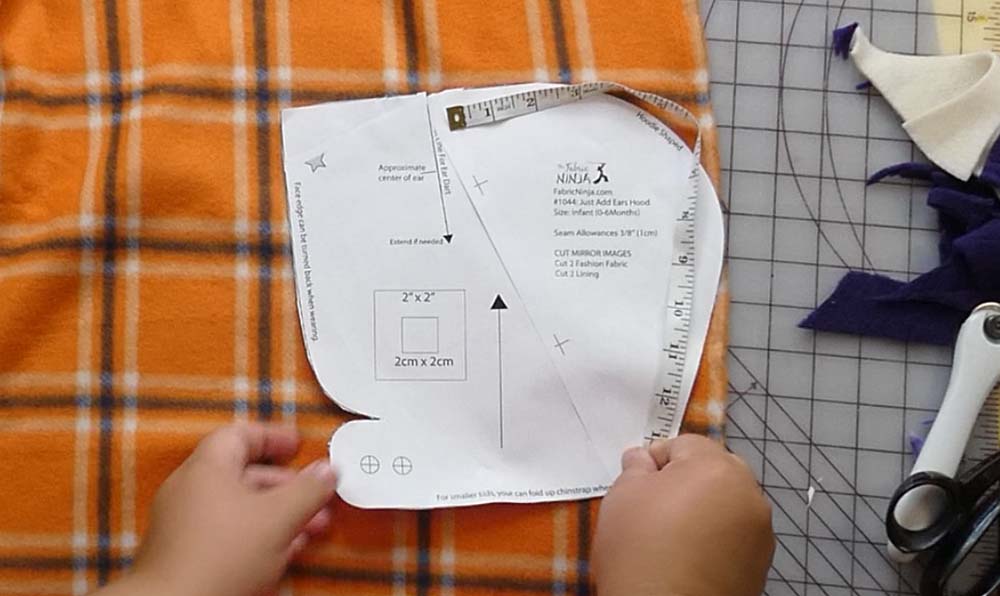
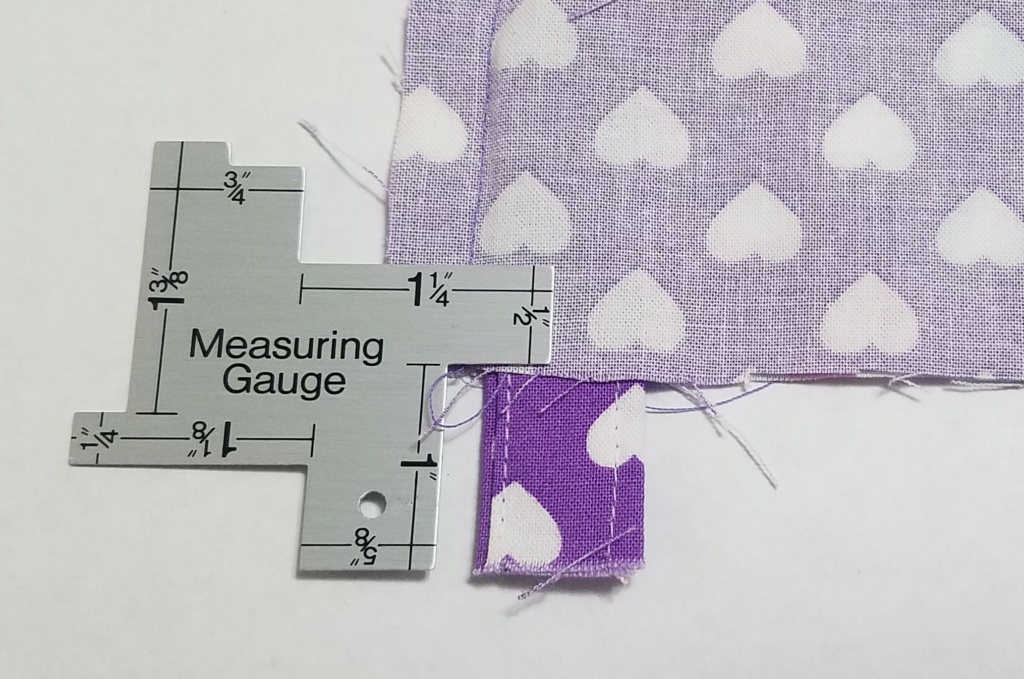
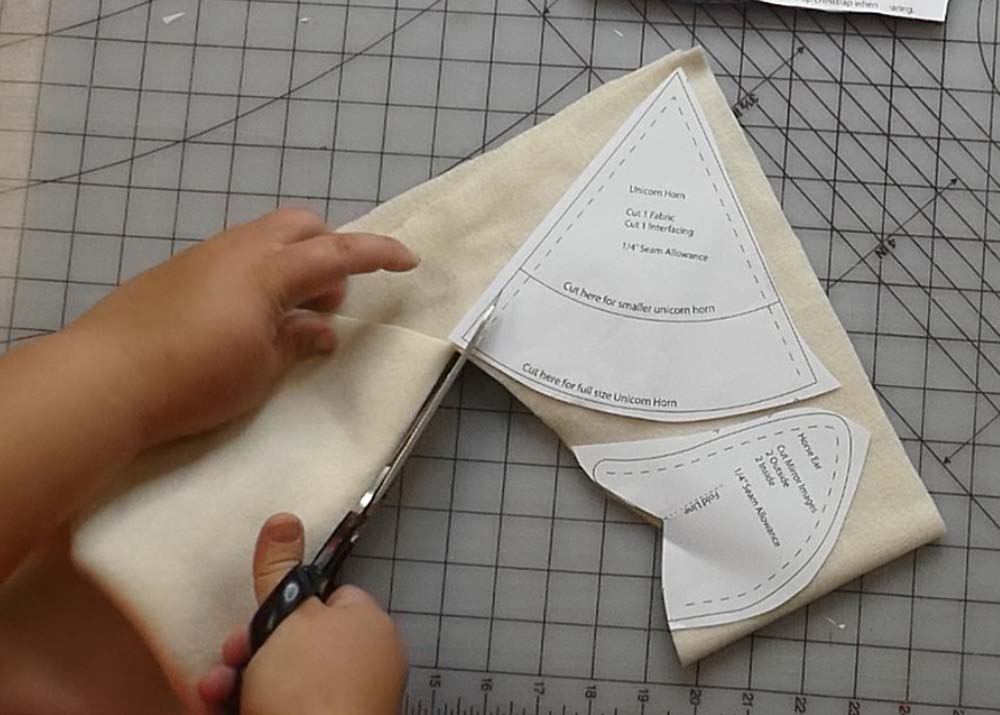
This small multi-measuring tool is perfect right next to the sewing machine. Is that seam allowance 1/2″, you can quickly check it. That button hole supposed to be 1″ or those elastics set 1.5″ from the end. You have all these measurements in hand and it’s easy to see. It even has a hole so you can turn it into a necklace, or attach it to your sewing area.
You can see a picture of me using it here to place the snap tabs on a Tula FTG style hood.
Bigger than a “Yard” Stick
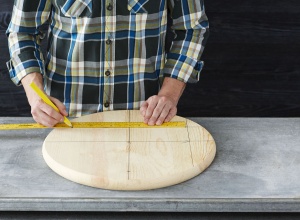
When marking quilts this is my favorite measuring too. A 6 foot long “yard” stick. I’ll totally admit that is too long for some projects., but when making a blanket (especially weighted blankets) or quilt nothing is better. I got mine at Lowes. It in the in the section with the tools which is normally near the front of the store. If you want to use a regular yard stick, just check that is actually straight. Many of them warp over time.
Iron-able Ruler
When ironing up a hem or an edge I found it so frustrating to mark first and then iron on the mark. Especially if your marks disappear when you iron. This ruler is mean to be ironed on, just measure and iron as you go. I love giving these as a Christmas gift too.
Quilters ruler for rotary cutting
I use a rotary cutter all time. I cut out pretty much all my patterns that way. And when I’m cutting rectangles I use this ruler. It’s a 12.5″ x 12.5″ square. There are times I need something longer, like cutting long strips, but most stuff fits in this size. It’s also perfect for quilt block trimming or cutting t-shirt quilts out. Sure I also love some other sizes: 6″ x 24″ is very useful and I have one in metric for European patterns.
Cutting Tools
Your best cutting tool is always going to be the sharpest one. A sharp blade is easier to control and takes less force to use. Saving your hands and sanity.
Scissors
Gingher brand scissors are my favorite. They are more expensive because they are made so well and last so long. I also really like Fiskers brand scissors , if you are looking for a lower price point to start out.
The thing about Gingher is that there are lots of options so you can find the scissors that you like the best. That work in your hand and for the project and materials that you work with, but it’s be just tell you my favorite ones
Gingher 8 Inch Featherweight Bent Handle Scissors
These featherweight scissors are amazing, you pick them up and you hardly notice them in your hand. It feels crazy, but they work so well. I get occasional carpel tunnel and cutting with heavy scissors for long times tends to cause a flair up for me. Although I do love the weight of nice scissors these preform so well I don’t miss the weight.
Gingher & Tula Pink 6 Inch “Duck Bill”Applique Scissors
Many of my patterns call for trimming the absorbent layer from the seam allowance. These are the scissor I use for this. If I try to use regular scissors it always takes longer. The Paddle or Bill shaped blade protects what I don’t want to cut and let’s be get close to what I want. Basically I can lay the scissors flat on my project and trim very close. These are also great for applique allowing you to trim very close to that stitch line. The pair I have, I inherited from my sewing teacher & mom who passed away in 2000. So these pair of scissors are starting to get a tad dull after 20+ years of frequent use. That is quality!
I have a new pair of the Tula Pink version. They are a little less heavy and super pretty.
Thread Snips
Gingher 4.5 Inch Thread Nippers/Snips
These really need no explanation. You sew you know there is constant thread snipping, but I also tend to lose my snips a lot. So I have some extra pairs of these less expensive snips laying around.
Rotary Cutters
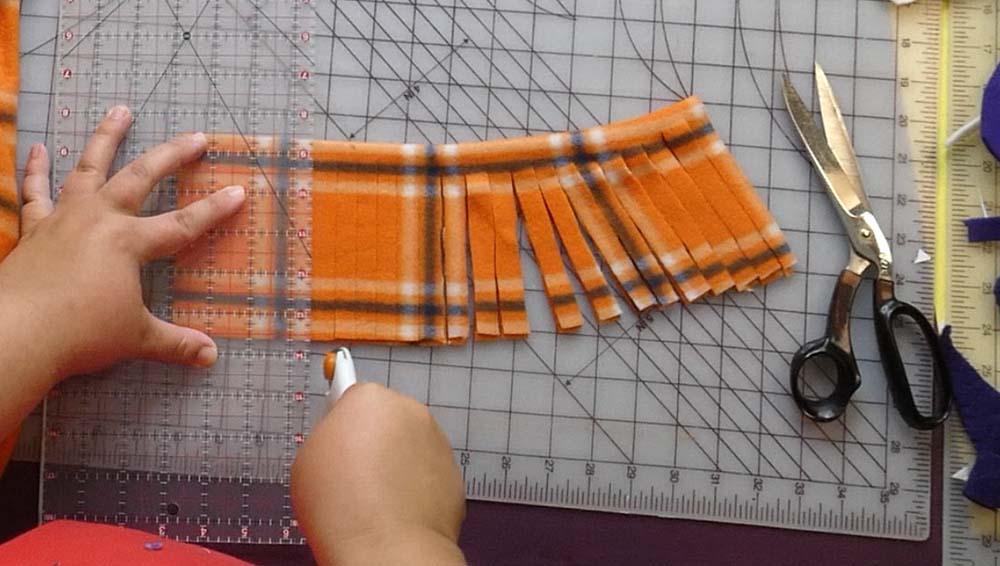
Rotary cutters come in 4 common sizes Extra Large 60mm, standard size 45mm, and two smaller sizes 28mm (about quarter size) and 18mm (about dime size). I really like the smaller sizes because I cut nearly all my pattern pieces out with a rotary cutter. The smaller blade makes turning corners and getting into small spaces very easy. They are also less expensive to replace. The 45mm blade is great for long straight cuts, like when using a quilting ruler to make strips. Olfa and Fiskers are my go-to brands.
Rotary cutting handles come in basically 2 shapes, straight and ergonomic. I really prefer the straight handle. Always close your rotary cutter when it is not in your hand. ALWAYS!
Replacement Blades
Dull blades happen! Some fabrics like poly fleece dull blades quickly, your cutting mat can dull blades, and rolling over a pin totally kills it. Whatever the reason, you will need new sharp blades eventually. The best cutting tool is the sharpest, but keep that dull blade around for cutting paper or crazy materials like sequins that will dull any blade.
Choose the blade size for your handle. 60mm, 45mm, 28mm, or 18mm. Unless you are getting titanium blades I find the brands all similar. So I choose I less expensive blade.
Specialty Rotary Blades
Pinking blades and Skip blades are super fun. These can be used on fabric or paper craft. Piking blades are like pinking scissors, it cuts in a zig-zag. You can use this for decoration or to keep the edges of any fabric from fraying. Use after sewing or while cutting. Skip blades can be used for leather or wool cut work. They can make sewing holes in leather, and crochet holes in many fabrics, and even make perforated tear off sections paper signs.
Ironing
An iron needs to be heavy. If it’s not heavy you have to do the work of pushing down. Save yourself the work. I prefer an iron with Auto-off. I know many sewists that do not. But I’m forgetful and have kids that pull me away in the middle of projects. So I prefer to have an auto off. WARNING! Always assume your iron is hot, never set anything near it that could melt or catch on fire. Auto off irons turn on after power blinks unless they are set to off or unplugged. (Personal experience). Cordless irons are super nice, but only for smaller jobs. You need to put it back in the cradle frequently to keep up. So ironing a project while you work, YES. Ironing 10 yards of fabric, NO…or take frequent wine breaks.
Ironing board
You probably already have an ironing board, if consider not getting one. You can turn any table you have into an ironing board a wool pad. They are bit pricey, but you are replacing an entire ironing board with this one thing. I actually roll mine up and take it to classes. The other great part is that seams sink into it allowing for an amazingly smooth press. They come in lots of sizes too, so find one that is right for you. I got mine from “The Felt Company. 1 yard is the minimum size, which might be too much for you. Quilt specific wool pressing mats are available in lots of sizes and all look similar.
You can also cover make a cover for them out of any fabric, but my fabric of choice is shiny silver fabric that reflects the heat back at you and is anti-stick. So if you already have an ironing board, consider a new cover. You can make your own from that shinny silver fabric, or just buy one. You can also make your ironing board larger with an overlay that goes on top.
Seam Rippers
Have you seen my “Picking the Perfect Seam Ripper” post? Head on over to learn about all the best options, and why you might like a different one that I do. You might also like How to Remove Serger Stitching quickly and easily.
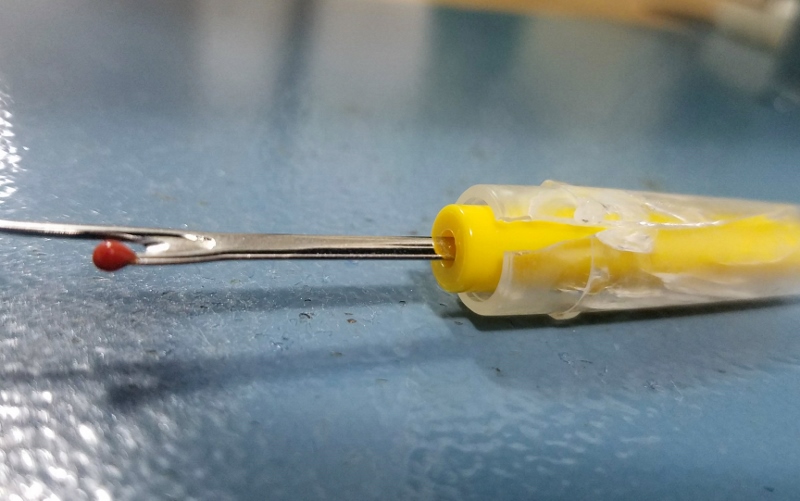
The sharpest seam ripper is the best seam ripper These “standard size” seam rippers are my favorite for cost and sharpness. I have a few others that I love for specific reasons. The two seam rippers below are both standard short length.
The Bohin seam ripper folds, which is great for travel or quickly covering the tip with children attack you. (Common place in my house) The plain seam ripper does have a cap, however it often gets stuck on during use and then cracks. I don’t see this as a fault, as by the time the handle cracks the seam ripper is getting quite dull.
My two favorite long handled designs are the Dritz Ergonomic Seam Ripper and the Seam-Fix Seam Ripper. The Ergonomic one is a nice shape if your have carpel tunnel or just like a bigger tool. The Seam-Fix has a rubbery end that helps get small thread pieces off our fabric. The Seam-fix also has a Mini option.
Thread
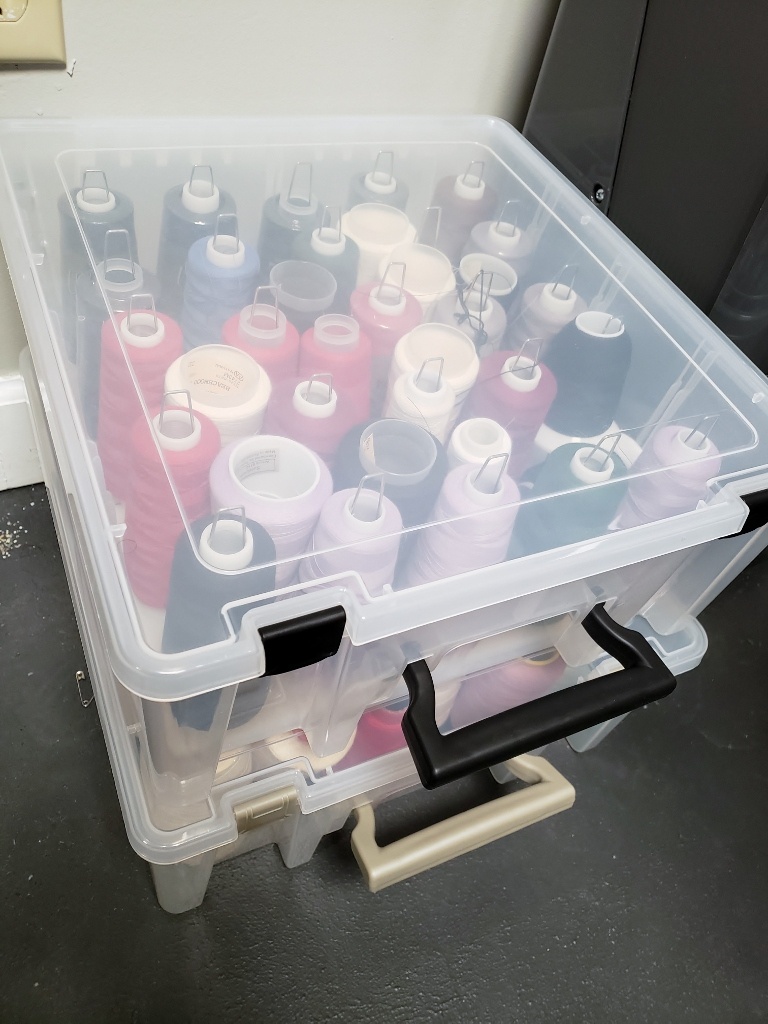
I am a lover of 100% polyester thread. It works perfect for 99% of what I make. 100% cotton thread is for the 1% of things that I want to dye after sewing. Gutermann All Sew and Gutermann Mara 100 are the same thread just sold by different names for retail vs wholesale. Mara has more thread on each spool, despite it’s the same cost. The quality of thread is important, remember it is the only thing holding your project together. And quality thread has less fluff, which means less wear and tear on your machine between cleaning. (You do clean your machine, right?) Amazon doesn’t have Mara 100, but if you prefer Amazon here are some links. I get mine from Wawak.com
Webbing
Purse straps, reach straps, belts, backpacks, their are so many uses for webbing. I get my webbing from Strapworks I prefer Nylon webbing for how it melts when I seal the ends. Strapworks also sells on amazon if you prefer.
Snaps
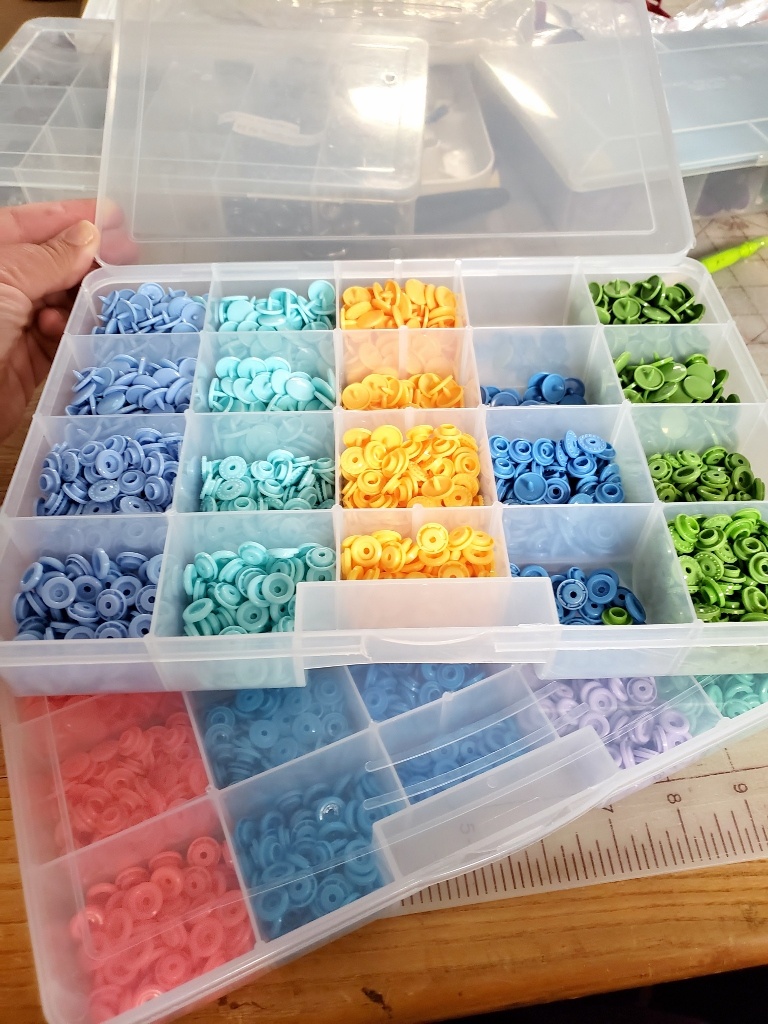
I love KamSnaps and use them for so many things. Size 20 is the most common size and used on cloth diapers. I think size 20 is a bit big for doll clothes, but they do work. They also come in smaller sizes.
If you are looking to shop in person, Joann Fabric has Babyville Snaps which are also great. You do need a tool to set them just like KamSnaps.
You can also get metal prog snaps in the notion section. Or larger metal jean snaps depending on your need. Even Sew-On snaps work well in many less stressful situations.
I use a large desktop press for most of my snap setting, but hand tools work too. You can also add this wooden mount to help give you a bit more mechanical advantage.
Fabric
Cotton Candy Fabric and By The Water on Etsy have some beautiful fabrics if you are looking for something beyond what is at your local fabric store or JOANN Fabric & Craft Stores Every time I look through their shops my cart fills up quickly.
Sewing Machines
Sewing machines are deeply person. I sew on a Pfaff, but the machine I use is no longer made. Pfaff’s are still made and I love them. The dual feed system is a built in walking foot that you can use with all the feet. Worth every penny!
Find your perfect sewing machine here, “Sewing machine buying guide”. It includes a workbook to walk you though the steps.
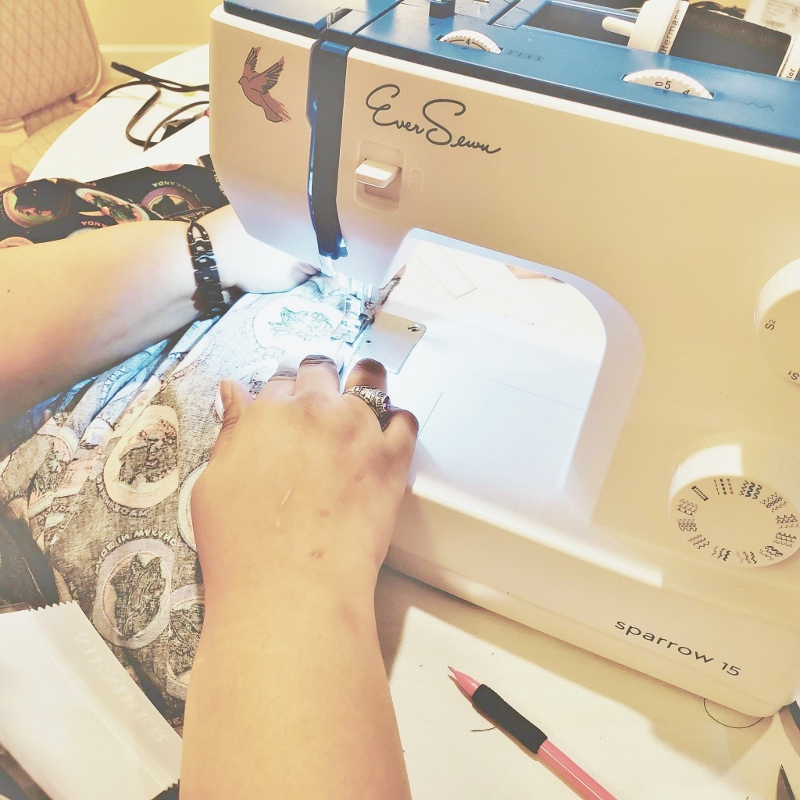
If you are new to sewing or you just want a good over all machine go with EverSewn. It has all metal insides which will makes it nearly indestructible. It’s like getting a vintage machine, but its new. My sewing partner and I have a class set of 8 EverSewn Sparrow 15, which has no computer, but they have fancier models with more features.
Cricut Maker
I love this machine because it can cut fabric. Now, most cutting machines can cut fabric if you bond it, but this machine can just cut the fabric. That’s because it has a rotary cutter. It’s amazing! I am going to be adding cut files for many of my patterns in the next year. Dino Spikes in the freebie library already have cut files.

Want to remember this? Save this Sewing Resources List to your Pinterest Boards