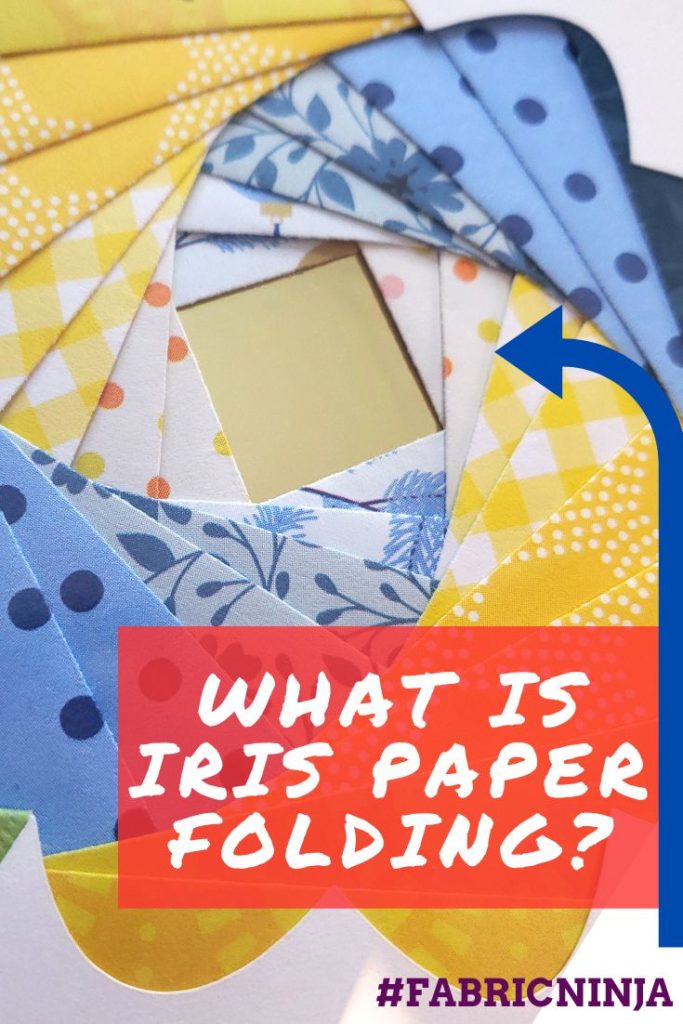
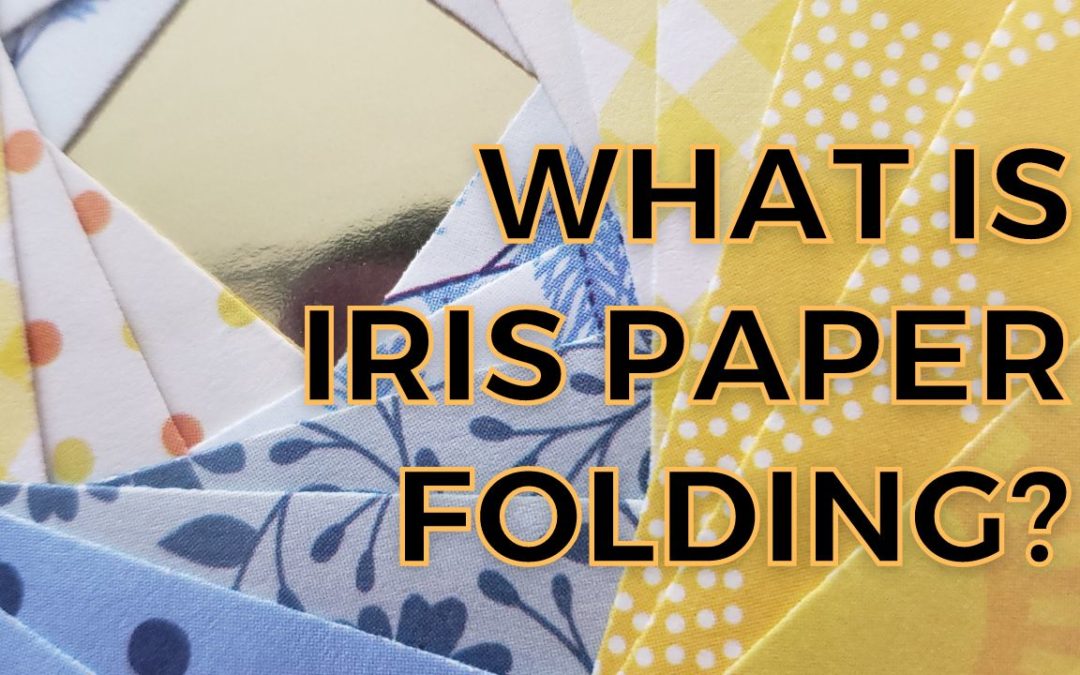
What is Iris Paper Folding? It’s basically “paint by number” with paper.
This is a very old craft often done with newspaper or with old wrapping paper, after the gift was opened. Although I like to use my Cricut to make them, you don’t need a Cricut or other cutting machine to make them. All parts can be cut by hand with scissors or a craft knife.
- Iris paper folding consists of 3 parts. The frame, the pattern, and the filler.
- The Frame: This will be the background that surrounds the design. Many people prefer a solid color or very light pattern for the background.
- The pattern is what you follow for placing the pieces of folded material. This is printed out on your home printer. Print it at 100% size or “no scaling”
- The filler. Paper or fabric folded strips used for the design. Your Circut can cut them, or you can use scraps you already have, making it a great scrap buster.
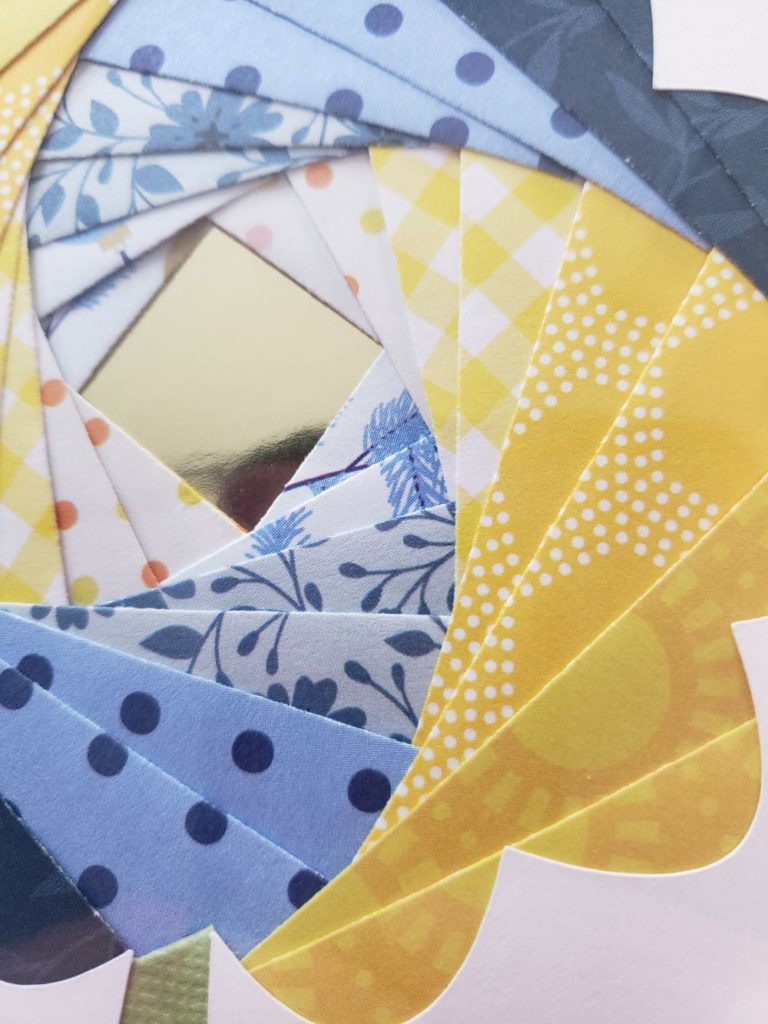
The Iris?
At the end point of each element, often the center, there is an iris / opening. This is a perfect location to use special materials, like metallic paper or glue on jewels. You could even put a small picture in this location or fussy cut a design element. Of course, you can also finish the design with any color you like or leave it open.
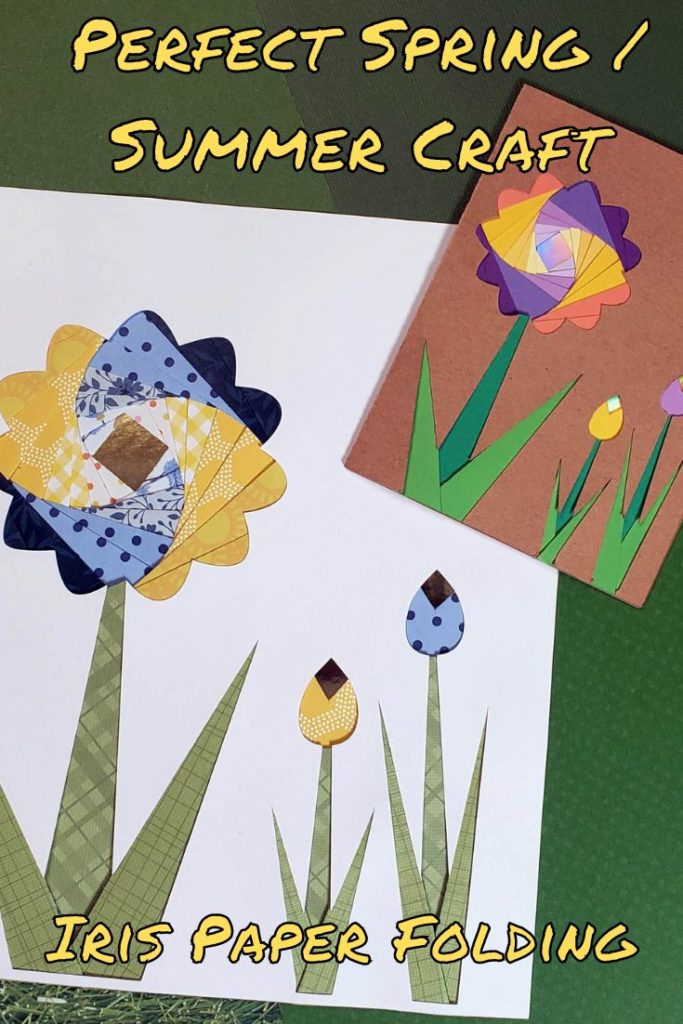
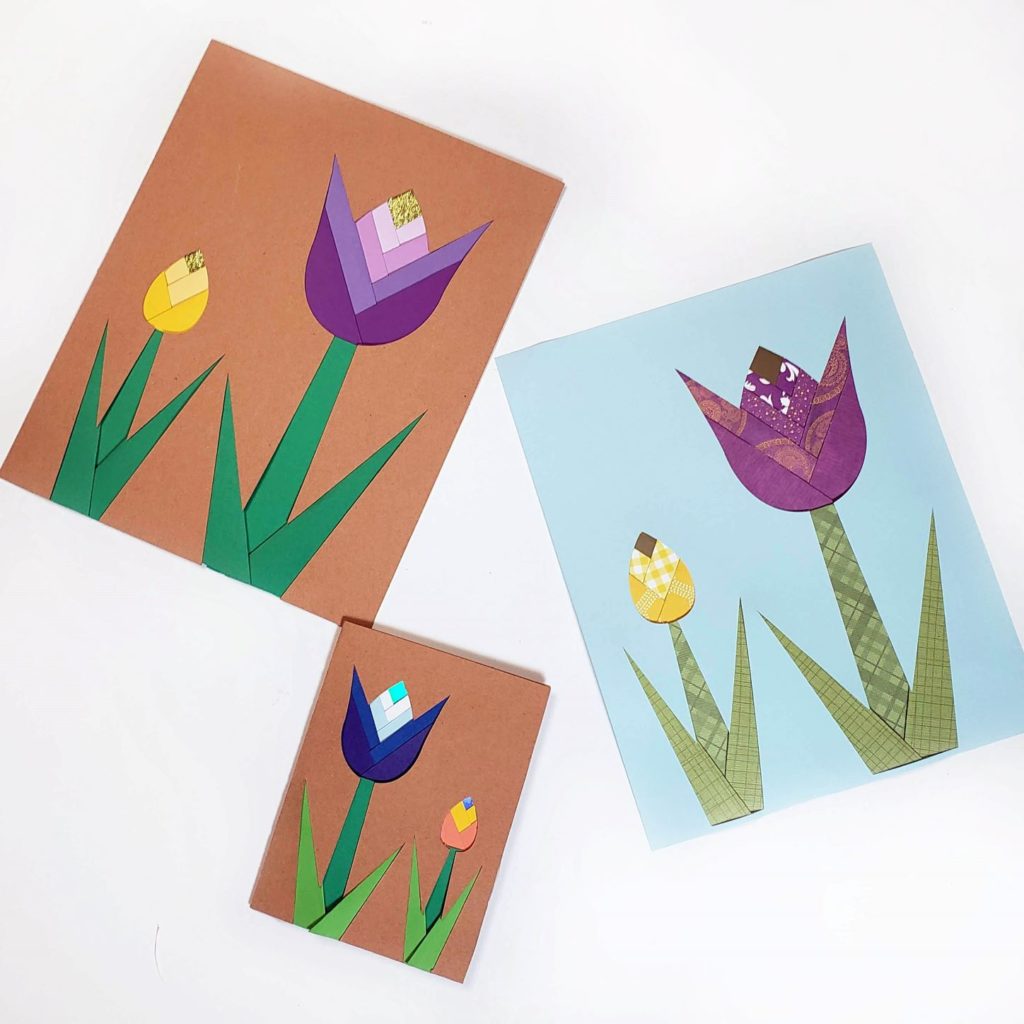
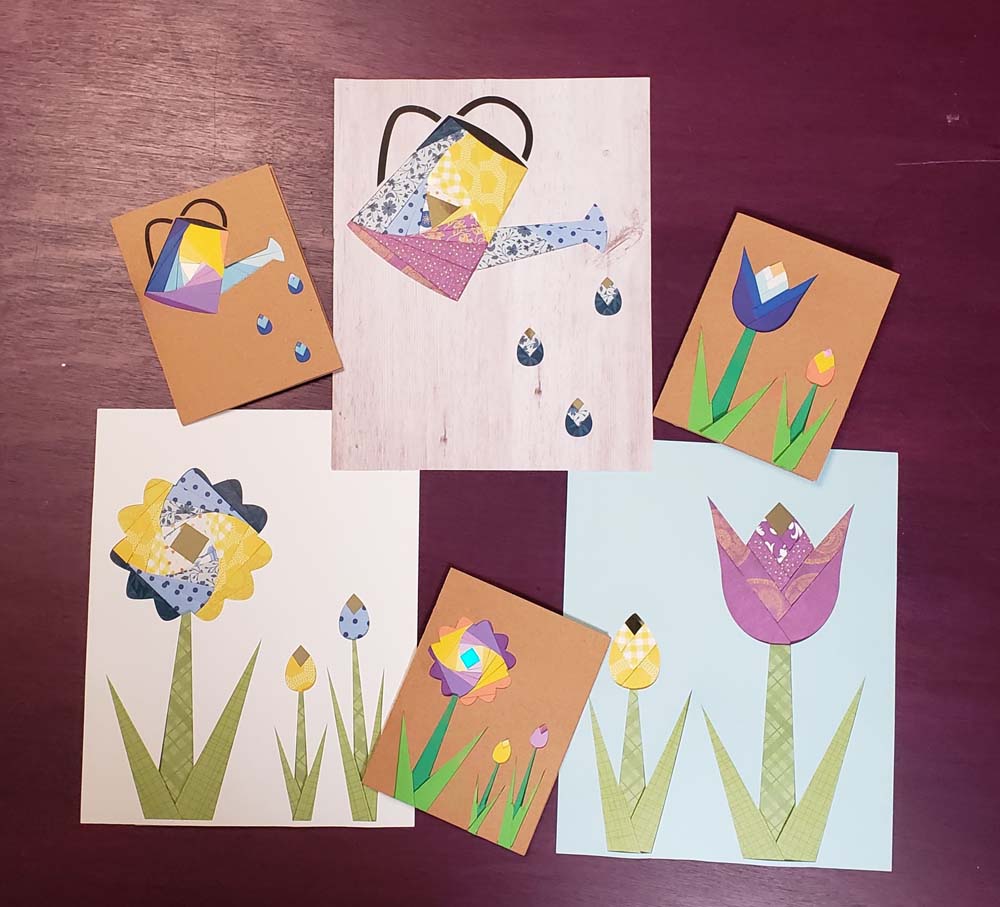
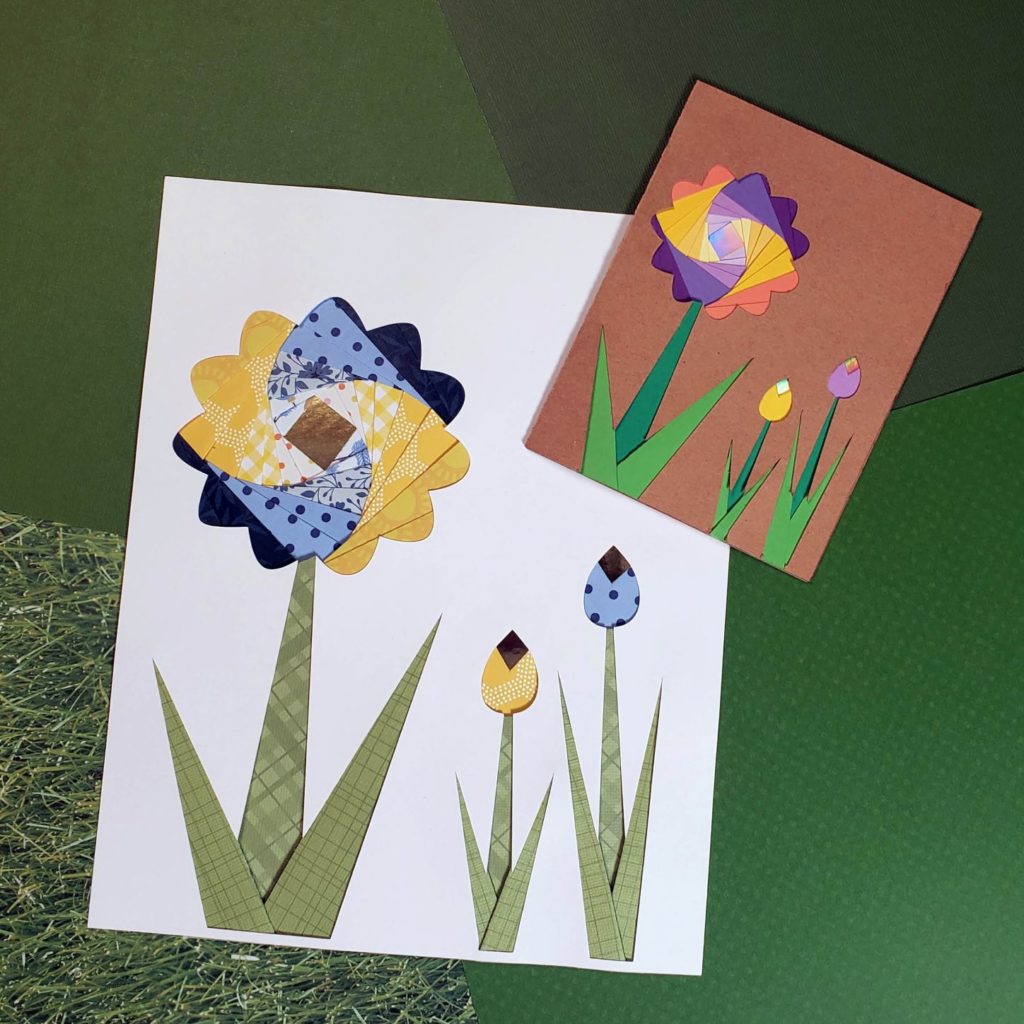
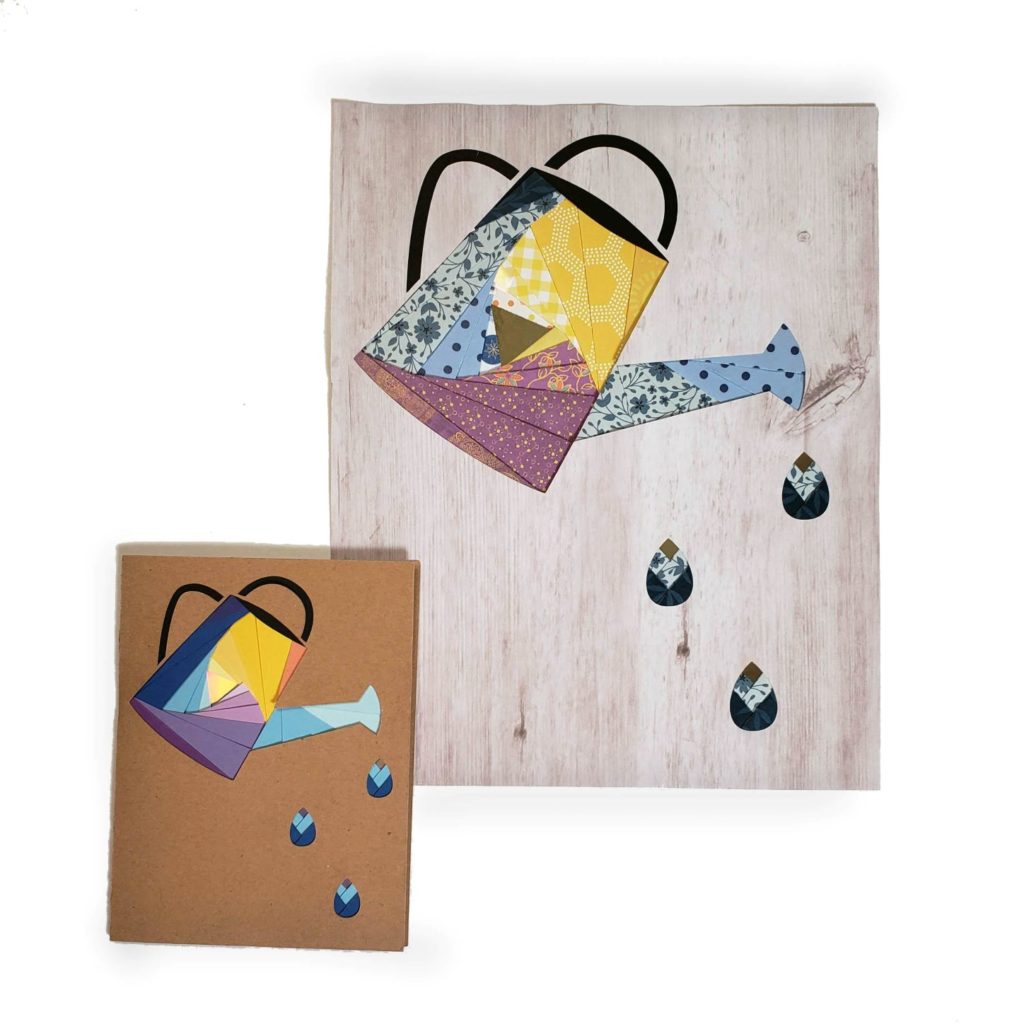
I have made 3 different designs that work together. The Tulip and Watering Can designs are in a bundle and the Swirled flower design is available in the Freebie Library. This designs come in 8 x 10 side as will as A4 card size. They are perfect for decorating windows, classrooms, senior homes, and your living room. They make the most adorable Spring/Summer cards.
- Get the Tulip & Watering Can pattern bundle
- Get the Swirl Flower Pattern in the Freebie Library or by opting into my mailing list
Video Tutorial
Materials
- PDF Pattern Printed 100% scale
- Adhesive (Scotch) tape
- Low Tack (Washi) Tape – temporary for assembly
- Paper or Fabric for Elements – Great scrap buster.
- Iris Accent: Small piece of Metallic, Glitter, or Special material
- Card Background: Prefolded A2 Card or Cardstock to cut from SVG
- Larger Design Background: Paper, Cardstock or Interfaced Fabric 8”x10”
Tools
- Circut – Any model (joy card only) or Hand Cutting Tools
- Fine Point Blade
- Scoring wheel or Scoring stylus
- Standard or Light Grip Mat.
- Cricut Pen .4 or smaller – if using lots of dark color, you may want a white pen.
How To
- Print the PDF pattern. You can use a colorful version or color the blank one. Please print at 100% size or select “no scaling”
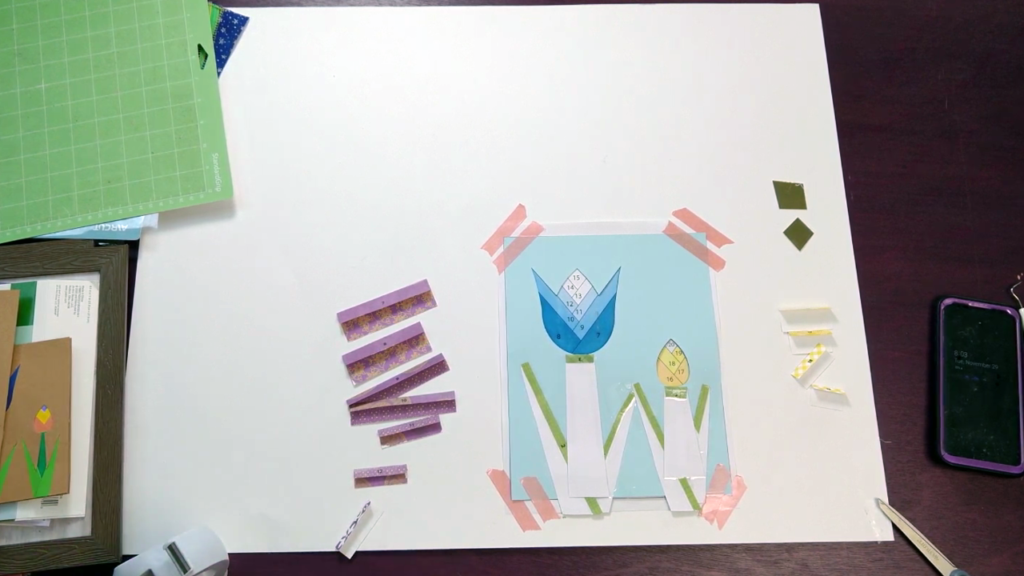
- Place the PDF pattern on your work surface and tape down with low-tack tape.
- Place the frame wrong-side up on top of it. Align the shapes not the edges. Tape it to your work surface as well with low-tack tape.
- Fold all pieces along the score. The number will be hidden on the back when assembled.
- Sort pieces in color or number order for ease.
Note: The Iris folding design is created on the backside of the finished product. So you will have to wait for the reveal to see the finished shape.
Assembly
- Starting with #1 place the folded edge of the paper on the straight line. The larger side will face down and the number will face up.
- Tape piece #1 to the frame
- Continue with piece #2 – # last
- Add Iris as each shape is done or wait till you have flipped it.
- Remove the temporary low-tack tape from the frame and flip your project over for the reveal.
- Do you like it? Now is the time to make any adjustments.
Finishing
- Trim excess from edges if needed.
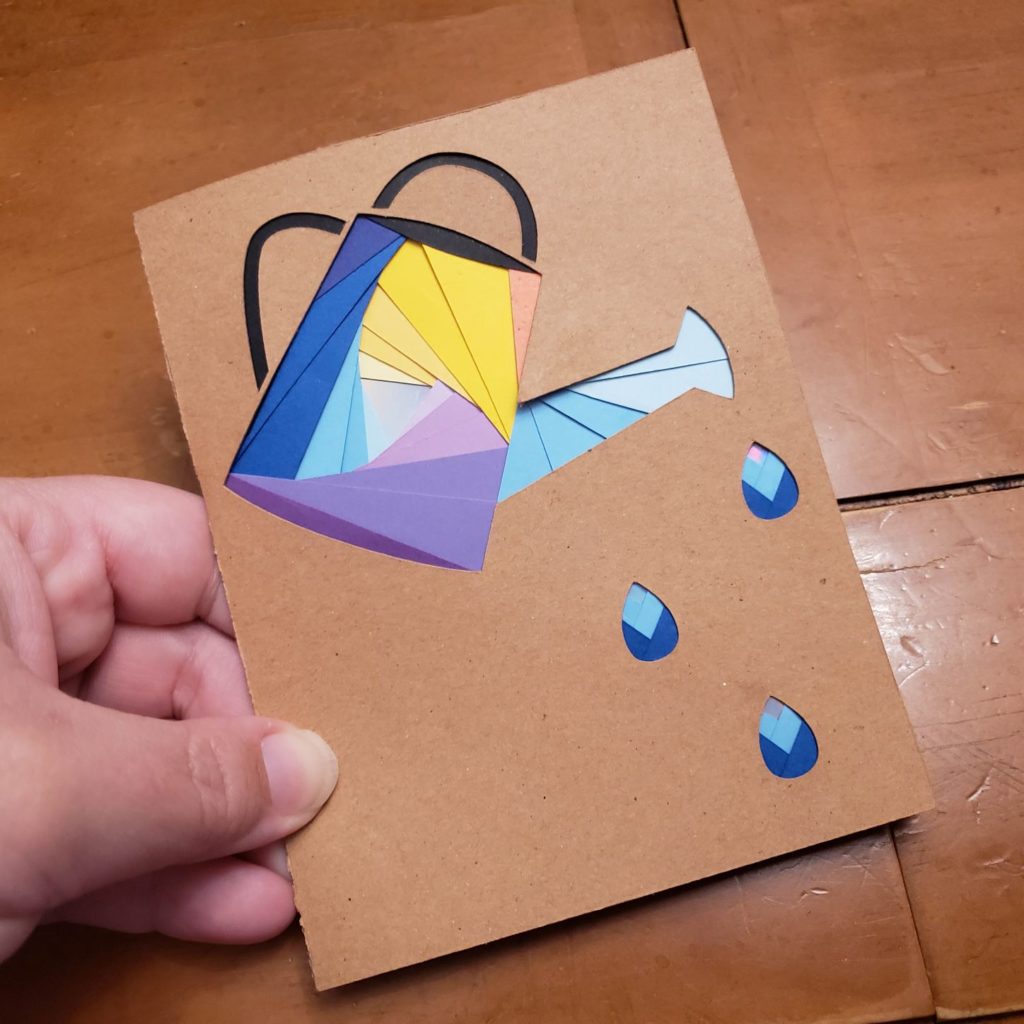
- Trim extra connections, if desired. There are small strips that connects the handles to the main body. It’s ok to cut these away now, if desired.
- Add the Iris. Now that you can see the front, you can try out different materials or get the perfect placement of your fancy material.
- 8×10 version: You are done! Frame it, if desired. Not going to frame it? I suggest that you add a paper on the back to “hide the dirty work” and keep pieces from falling off over time
- Card version: Glue or tape the Iris card to the front or inside of an A2 Card. Then personalize your card as desired.
Get the Patterns
I have made 3 different designs that work together. The Tulip and Watering Can designs are in a bundle and the Swirled flower design is available in the Freebie Library. This designs come in 8 x 10 side as will as A4 card size. They are perfect for decorating windows, classrooms, senior homes, and your living room. They make the most adorable Spring/Summer cards.
- Get the Tulip & Watering Can pattern bundle
- Get the Swirl Flower Pattern in the Freebie Library or by opting into my mailing list
Save this project on Pinterest!