Just after you take your first stitches, you will also start taking out those stitches. Seam ripping – “Unsewing” – Reverse sewing. What ever you wish to call it, is totally natural and normal. It might seem frustrating at the time, having just spent the time putting in those stitches. But taking them out does not have to be frustrating. You can do it quickly with a little know how. Keep reading to learn about the different types of seam rippers, how to pick the best one for you, and a few tips and tricks. If you are removing Serging, check out this post.
Some of the links below are affiliate links, which means that if you choose to make a purchase, I may earn a commission. This commission comes at no additional cost to you.
Since you are seam ripping, I know you are sewing. It’s important to take good care of your sewing machine. Instantly download the Sewing Machine Cleaning Log & Needle Change Guide, using the form below.
The Basics
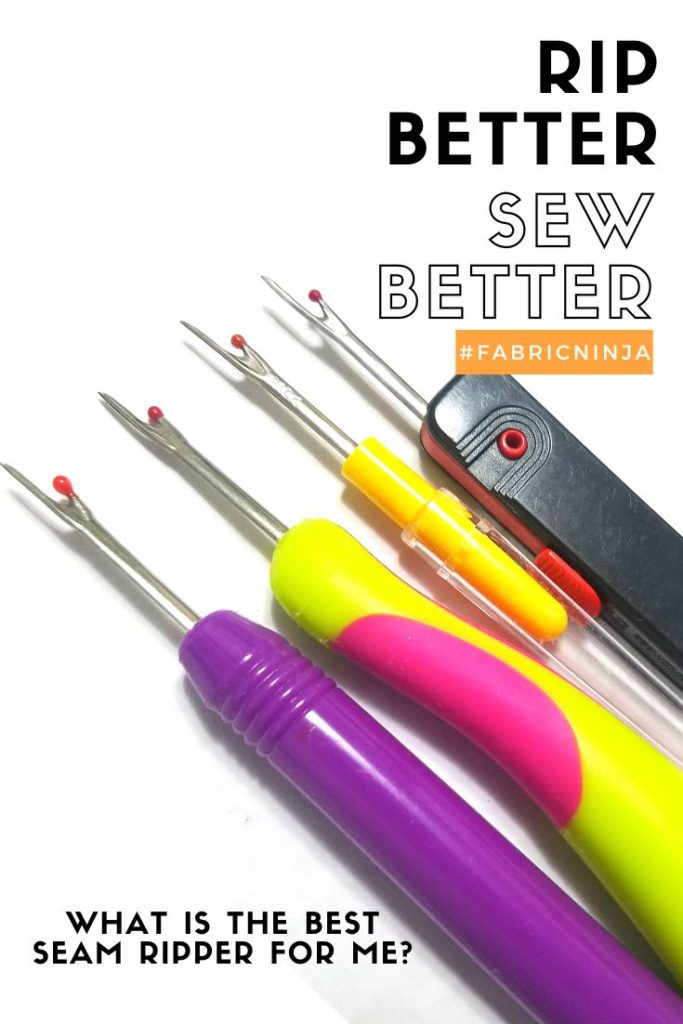
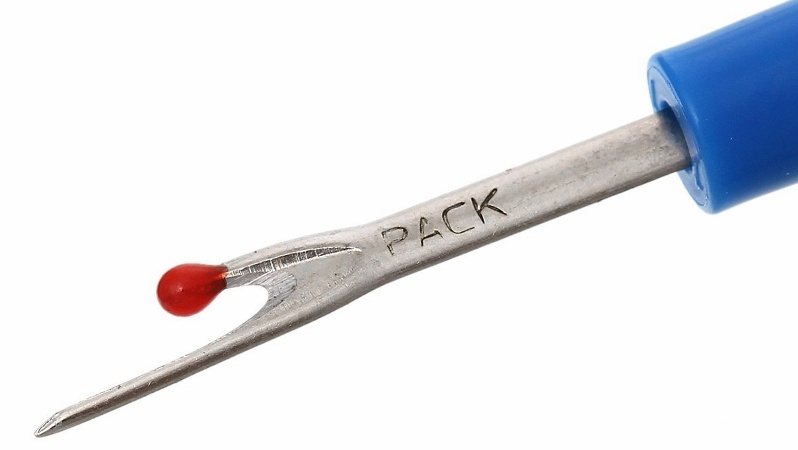
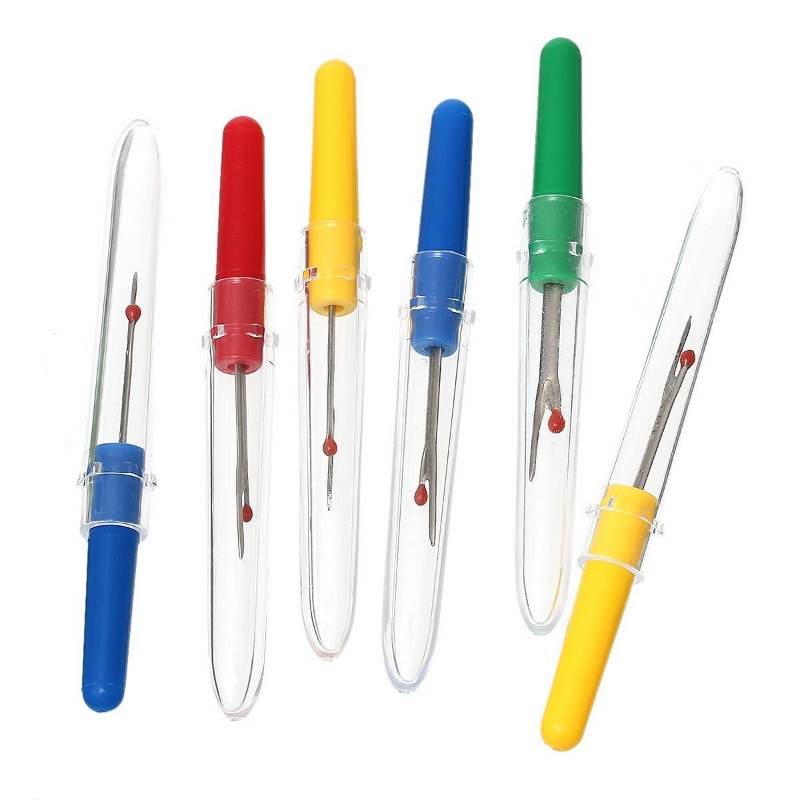
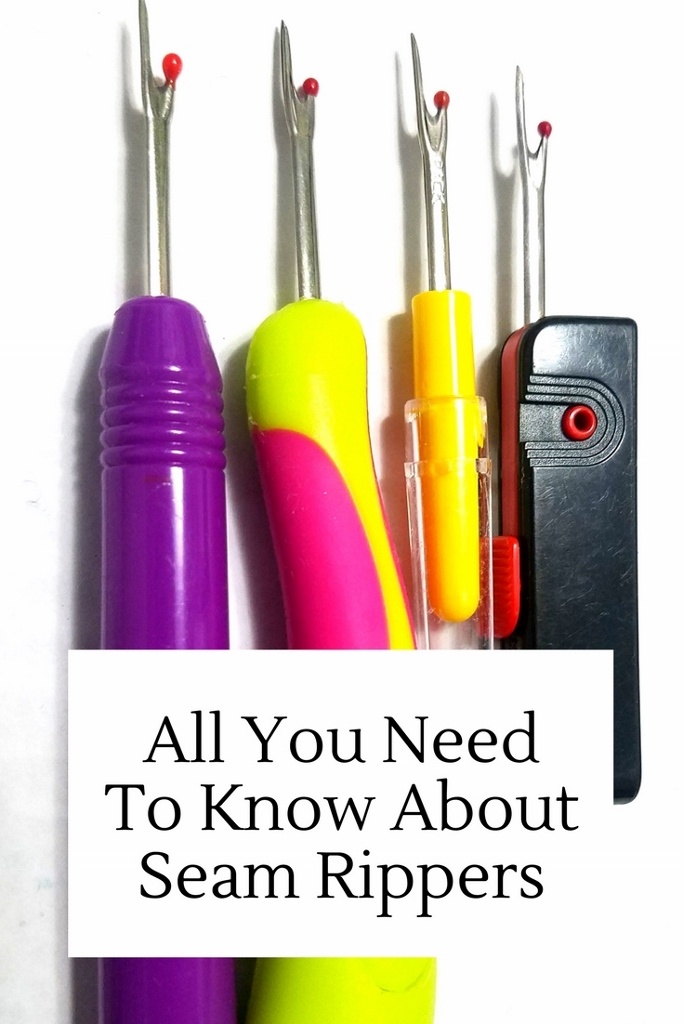
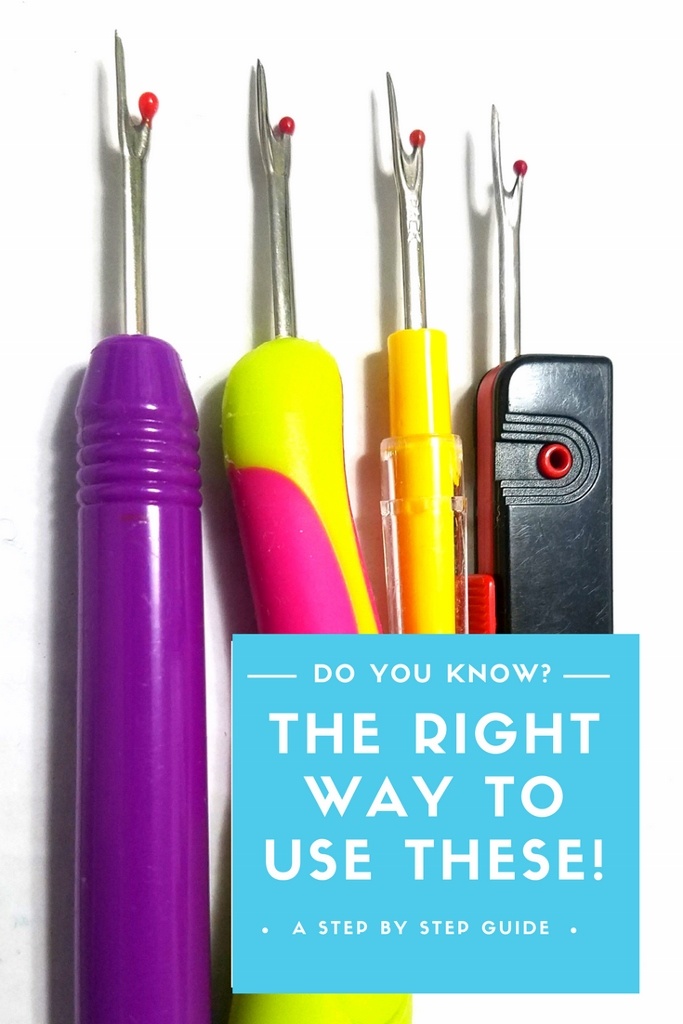
Most seam rippers look very similar. A long and a short “finger” with the cutter in the curve between them. These are the seam rippers that I buy most often. They are very basic, but they cover two features that are essential in a seam ripper. You can find a list of my other favorite tools here.
They are sharp!
This is really important. A sharp seam ripper will ALWAYS be my favorite seam ripper. This is why I buy so many. Plus when you can buy 30 for around $18, it’s an economical choice. (I also use them a lot.) If you’ve been using a seam ripper for a long time, it’s probably dull. This makes it harder to used, so much harder than you realize.
It’s like using dull scissors or a dull rotary cutter. You don’t realize it, but when you use a new one it’s sooo much better and you wonder why you didn’t get a new blade or sharpen your scissors sooner. That dull blade is causing you to push harder, which means that it’s easier to accidentally cut your fabric. So when your seam ripper starts to feel dull, replace it.
You can mark and save dull seam rippers, then use them for pulling out corners, or as a stiletto when sewing. (The Easy Sew Gift Bag is a great project to practice corners on.) When it’s time to toss your seam ripper make sure you put them in a sharps container, or empty Altoids type tin you keep around, or wrap tape around it so on one gets accidentally poked.
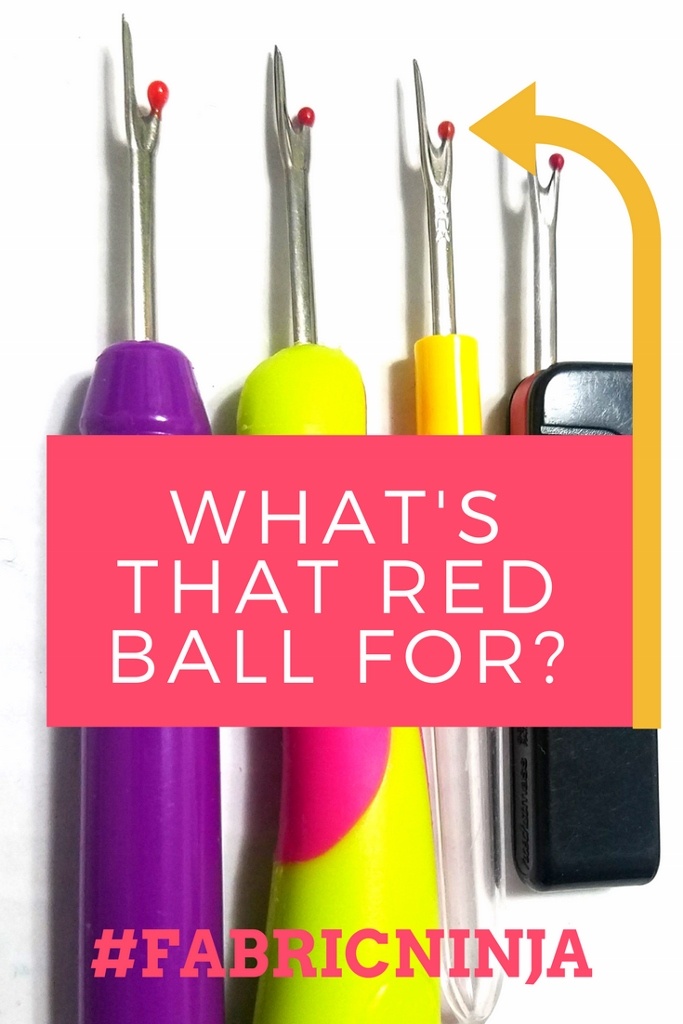
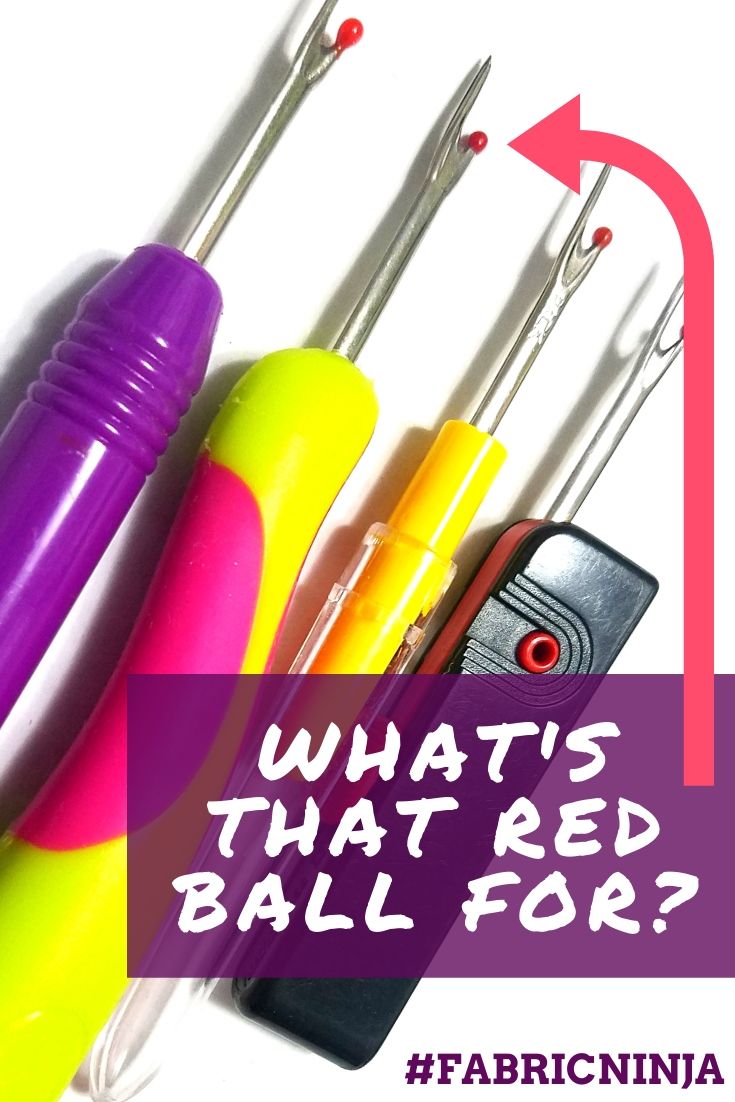
What’s the red ball for?
I’m glad you asked. This is another essential seam ripper feature. This ball allows you to slide the seam ripper along a seam for quick reverse sewing. The red ball goes between the layers of your fabric and holds them apart so that they are not cut when the thread is. If this doesn’t make sense, check out the video.
It also helps align the seam with the blade of the seam ripper for easy cutting. If your seam ripper doesn’t have this ball, it’s ok. But I don’t recommend sliding it down seams. When you get a new one, make sure it has a ball. Serger stitches are easily removed with out the ball, see how to here. Those are the two most important features. Now let’s look at some optional features and creature comforts.
The Handle & Cap:
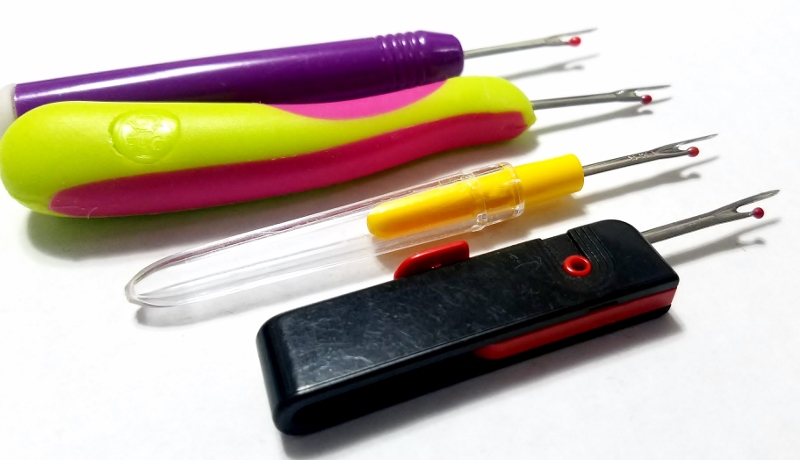
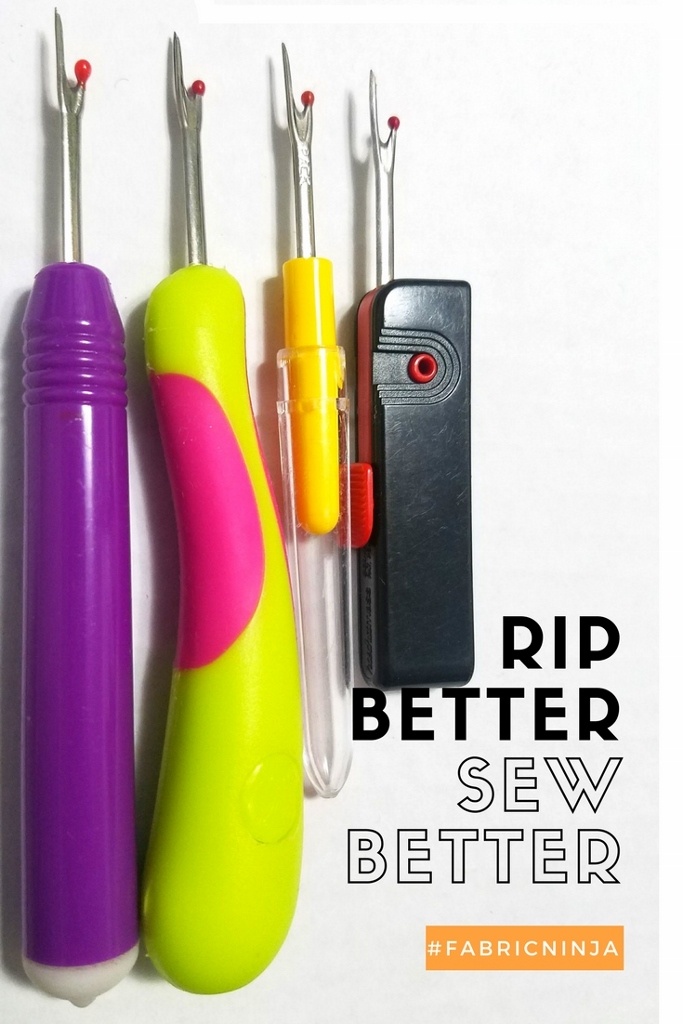
The seam ripper that I use most has a clear plastic cap that goes on the handle when you open it. It’s a great place to store the cap and it also make the handle a great length for me, but still too short of some people. However, getting the cap back off when I’m done is nearly impossible, so I don’t do it.
If your really need to be able to close your seam ripper (for travel or because you have little ones around) I suggest one of theses You can never loose the cap, because it’s attached! I keep one of these in my purse.(Ya know, just in case) I was first introduced to them at a quilt show I went to with my mom. So, I’ll admit, their might be a bit of nostalgia here. Several other companies make a folding or retractable one, but I haven’t tried them.
If you prefer a seam ripper with a longer handle or a thicker ergonomic” handle(better for people with arthritis or carpel tunnel), their are several styles around. I like this rounded shape of this one. That handle is slightly soft to the touch, but not squishy. When I had pregnancy carpel tunnel I found the smaller seam rippers harder to use.
Additional Features
The Seam-Fix seam ripper has a rubber head that helps remove small bits of thread when you are done seam ripping. It’s pretty amazing. It comes in two sizes. I prefer the Mini version because the cap fits on to the handle for safe keeping.
On the larger size, you can’t put the cap on the handle. So I loose it, or my children run off with it. If you do want a larger handle, regular size is a great option too, just try to put the cap in a safe place. I really like having the thread remover right there on the seam ripper, but you can use a rubber eraser with similar results.
And now for something completely different!
This is a Surgical Seam ripper. I personally have never really gotten use to this type of seam ripper.
Some people swear they are the best thing ever and will never go back to the other type. I know one thing for sure, they are sharp! Don’t forget to put the lid on. Although they are not my choice for seam ripping they work rather well for opening buttonholes. I do still recommend a buttonhole cutter.
Don’t forget to download the Sewing Machine Cleaning Log & Needle Change Guide, using the form below.
Want to remember this? Pin your favorite!

I’ve been sewing for 60 years and doing it wrong the whole time. Thank you for your info, was very informative.
I use my seam ripper to remove the hair that wraps around my vacuum cleaners roller. Way easy. I purchased one to keep with my vacuum in closet
Great tip!
Genius.
That was my comment because that’s what I use it for to run it along the edges of fabric for a faster smoother undoing of the same. So I’m glad to hear I’m using it correctly thank you
Same as Nora, never knew this, it will be so helpful next time. My late mother was a seamstress and made plenty wedding dresses, if she knew about this it would have helped her so much. I never thought anyone could write a whole article on something so simple. Thank you!
I totally felt that way when writing it, not way I can talk about a seam ripper enough for a whole blog or video.. I guess we were both wrong. 🙂 Thanks for reading!
Great article! I’ve been sewing for 50+ years and still learning new stuff everyday. Thanks for such an informative article.
You said “when you can buy 30 for around $12, it’s an economical choice.” Where can you get them that cheaply??
You can find them here: https://www.amazon.com/PEPPERLONELY-Sewing-Stitch-Ripper-87x11mm/dp/B00TAG7GI4?SubscriptionId=AKIAINQYKLGHXKE5UJSQ&tag=fabricninja.com-20&linkCode=alb&camp=2025&creative=165953&creativeASIN=B00TAG7GI4
Thank you, this was very helpful! Now, I’m going out to buy a new seam ripper because I know I’ve had mine for a long time.
I went on Amazon Canada and the cost for the 30 pack is $48.42 Cdn. Don’t think I’ll be buying a 30 pack. I don’t understand why we have to pay such high prices for lots of things made in the US….regardless of what the US $ might be at.
Thank you for the info. I think these are made in china, so equally confusing why they cost so much in Canada.
That was my comment because that’s what I use it for to run it along the edges of fabric for a faster smoother undoing of the same. So I’m glad to hear I’m using it correctly thank you
This is the best video to explain the different seam rippers and what the red ball is for!!!
Ummmm…Why have I never asked this question before?
Because of your tip, I’ve taken the time in the past few weeks to redo some seams that I would have either labored over (picking out) or would have just “let it go” and hoped no one would notice the less than perfect item.
What freedom! Zip it out – literally sounding like a zipper – and resew the seam “the right way” in no time!
Thank you! Thank you! You’ve created and inspired one very happy quilter with this simple trip…and I now I’ve been telling everyone I know that sews!
So happy to help
There are lighted seam rippers also available which are especially helpful for removing seams on very dark colors or in dim lighting.
Great idea
I shall try it
Thanks for your tip. Have been using the seam ripper the wrong way round for years. Now going to try the way you suggested.