
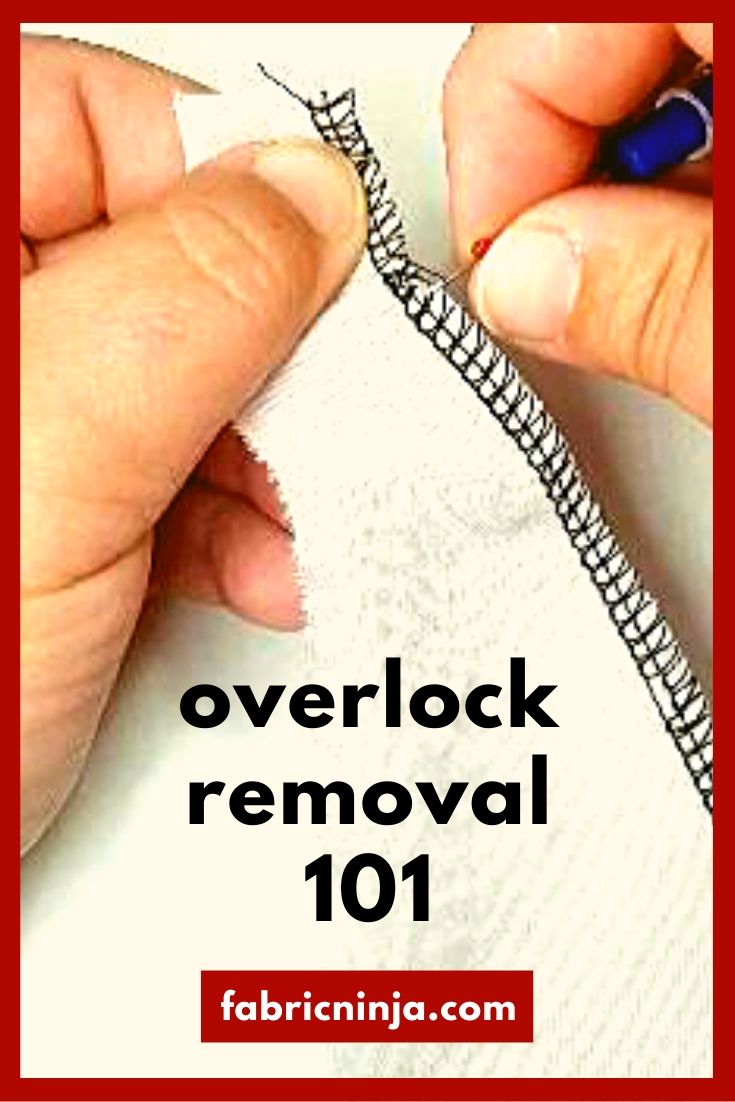
Did you know that removing serger stitches is just as easy as taking out standard machine stitches? The serging / overlock stitch looks complicated, but don’t worry it’s easy to take apart. Don’t believe me? Watch this!
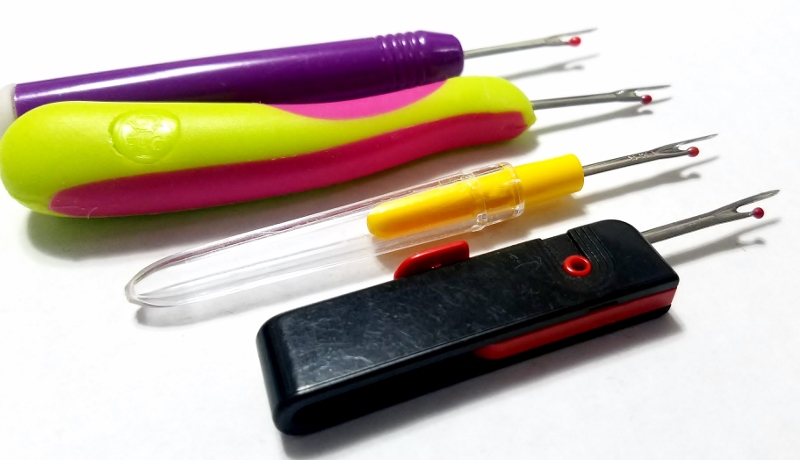
In this video I use one of my favorite seam rippers. I like it most because it’s sharp and inexpensive. I get them for 40 cents a piece. See my seam ripper review here and find the best seam ripper for you!
You’ll save your self some seam-ripping by keeping your sewing machine cleaned and oiled. Instantly download my Sewing Machine Cleaning Log & Needle Change Guide, using the form below.
The Wrong Way
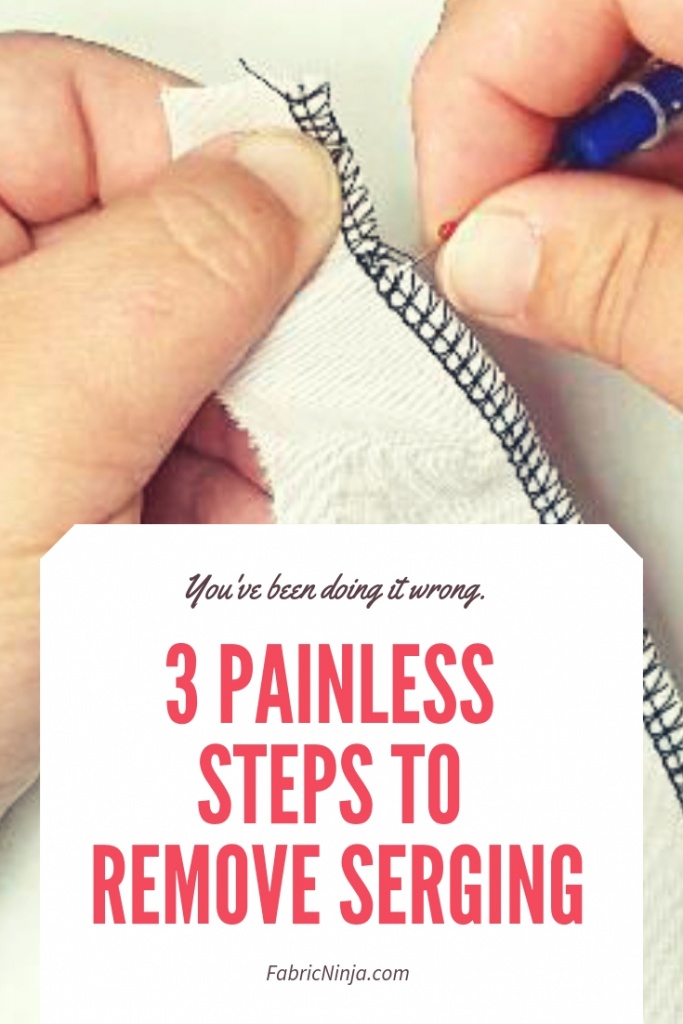
Many people go about removing Serging / Overlocking the wrong way. It seems like it would be so easy to just cut the loops that go around the edge, but it’s NOT. If you cut all those loops you end up a thousand very short pieces of thread, which you now have to pick out and they get everywhere.
The Easy Way
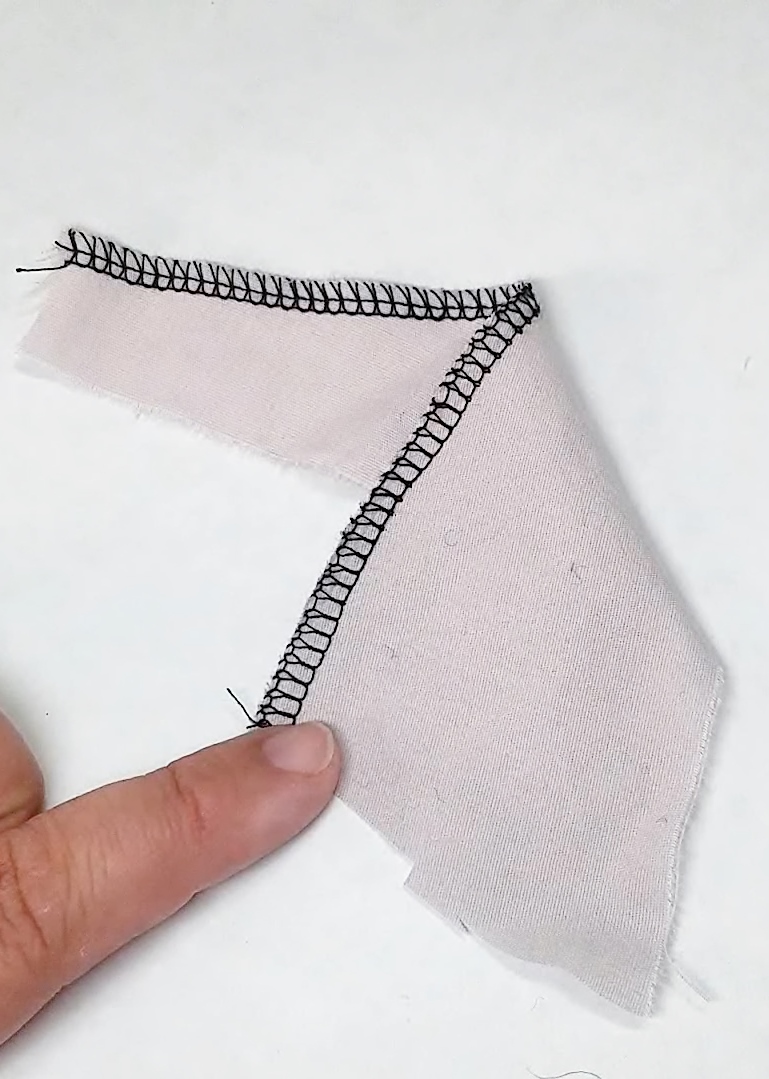
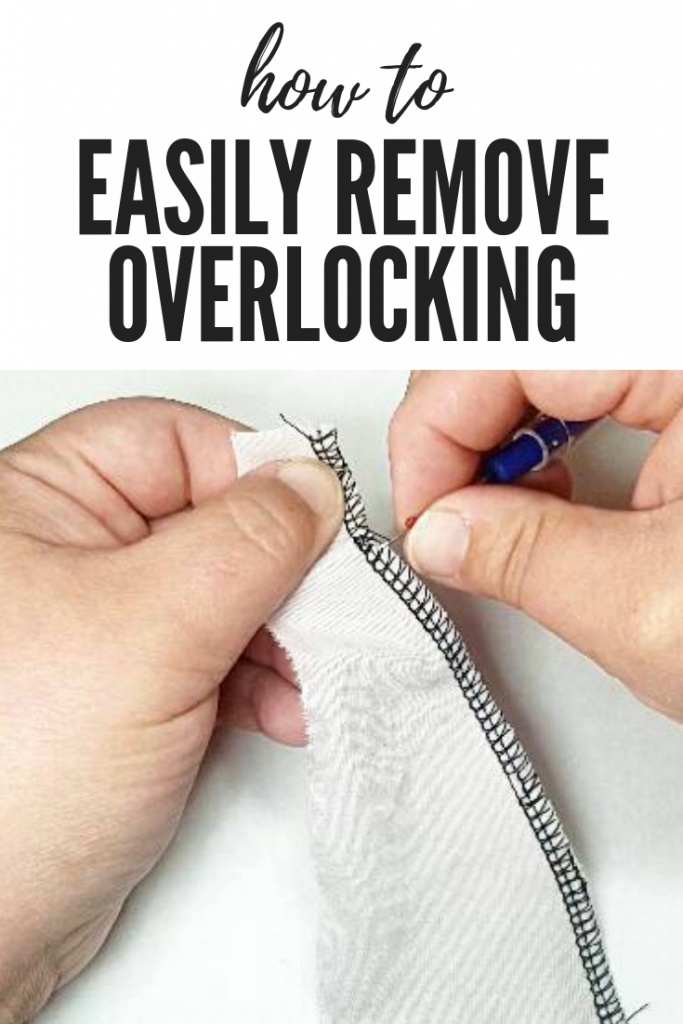
The key to easily removing Serger / Overlocker stitches is actually to leave upper and lower looper threads, the ones that go around the edge of the fabric, totally intact. The threads you are going to cut and pull out are the needle threads. If you are using a 3-thread overlock stitch it will be just one thread, and a 4-thread overlock will have 2 needle threads (left and right).
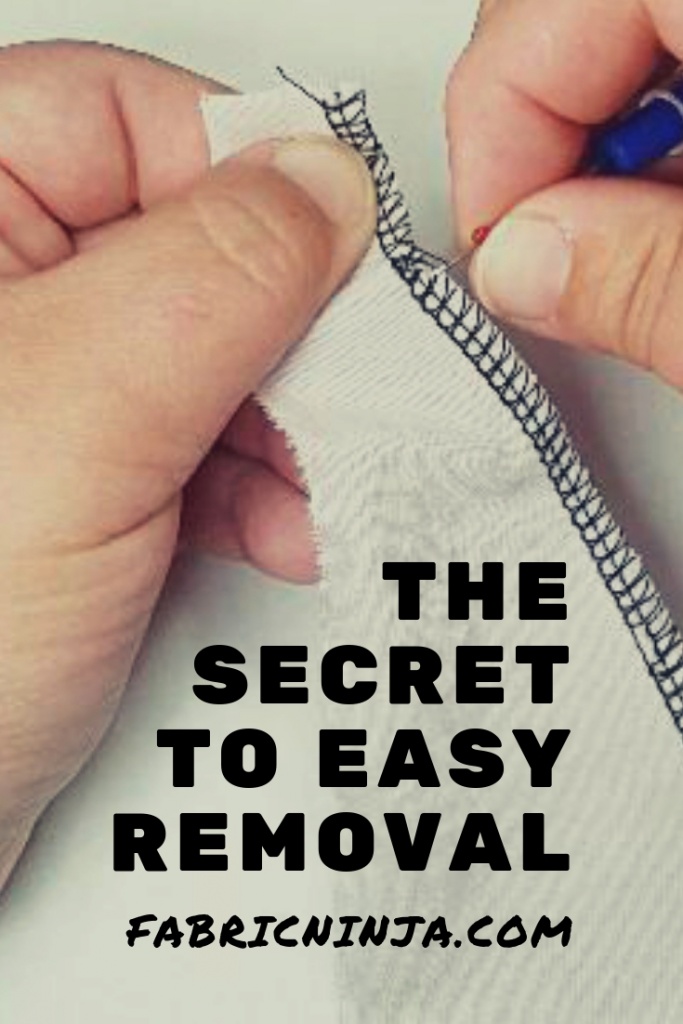
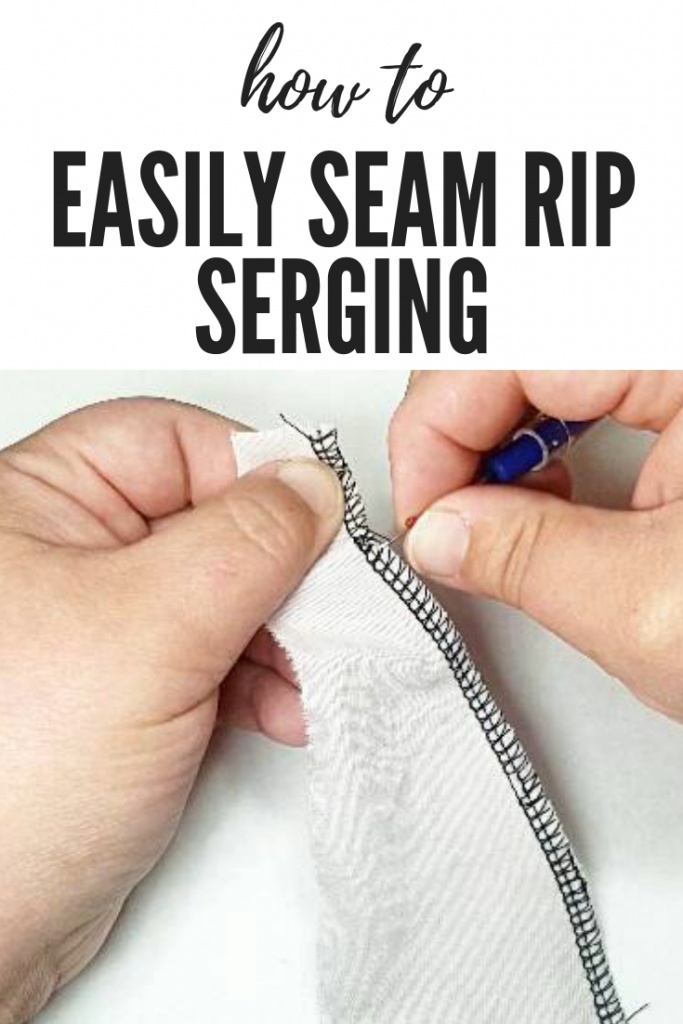
Finding the needle threads is super easy if they are a different color from the looper threads. You can actually do this on purpose to make any reverse sewing easier. Just slide your seam ripper under one of those threads and pull up to create a loop. Use that loop to pull out the thread. You will probably be able to pull out quite a bit out before it breaks and you need to start in another spot.
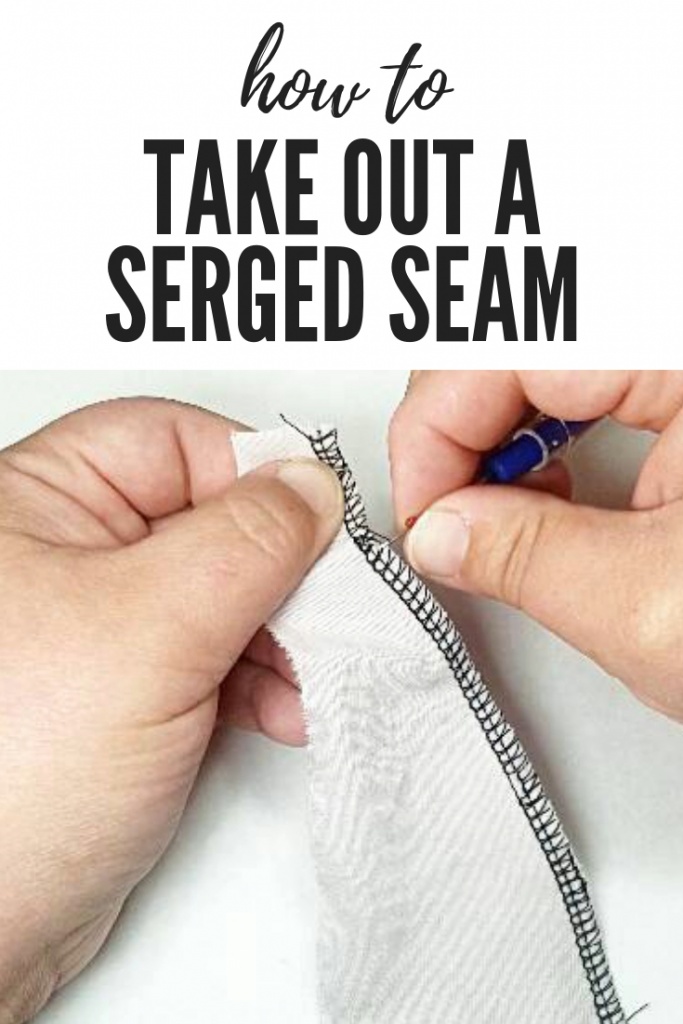
Just keep going like this till all of one needle thread is gone, then start on the other, if you have 4-thread overlock. Once the needle threads are removed, the looper thread will literally fall off. Presto!

Working with Matching Thread
If your needle and looper thread color matches, don’t panic. It’s super easy to find your needle threads. All you have to do is slide your seam ripper in the V’s. This part is easiest to explain in a video!
Now wasn’t that easy?!
Now that you know how to remove serging and overlocking easily, Are you ready to learn what that red ball is for on your seam ripper? Check out my post all about seam ripper. Learn how to pick the best seam ripper for you and also learn several ways to remove standard machine stitching quickly and easily.
You can actually save your self some seam-ripping by keeping your sewing machine cleaned and oiled. Since I can never remember when I cleaned my sewing machine last I made myself a chart to keep by my machine. You can instantly download the same chart I use using the form below.
Want to remember this! Save “How to remove serger stitches” to your sewing board.

Hi thank you for sharing this. It really helps to save time.
Cool! Another thing that’s not in the instruction manual.
I am always scared when I sew that once I’ve sewn it because it’s cut
then it’s undoable.
Thanks fabric ninja.
Never knew that !😁 wonderful , thank you
Genius! I love your emails and posts. Ways so helpful!
Thank you for making this video! I found it just in time for my next project.
Thank you!!!
OMG thank you thank you, I have been fighting with this on pre-made clothing that the elastic is shot in the wait band due to the climate I live in, now I can replace it and save the clothing
I don’t think elastic failing is due to your climate. It appears they’re producing junk in recent years. I’ve 8 year old underwear who’s elastic is good as new, and 2 year old who’s elastic is trash. Similar with tee-shirts’ neck binding.
I totally agree – My 2 year out swim suit is starting to get crackly elastic, I remember it lasted so much longer in the past.
Thank you thank you thank you. This is exactly what I needed right now. And you were there for me.
Wow! Thank you!
With all of those pictures, not one shows which threads are the right ones. It would have been so simple to just point them out with arrows instead of forcing people to watch a video.
Great idea. I’ll see if I can add that.
Excellent video! Thank you
Thank you for watching!
Thank you…so easy when you know what to do!!
Thank you, so do I just resew it with out the knife blade?
Yes, I resew it and cut off nothing.
I just subscribed and have already found two hints in sewing I didn”t know about. Please continue to share these wonderful ideas……….and thank you for all your work.
Thank you for your kind comment!
I’ve had my overlocker for more than 10 years, and it’s taken your video 20 seconds to show me how to undo overlocker stitching; THANK YOU!!
Thank you for your kind words.
Having only just joined your sewing school I Thank You so much for showing us the tutorial of unpicking the serger stitching.I’ve been sewing all my life and never knew what you have shown us here so maybe you can say I have struggled sometimes successful and sometimes not in that unpicking not knowing which thread I had successfully cut.but now 60years on I have found the perfect way..Again Thank You so much..I am now an addicted watcher to see what else I can learn..My Seam ripping was right…I will keep you posted on other things I pick up from you ..Kindest Regards..
Thank you so much for your comment. I’m glad I could help
which thread do you pull to LOCK the serged stitch??
Serged seams do not require locking. You may be thinking of a chain stitch or a coverstitch.
I am so happy I came across this post on Pinterest. If I only knew about this earlier I would have been saved a great deal of aggravation. Kudos to you.
Thanks for the comment. Hopefully next time you need it, you’ll remember how.
Way to go ALICE the Fabric Ninja!!! I love it I love it I love it! The best tutorial ever!!! Absolutely perfect!!! Thank you Thank you Thank you!!!!!!
Thanks so much!
This is the best tutorial for removing serging threads that I have EVER seen! Step by step, very clear directions. I think I may be able to finally do this!!!
I’m so glad it helped. I hope those tops turn out well