
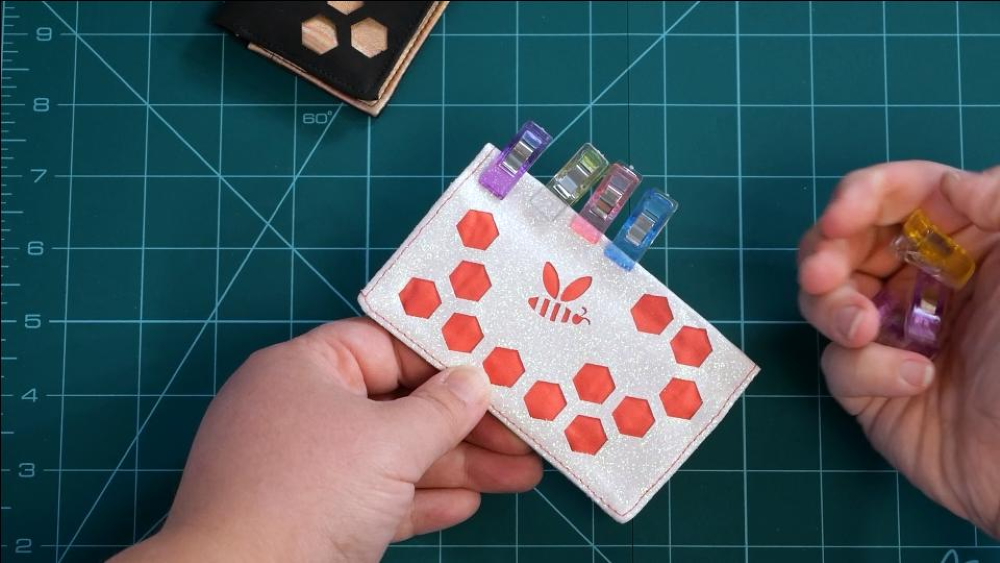
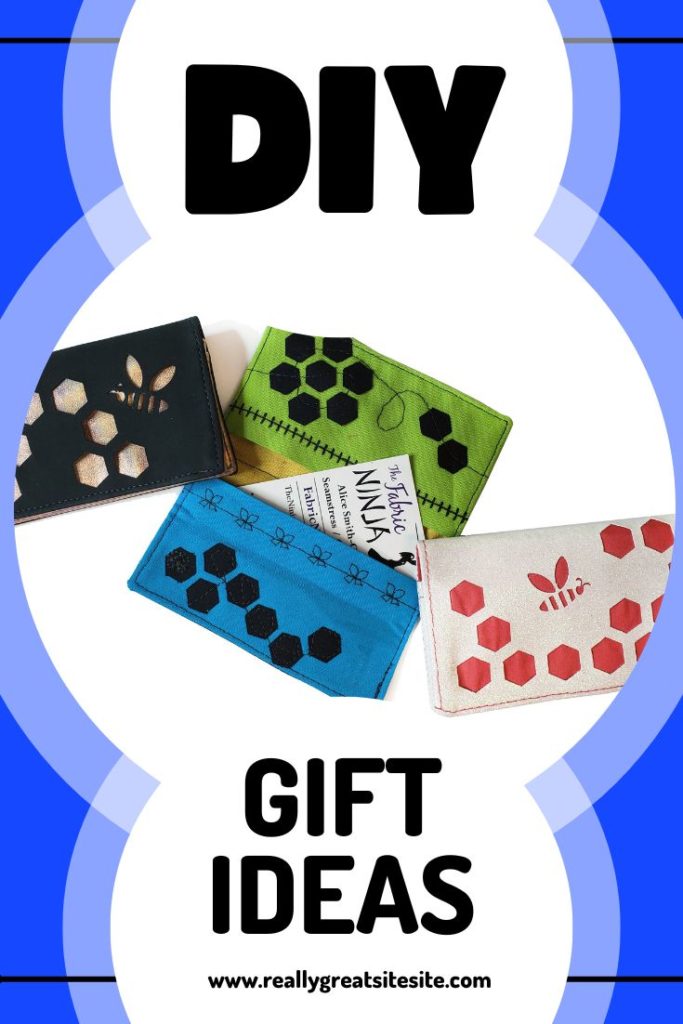
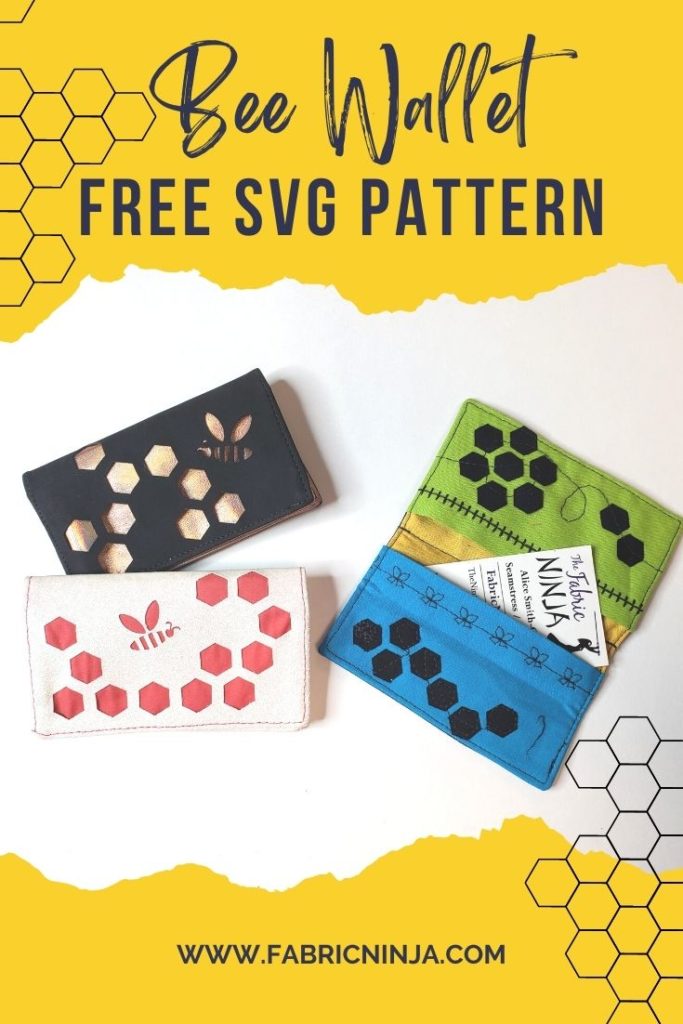
I can’t get enough of these bee cut-out mini wallets. They are the perfect size when you don’t want to carry your whole wallet. My business cards always get banged up in my purse so that’s what I’m going to use it for. I have multiple designs available and add new ones from time to time. The free download includes SVG files for the Cricut, and PDF Sewing patterns for hand cutting. They also include full directions. Plus I have two video tutorials, one for materials that fray and one for materials like faux leather. Download zip file from the Free Resource Library.
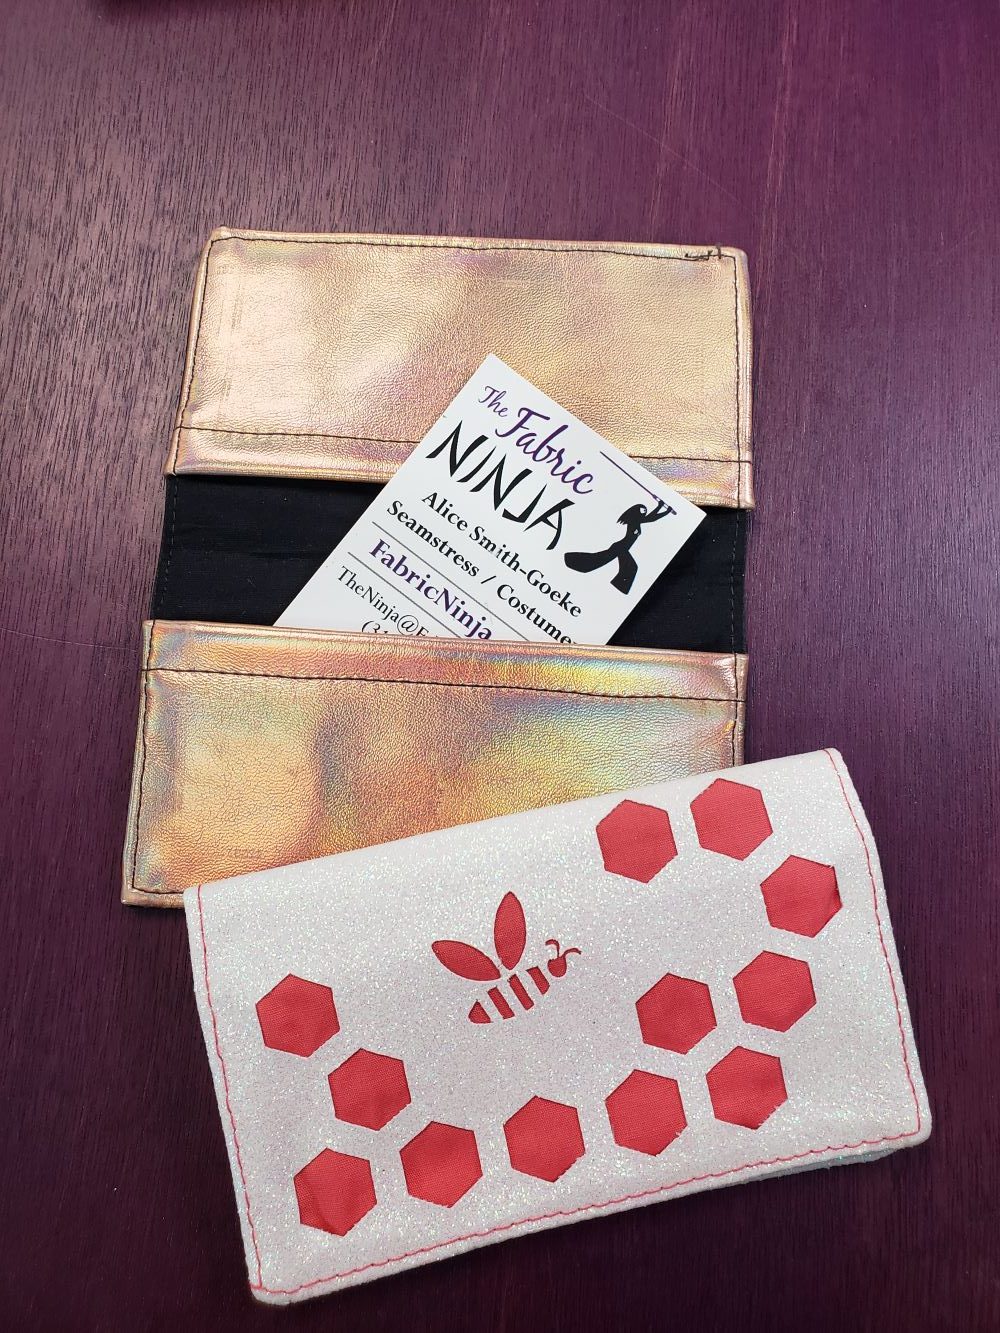
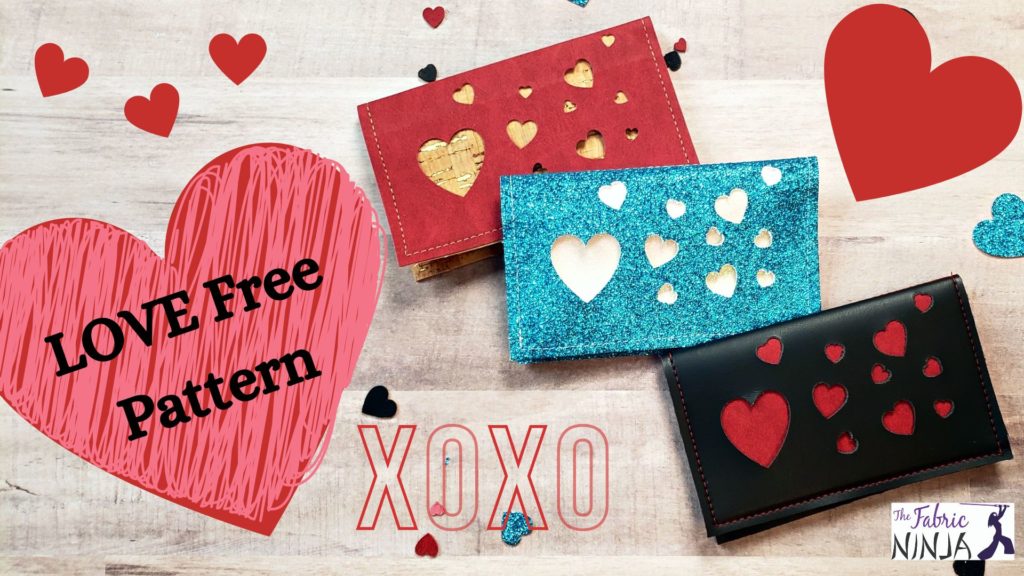
The bee and honeycomb cut outs just scream spring and summer and go with all my other bee projects. Find all the Bee Projects here I also have a heart cut-out pattern which is perfect for a valentines day teacher gift or just a holiday accessory.
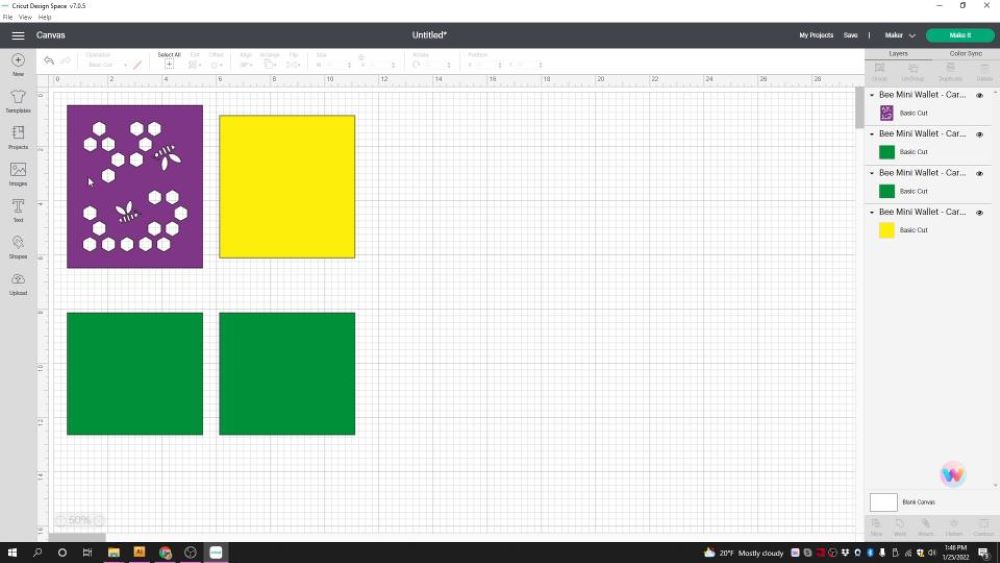
The instructions below are for using your Cricut, but you can always cut these pieces by hand. Three of the four pieces are rectangles and easy to cut with the included pattern pieces or with rotary cutter and ruler. The main body piece has lots of beautiful cut work, also called reverse applique.
The rest of this post is about using a mixture of materials that do and don’t fray. If you are going to make the whole wallet out of no-fray materials, like faux leather head over to the heart wallet post and video. You can still make the Bee design with faux leather, but you will want to use the techniques in the Heart video.
Suggested Materials
I don’t want you to feel stuck with using the exact materials I have here. There are so many great no-fray materials that are perfect for the outside. Plus practically fabric can be used for the inside and the pockets. So I have given you some guidelines to help you find the perfect fabric for your project.
- Outside: No fray material like Faux Leather/Suede and can be cut with the Cricut fine point blade or by hand. See video on No-fray materials.
- Inside: Rectangle is easy to cut by hand. Use a material with two pretty sides or back a one sided material. Solid quilters cotton, felt, linen.
- Pockets: Rectangle is easy to cut by hand. Nothing too thick as this piece is folded. Solid quilters cotton, felt, linen, faux leather, canvas.
File Set-Up
- Download zip file from the Free Resource Library.
- Unzip / Extract file
Cricut Design Space
- New Project
- Upload into design space (consider uploading the tester first to check your materials and settings)
- Add to Canvas
- Check the size. (when all items are highlighted, before ungrouping, the total height is 12.1498)
- Ungroup
- Check size of largest piece (6” tall)
- Change colors to reflect your project or hide items you are not cutting on the Cricut.
- Press Make-It
- Look at Mats to determine how much of what materials you need.
- Go prepare materials
Watch this one for No-Fray Materials like Faux Leather
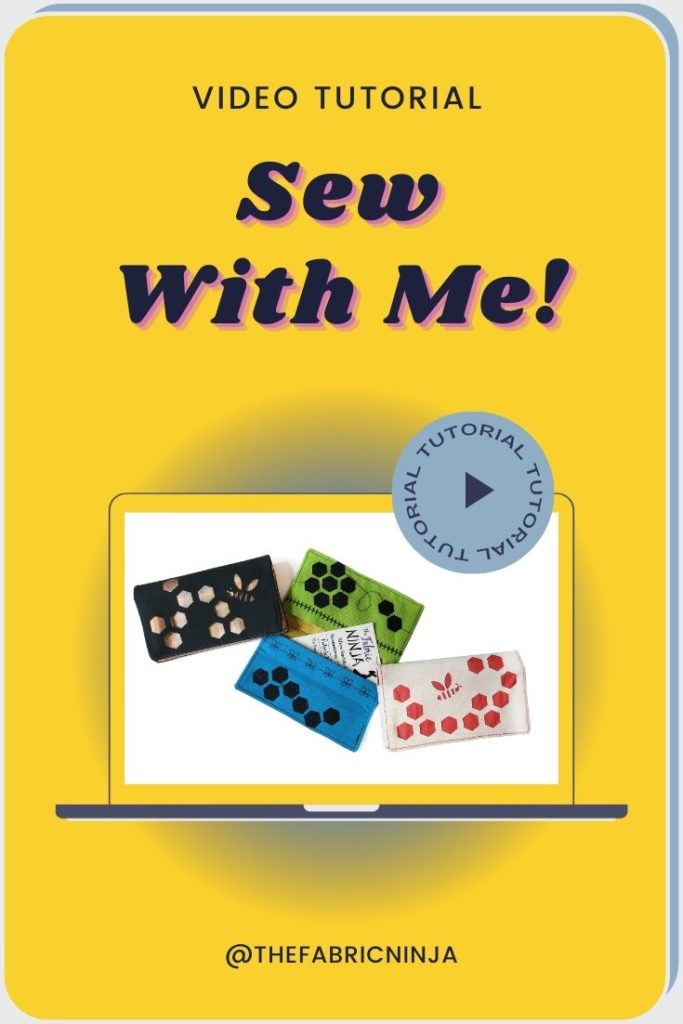
Would you prefer a video tutorial? Watch this one for Materials that Fray
Materials Used
These instructions are for materials that fray. Check out the PDF that comes with the Heart pattern for No-fray material directions or watch the video above.
As an Amazon Associate I earn from qualifying purchases.
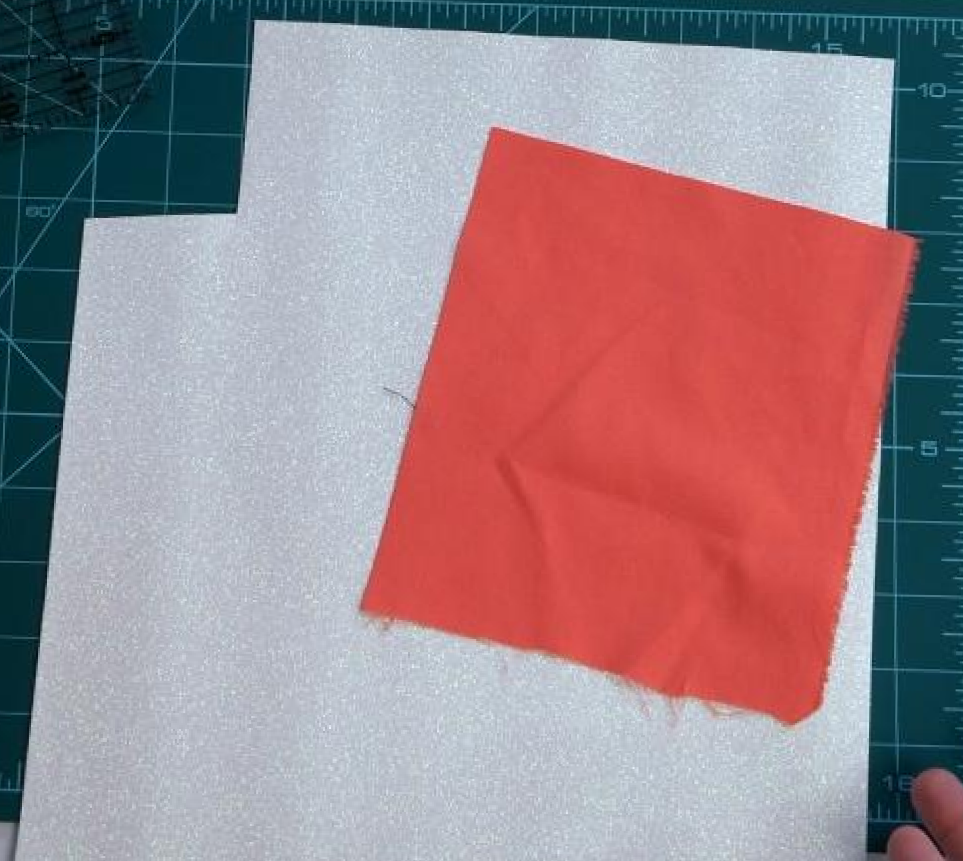
- Outside: Lux Glitter Canvas – Diamond (EverSewn)
- Inside: Coral Quilters Cotton (color on both sides)
- Pockets: Glitter Canvas (EverSewn)
- Cricut Fine Point Blade
- Sewing machine needle (size 12 or 14 – sharp or universal) depending on your materials.
- Optional (heat and bond)
- Normal sewing supplies, like thread, scissors, and pins/clip
- Bee Mini-Wallet SVG or cutting template in the Free Resource Library
- EverSewn Ultimate Starter Kit
- Cutting Mat
Prepare materials & cutting
- Cut materials into the size determined by Cricut Design Space. This will be slightly larger than the finished size.
- Apply Heat and Bond to outside fabric if using.
- Place materials on the appropriate mat in the way shown in Cricut Design Space.
- Mirror image in design space only if the front of your material is face down.
- Select materials (make sure to test your settings first)
- Check placement of materials and adjust if needed
- Load mat and cut.
Change settings for the second mat if needed. - Weed: pull materials off the mats and separate from the off cuts. You can save some honey comb for decorating the pockets.

Cutting by Hand?
- Cut all materials using the pattern pieces or rotary cutter and ruler.
- Apply heat and bond to outside fabric if using.
- Attach outside to the cut out template with water soluble glue or temporary adhesive.
- Cut out using a craft knife.
Sewing
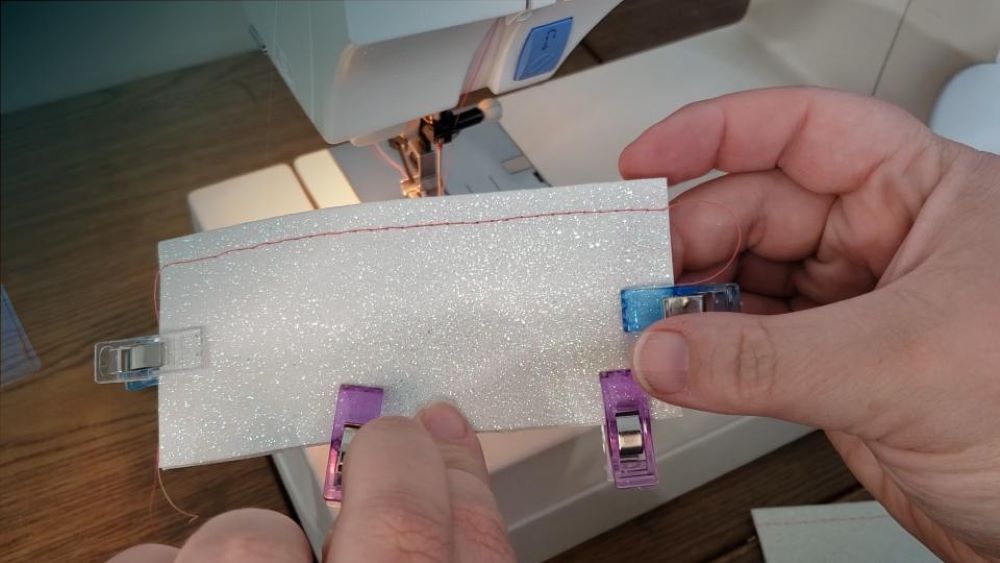
Top-Stitch Pockets
- Fold pocket rectangles in half placing 5” edges together.
- Top-stitch along the top fold of pocket about 1/4″ from edge (Consider using a decorative stitch) – 3.0 length
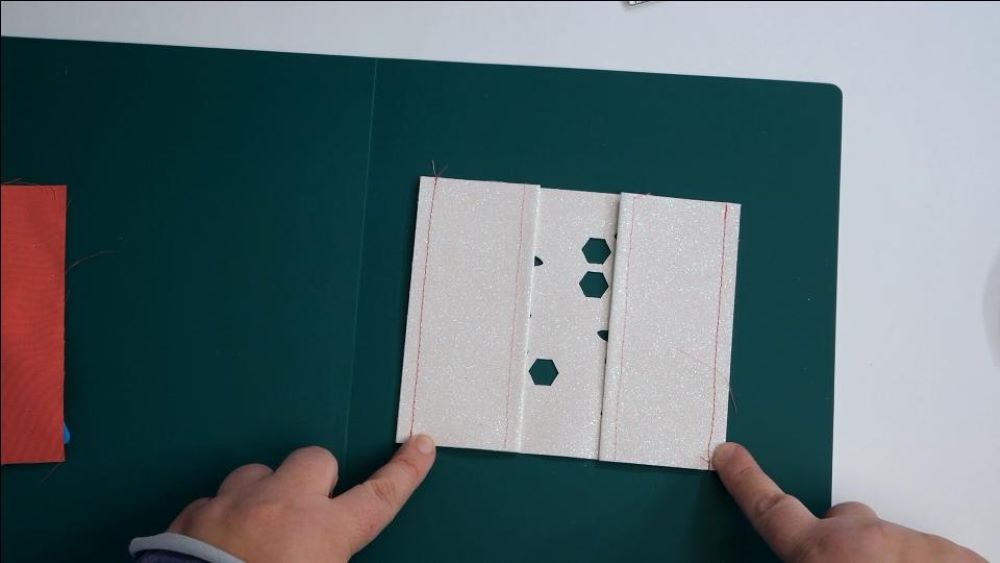
Attach Pockets
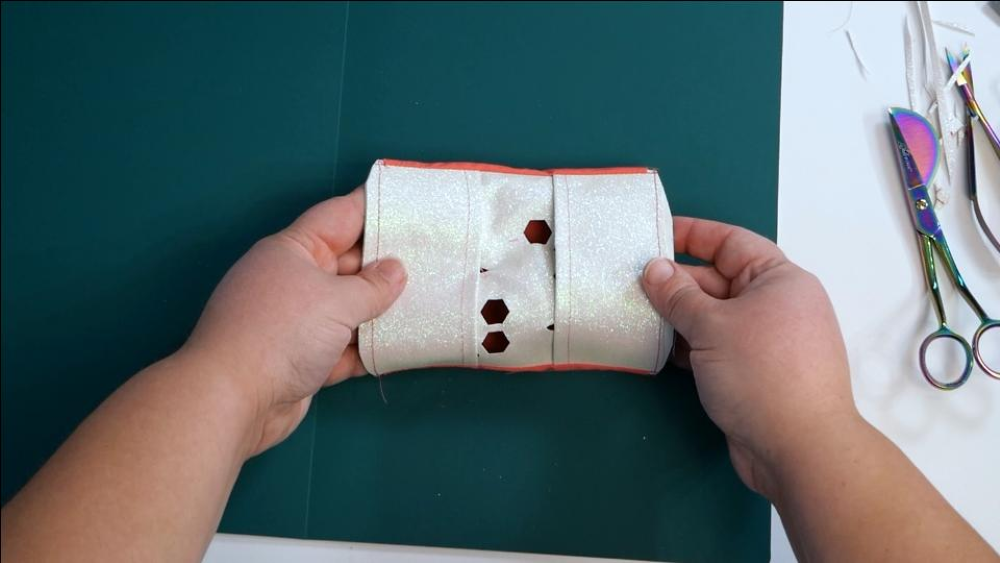
- Place the top-stitched pockets right-sides together with Outside of the wallet ( This is the piece with cutouts.)
- Clip the 5” edges of the pocket to the 5” edges of the Outside.
So both ends of the outside will have a pocket clipped to them. - Sew the short 5” edge with 1/4″ seam allowance and regular (2.5) stitch length or whatever is correct for your materials.
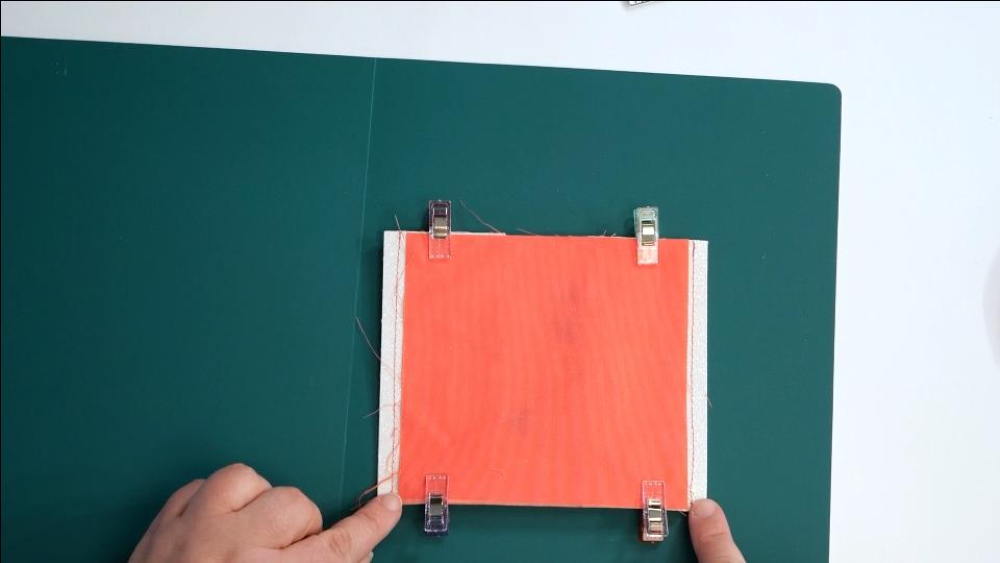
Attach the Inside
- Place the piece you were sewing pocket side up.
- Place the Inside fabric on top of the pocket assembly and center it. It will be the exact width. If it’s not, turn it. It will not extend over the bottom of the pocket seam.
- If you are layering two fabrics for a different look, be aware that the side up will show in the cut outside – the side down will be inside the wallet
- Sew long edges
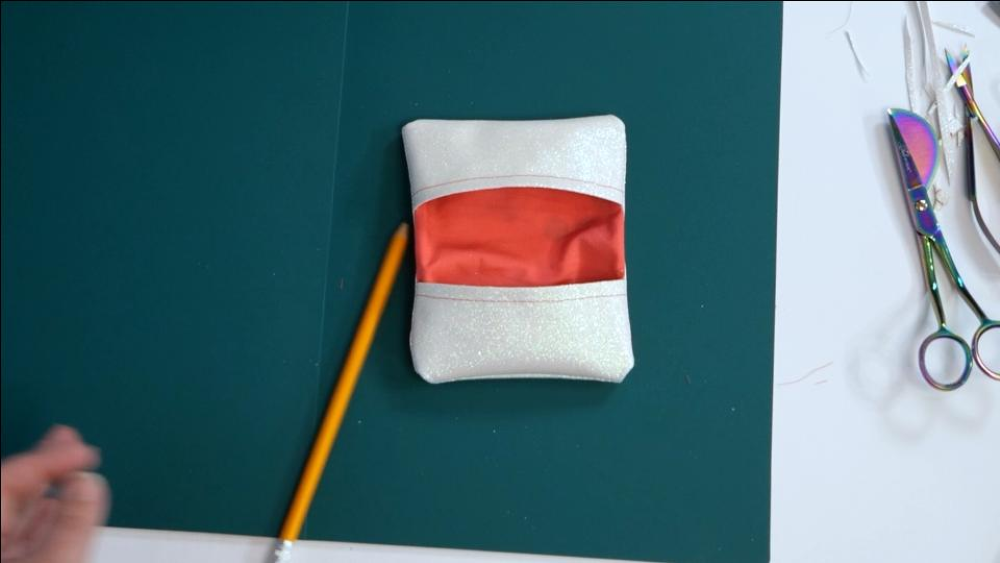
Flipping
- Clips corners and trim or grade seam allowances if you are using thick fabric.
- Turn inside out in two turns.
- First turn, right side out.
- Second turn is the pockets
- Push or pull out corners.
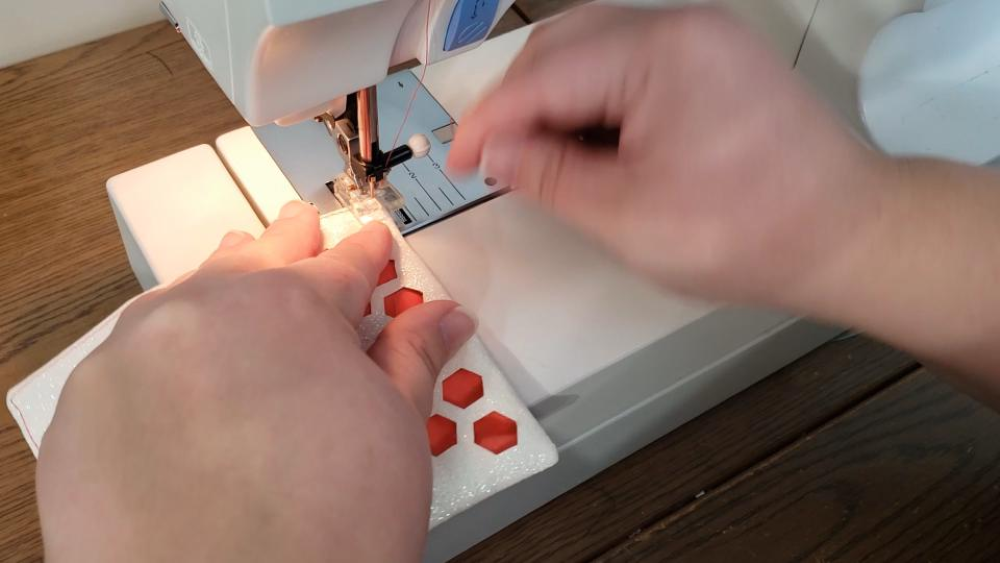
Finishing
- Top-stitch along edges
- Top-stitch center fold (optional)
- Press to attach (optional) heat and bonded layers
- Fold and press to set fold (optional stitch where folded)
- Add magnetic closure if desired
- Done!
Find all the Bee projects here
Can this project be done with faux leather? If yes, what material should be used for the inside. Can I use a snap button for the closure?
Sorry you message got lost is spam. But to answer your question, yes. The black one in the photos is faux leather. I like to use quilter’s cotton inside, because it is thin. But if you use faux leather for the pockets too, you can lay it all flat and sew it. No need to turn because nothing will fray.