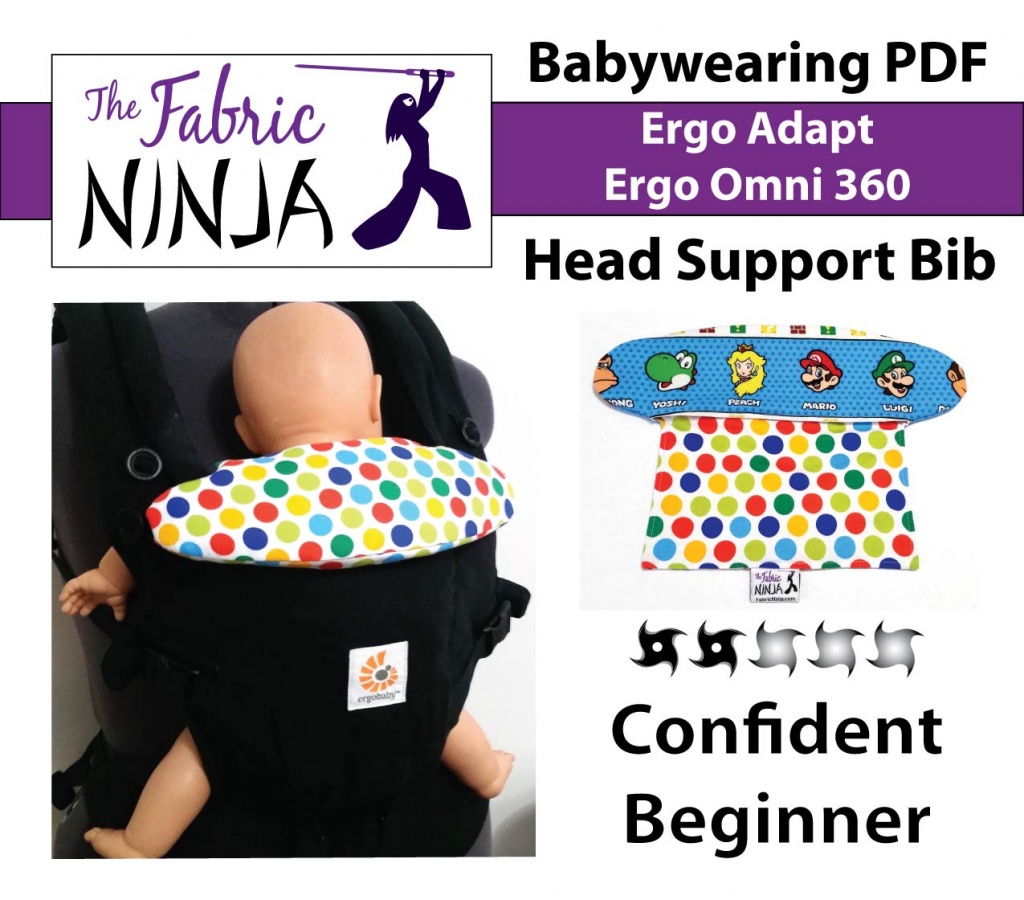
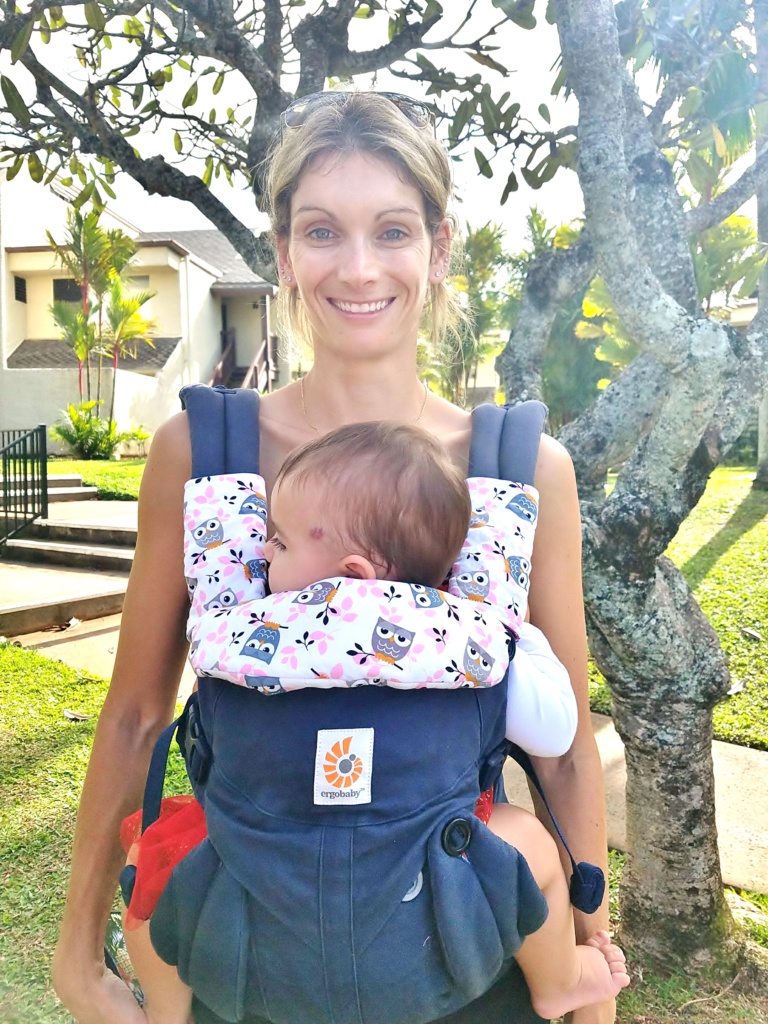
Ergo Baby keeps expanding their family of carriers, so I keep expanding my family of patterns. The Ergo Adapt and Ergo Omni 360 are a bit different than the other Ergos. These have loops on their headrests that attach to buttons, instead of buttonholes on the headrest, like the Ergo 360 (not Omni). To best fit these carriers I decided to rethink the typical bib pattern. This bib pattern has no hand sewing or snap tabs. You can do everything by machine. Everything! For full protection add some Straight Suck pads. You can see the whole collection of patterns that fit Ergo’s HERE
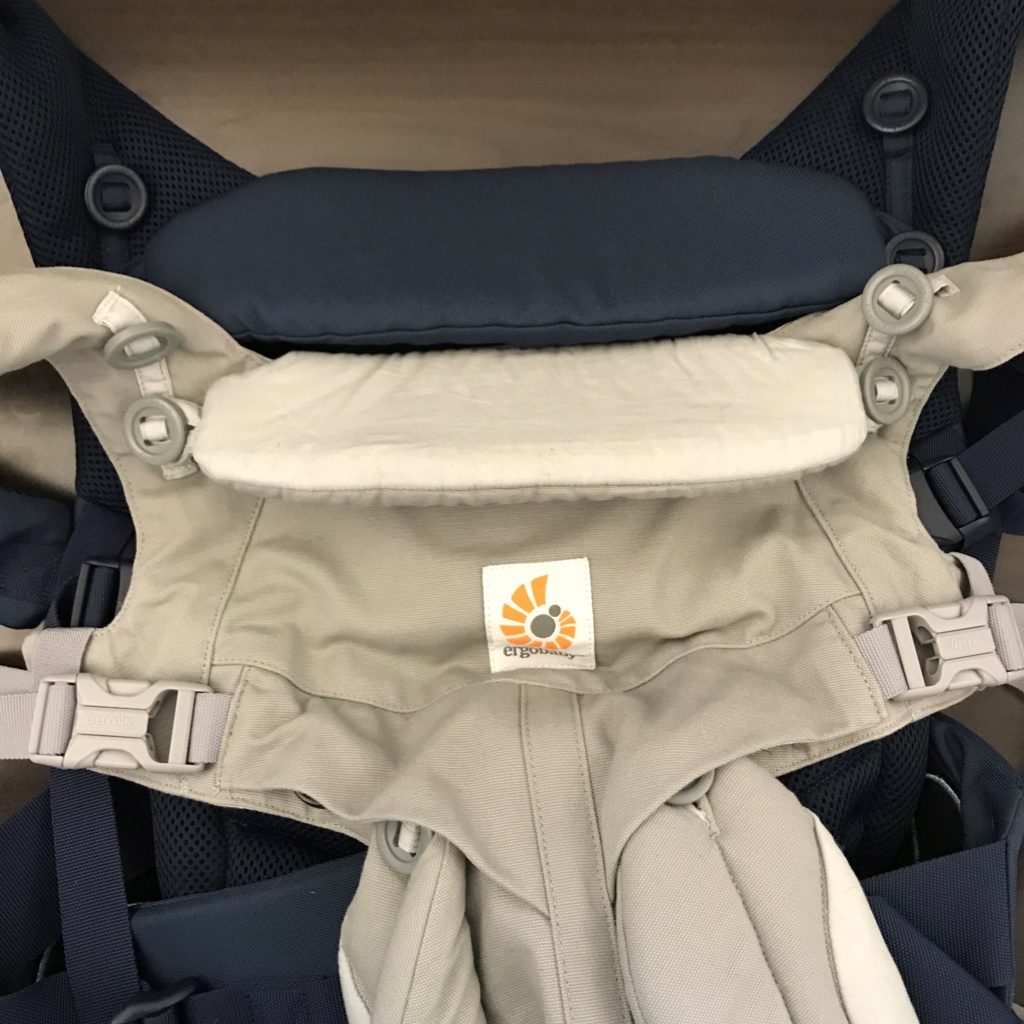
The headrests on the the Ergo Adapt or Ergo Omni 360 baby carriers are slightly different sizes. The Adapt has the larger headrest. You can use the larger Adapt bib on the Omni, but it will be loose and bunch up. For best results make the one designed for your carrier. In the image below, the Ergo Adapt is on the top and the Ergo Omni 360 is on the bottom.
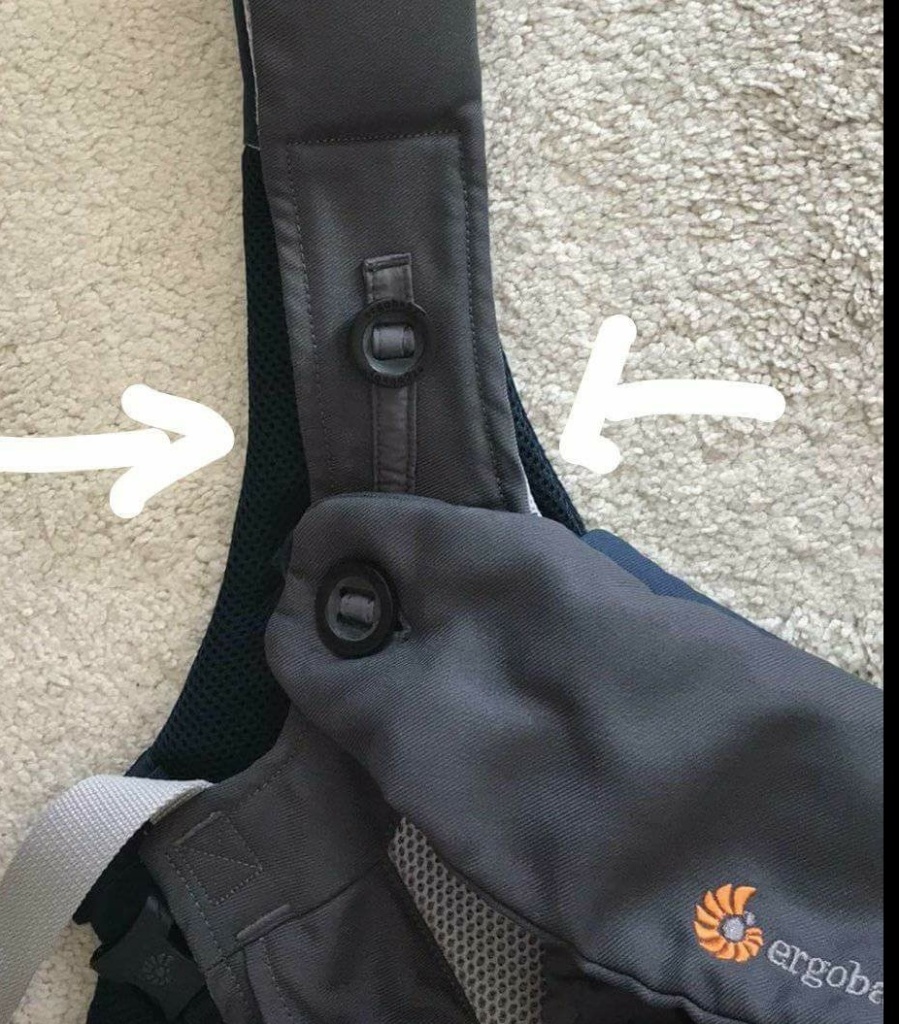
The straps are actually different sizes too. The Adapt uses a Standard size patterns and the Omni 360 uses Narrow size. Straight and Corner suck pads are available for both, but you can get the straight pattern for free using the form below.
You can choose of a 2-Piece or 3-Piece corner pad for the Adapt, depending on your preference. (I like the 2-Piece best because it saves time cutting) . A Narrow 2-Piece corner pad is perfect for the Omni 360, because the edge is totally straight. So the suck pad can easily wrap from front to back. In the image below, the Ergo Adapt is on the bottom and the Ergo 360 on the top.
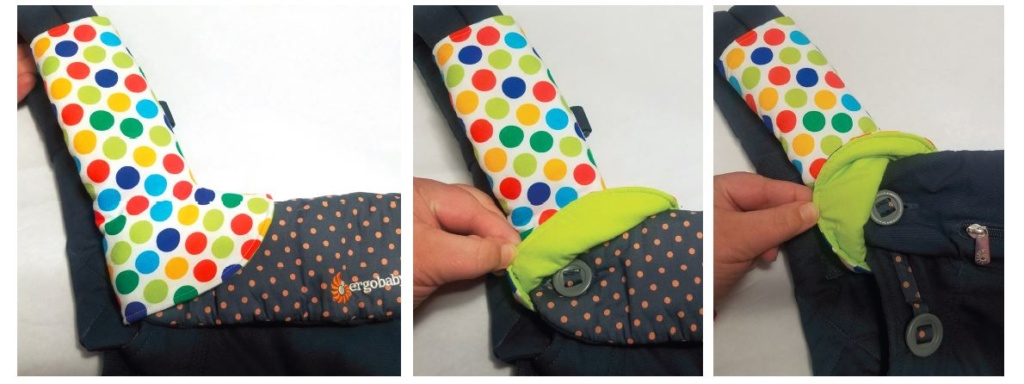
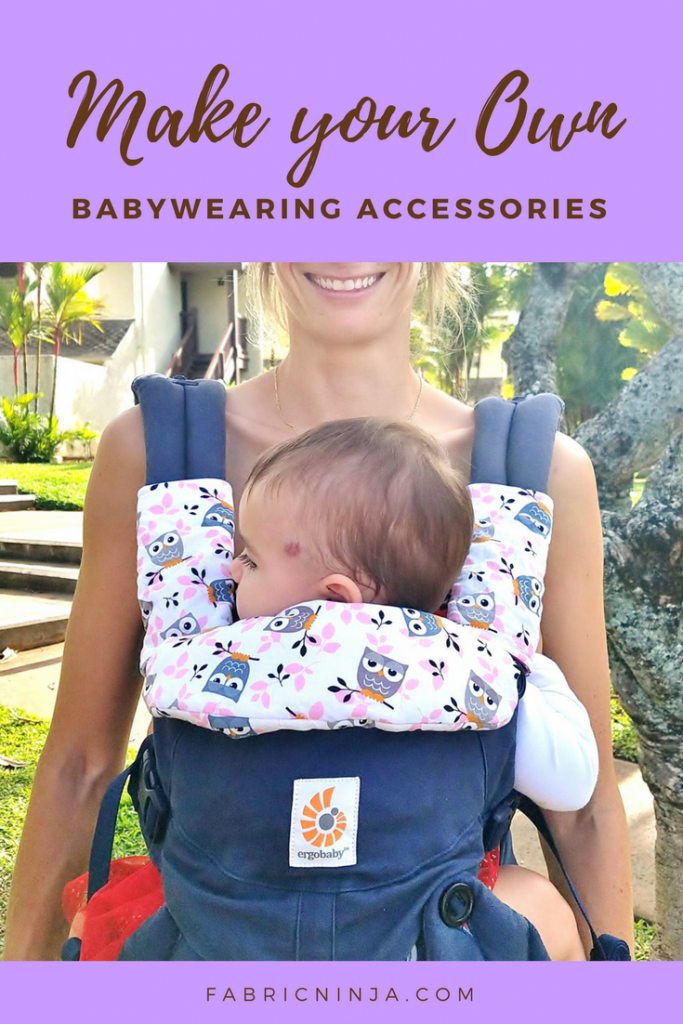
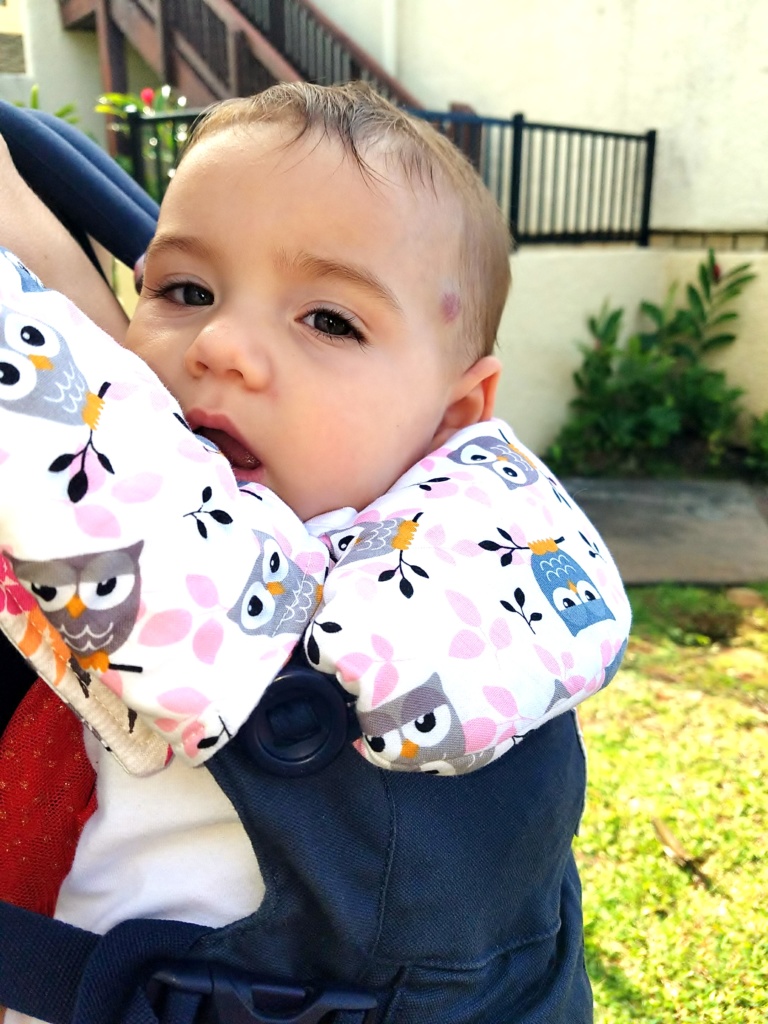
On either the Adapt or the Omni 360, corner pads help keep your carrier clean and dry. The corner between the carrier and bib is prime sucking and chewing area, especially for shorter kids. When you want to put the headrest up, just slide the suck pads right up the straps. The photo below is of an Ergo 360 (not omni), but the corner suck pads work the same. You can see that you just flip the edge back to get to the button and loop.
The Headrest of both of these carriers can be used up or down. Adding extra support when it’s needed. Which is great for sleeping kids and young kids without great head control. The Ergo Omni 360 (Not the Adapt) can also be used forward facing, so the headrest can flip down out of the way. Don’t forget to adjust the seat with the hidden buttons. Then scoop your child’s but so they sit in a regular comfortable position. Forward facing can be over simulating for some kids. Watch your kid to see when it might be time to turn back around. It’s easy to escape the big crazy world when you can hide in your parents chest.
The Adapt also has an adjustable seat, that uses very strong velcro. Although it’s not designed to be used forward facing, you don’t need an infant insert. Infant inserts can be hard to use and often are very warm for summer babies. Using a carrier that does need one can make everyone more comfortable and confident. Don’t know what an infant insert is? Here is a link to Ergo’s infant insert that is used in the Ergo Original.
To protect your headrest/head support, I suggest a bib. Bibs add so much color and style of your baby carrier. A basic carrier can be transformed with this simple accessory. From Nerdy Geek display (my son wants to be Yoshi for Halloween)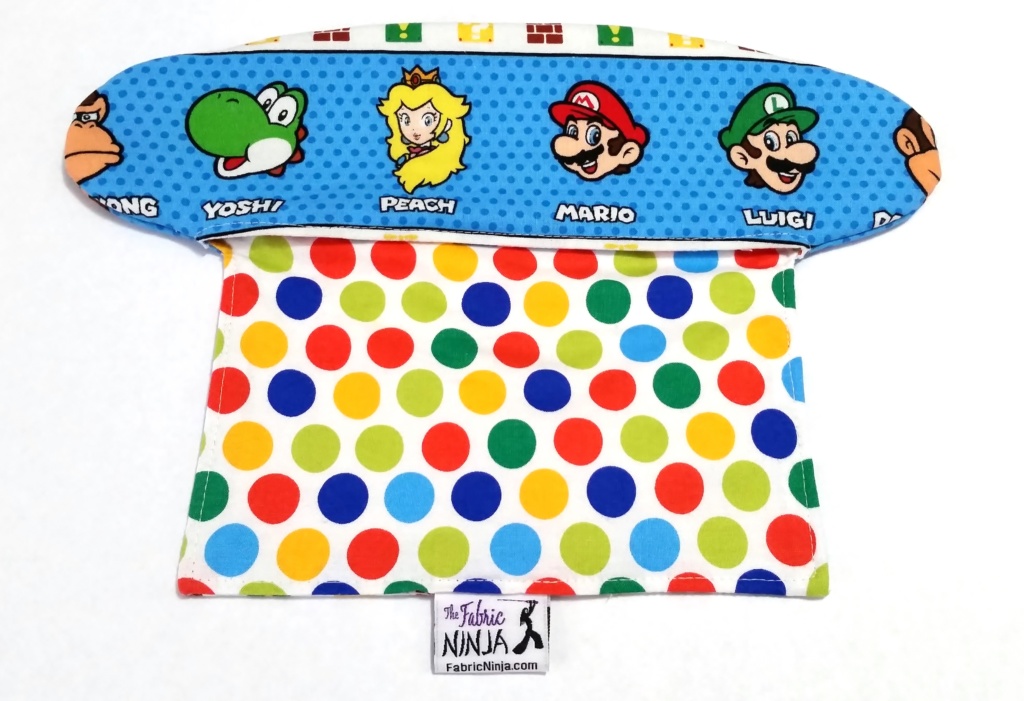
to sophisticated and posh. 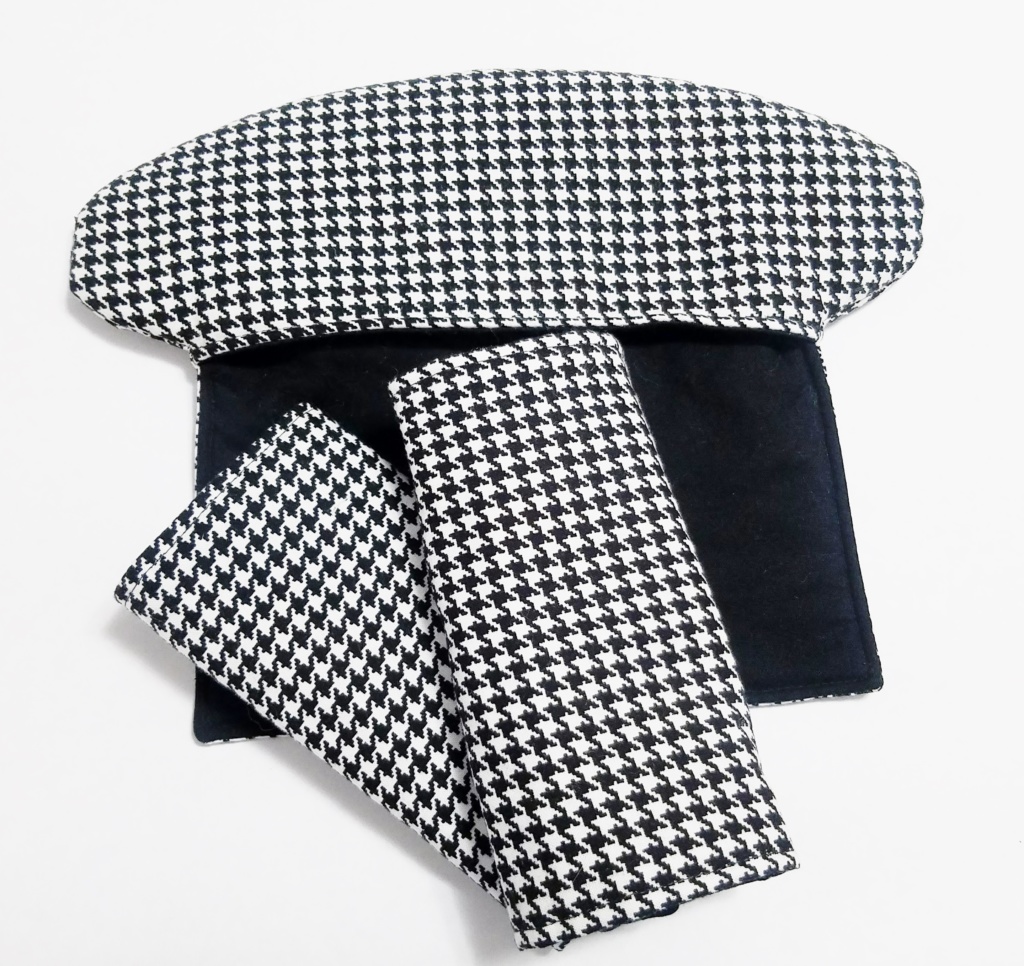
Bibs are super easy to wash. Although Baby carriers are washable too, air drying can take a while and lots of washing will wear your carrier out sooner. Baby drool can also discolor a carrier over time. So if you intend to resell it when you are done,this is a great way to protect your investment,
The most commonly made bib is the Short/Long or AB bib; think “mullet” This is perfect if you ever forward-face. When the headrest is down, the long side B wraps over the top edge and tucks between your baby and the carrier. This protects the top edge from drool. Check out my YouTube video for helpful hints. This video is using a Lillebaby bib, but the concept is the same
This pattern is reversible! So even though I call the two outside layers “Fashion Fabric” and “Lining”, they are more like “Side 1” and “Side 2”. Be sure to follow the grainline/direction arrows on the pattern pieces (arrow points up), otherwise your fabric’s pattern might end up upside down when you put the headrest down. Or just use a fabric with no direction.
Both the Ergo Adapt and Ergo Omni 360 have attached sleeping hoods. The bib doesn’t get in the way at all. Because the hood is attached, I won’t be coming out with a hood pattern for these carriers. If you want to go off pattern, you can add a snap on hood to the bib (adding snaps). Or you can add one to the curved top seam, or the straight bottom seam of the short side. You can even add a pocket for the hood right into the bib. If you want to give it a try, here is a great video on how to add a pocket to anything. https://youtu.be/Iyxp-Ib4yI4
This pattern is great for a confident beginner.There is a slightly tricky part, which I help you through with lots of pictures and explanation. So, I don’t suggest making for your first project. Make a pair of suck pads / drool pads first.
I just LOVE that there are no hand sewing or snaps! Just remember, this will NOT fit the Ergo 360 only the Ergo OMNI 360 or Ergo Adapt. If you have a regular Ergo 360, you can find the pattern HERE You can see the whole collection of patterns that fit Ergo’s HERE
Remember, I’m here to help you Sew Like a Ninja! You are always welcome to email me or post questions to Fabric Ninja Sewing Circle Facebook Group.
Alice Smith-Goeke, The Fabric Ninja
P.S. I am part of Ergo Baby’s affiliate program. If you choose to buy a baby carrier through the link on this page, I will receive a small commission at no cost to you. My views and options are my own. This is not a sponsored post.
Want to remember this? Pin to your babywearing or sewing board!



I used the narrow pattern for my Omni 360 breeze straps but found they were too narrow and didn’t allow for the thickness of the layers and to Velcro on they really squished the straps. This meant the straps wouldn’t sit flat anymore so I had to add an extra flap on for the Velcro meaning they didn’t look as tidy as they could have
Hey there, Let’s trouble shoot! What material are you using for the absorbent layer? When a very thick absorbent layer is used, this can happen, but rarely to this level. I’m curious if they have changed strap size. Have you checked your scale square before you began? Did you used the same seam allowance as the pattern has?
You can also measure you finished size and compare to the measurements on the pattern and measure the circumference of the carrier strap, so we can check to see if that changed.