
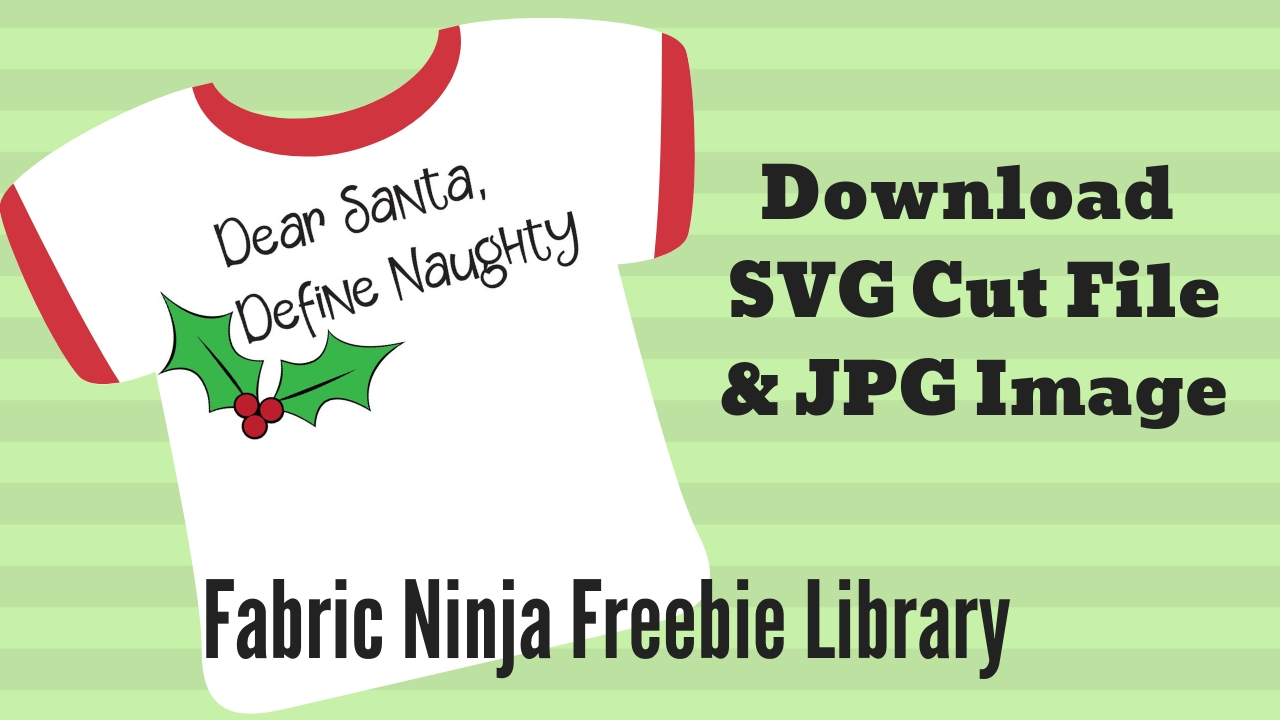
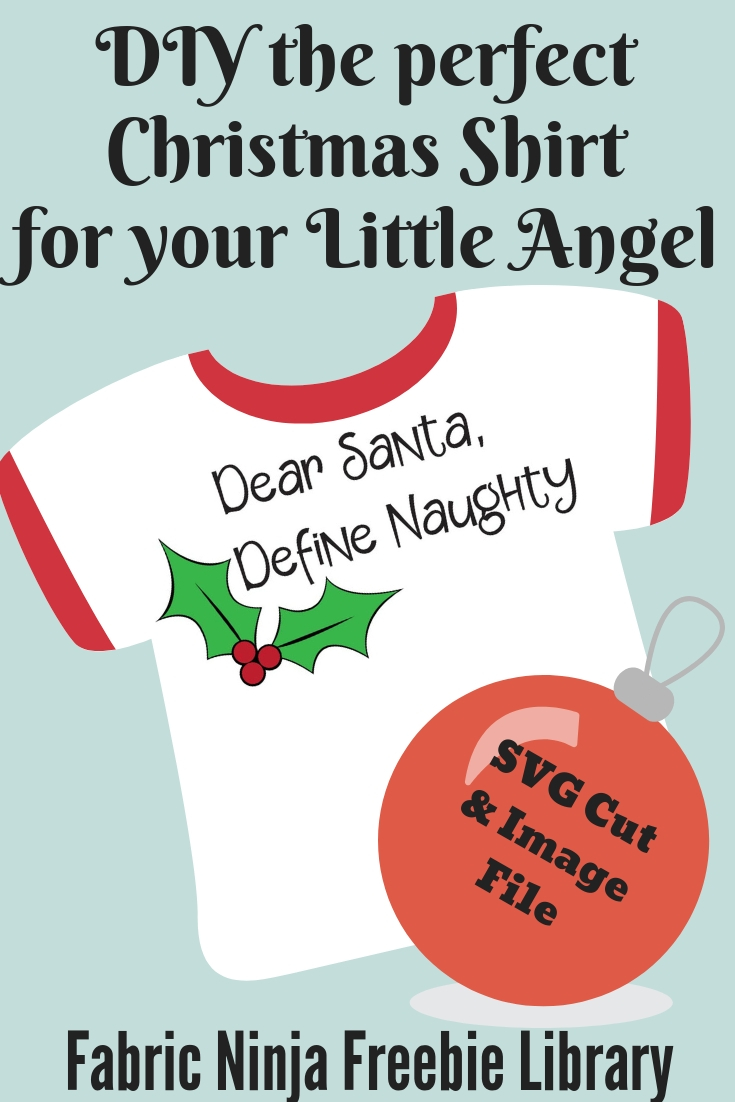
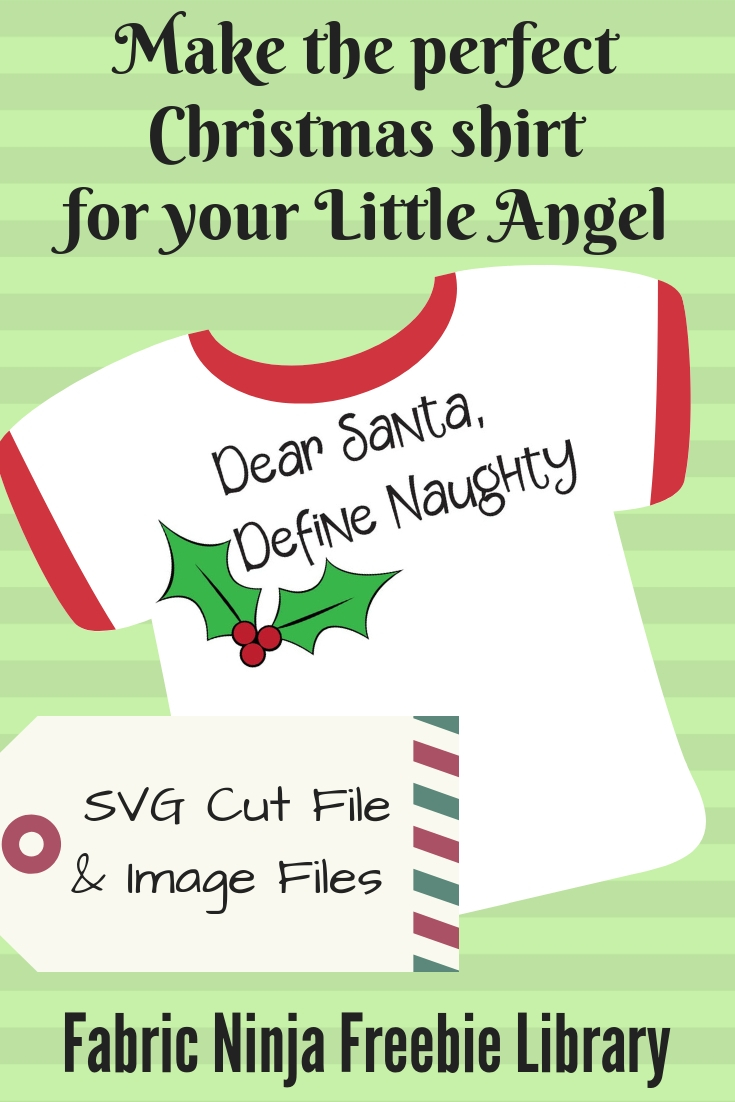
It’s beginning to look a lot like Crafty Christmas Time. I love homemade holiday items. Making them, giving them, and wearing them. This phrase,”Dear Santa, Define Naughty”, is totally something I would hear one of my twins say. Always the rules lawyers even at age 5. So I knew I needed to make this phrase into an SVG cut file for you and your favorite cutting machine. I’m going to be using my Cricut Maker to make this. The image files can be printed as an iron-on transfer or used as an applique template. For this tutorial I’m going to be assuming you are going to be cutting out the the pieces.
Get the image and cut files instantly using the form below.
You only need 3 or 4 colors.
- Letters – Something that contrasts well with your project
- Outline – Black, dark green, dark red, or white all look great.
- Berries – A shade of red
- Leaves – A shade for green
Mirror your images, for Iron-ons and cut out as needed.
After cutting place layer 1 and 2 down, then layer 3 and 4 over it.
For Die-Cut Iron-On Vinyl:
I’m using my home iron to set this design. Getting a home iron the right temperature can be difficult, so I am using a laser thermometer to check the temp of my iron. I will also need to make sure every part of my design gets the full iron time.
Iron-On Vinyl that has been cut in layers, one for each color, needs to be layered and fused, one layer at a time. You will need to lightly tack/heat each layer and build them up. A couple of seconds (3-5) is enough to just stick the vinyl to the fabric, but not long enough to make it permanent. So put down layer 1, tack for 3-5 seconds of heat and pull of the clear sheet. Then put down layer 2, and do the same thing, tack for 3-5 seconds, and then pull the clear sheet. Keep going until all the layers are on.
Even though time you’ve now pressed for adds up to the “full amount” (20 seconds), it doesn’t really count. It’s like putting cookies in and out of the oven for a few minuets at a time. They are not really going to cook because they never really get all the way hot for long enough. Same thing here, the vinyl needs to get hot for the length of time to actually permanently adhere to the shirt. But if you heated each layer for the full 20 seconds, you might scorch the vinyl, as it could get too hot. Like burning the cookies.
So now it’s time to actually set the design. Please check the temperature and heating time for your vinyl, I’m just using a common time in the example. Also look to at the instructions to see if your vinyl is designed for hot peal or cold peal, which just means if you peal off the clear sheet when it’s hot or when it’s cold. If it’s cold peal vinyl, just wait a few moments before pealing off the clear cover sheet when it is comfortable to touch. Cover your design with the biggest clear cover sheet you have to cover all the vinyl, and heating for the full recommended time (20 seconds).
For items that will be washed like t-shirts, take time to do an additional press. Turn your project over and iron the back side for the recommended time (20 seconds) too. The Vinyl won’t get scorched because the fabric/shirt is in the way, but it will really help it last a long time.
Well there you go! Your project is done. Wear it with pride or put it where everyone can see. I want to see it too! Post a picture of it in the comments here, or post in the Fabric Ninja Sewing Circle group on Facebook.
Happy Crafting & Merry Christmas,
Alice, The Fabric Ninja
Get the image and cut files instantly using the form below.
Want to remember this? Pin to your Christmas Board!
This is too cute