
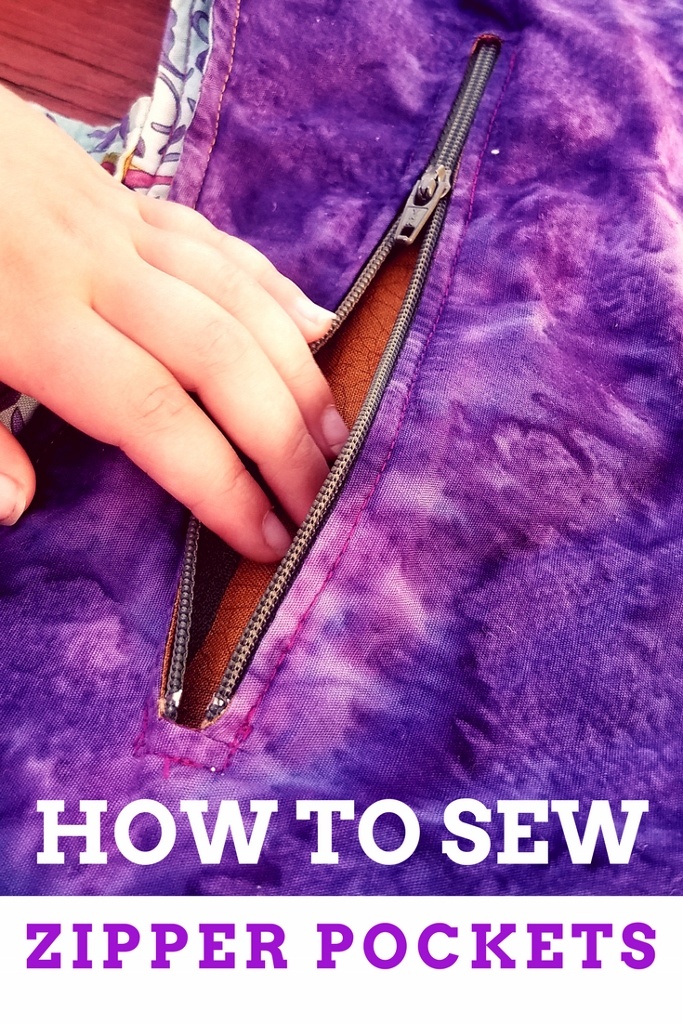
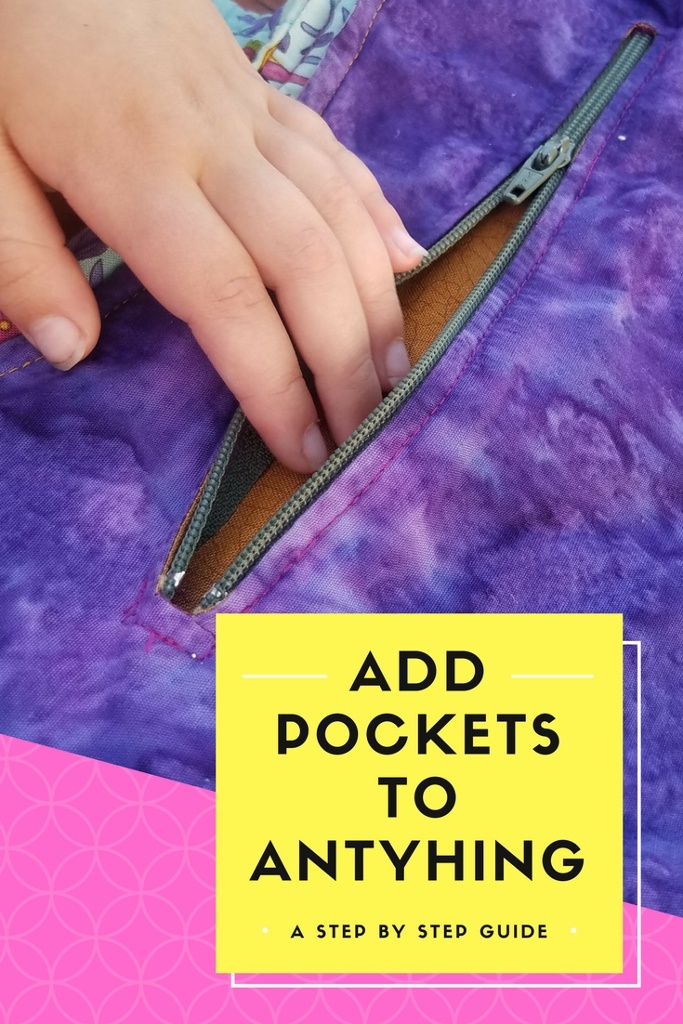
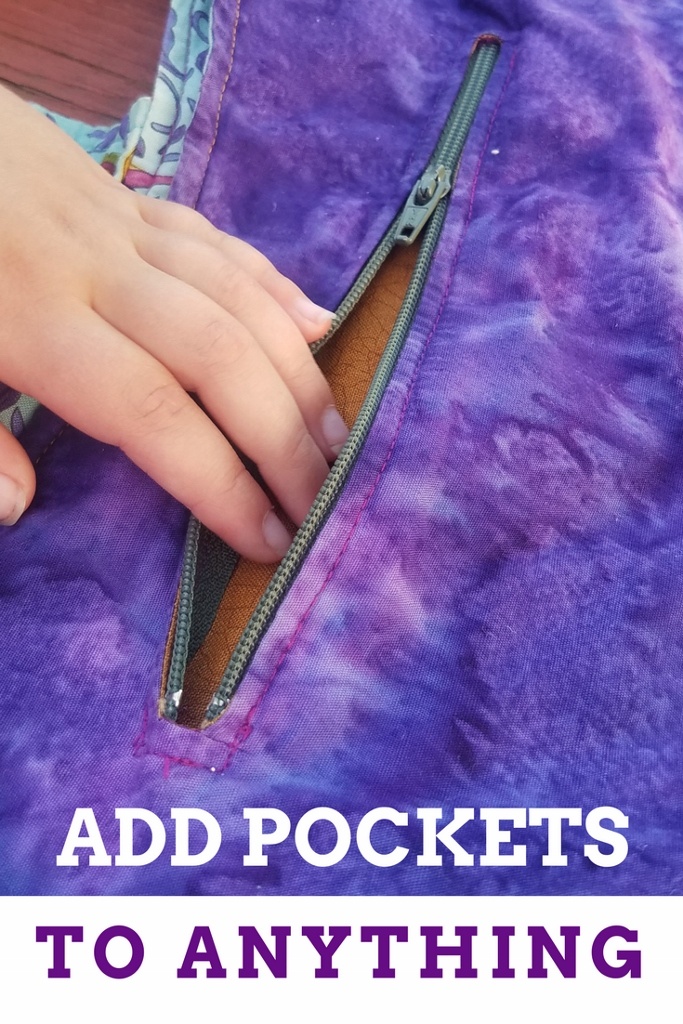
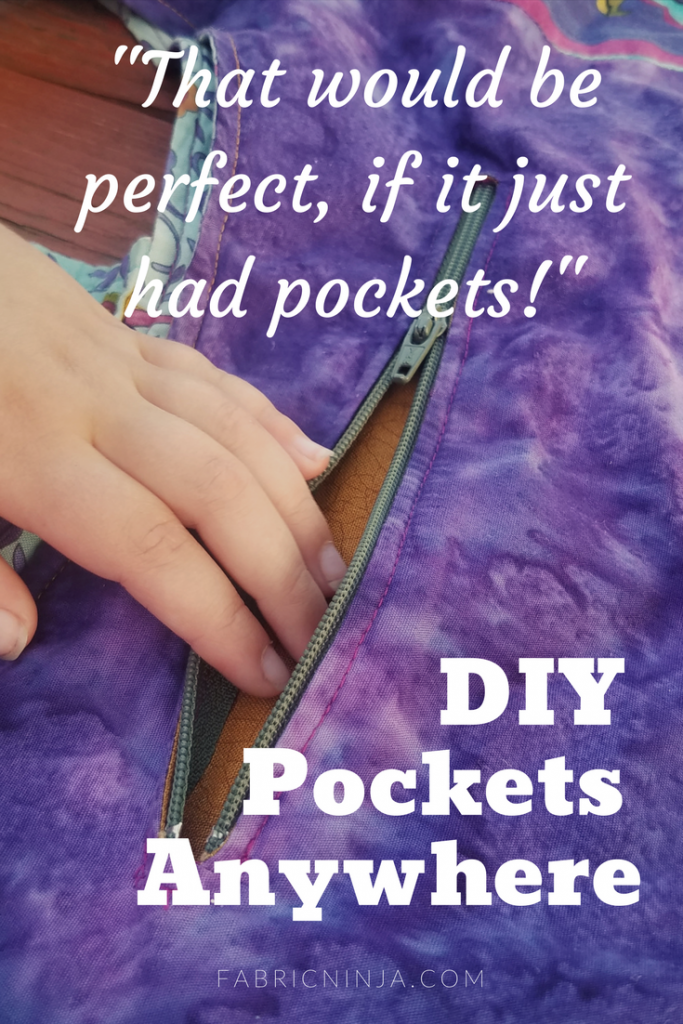
How many time have I said, “That pattern would be perfect if it just had a pocket!” Now you can add a pocket, with or without a zipper to any sewing pattern and many purchased items. This pocket tutorial is great for adding pockets to purses, tote bags, shirts and skirts. The technique I’m teaching here is called a bound slit or a faced slit. It’s most commonly used to make purse pockets, and suit jacket pockets (with the addition of welts).
Free Printable Instructions
A step-by-step tutorial is available for instant download using the form below.
If you are just learning you sew, you can totally do this. It is actually quite easy. Just take your time on turning the corners and clipping carefully. You will be a pro in no time.
Once you see how easy this is, your will be putting pockets in everything. You can also adapt this method and make buttonholes. Just think, very tiny pocket slits. Perfect when you are losing the battle with your “automatic” buttonhole attachment.
Everyone learns in a different way, and I want to help you learn in your way. I like videos, especially for sewing, so you will find one below. By the way, this video has captions. NOT just the auto captioning that YouTube does, I have edited to reflect the actual content. Your welcome!. Below the video you will find instructions for making the pocket in a blog format. When it comes time to time to make your pocket, you might prefer step-by-step instruction. So I have a step-by-step tutorial in the Fabric Ninja Freebie Library.
Learn in the way is best for you!
Video Notes:
The item being made in the video is a Ninja Roll. What’s a Ninja Roll? It’s wraps around babycarriers, like Tula or Kinderpacks for storage in between wearing sessions or just while your kid is walking. Watch this video to see how it is used: https://youtu.be/aI3p71UDKVE and watch here to see how it’s made : https://youtu.be/eWqCZ93kNNQInstructions for Slit Pocket with Optional Zipper
Want these instructions as a PDF download? Sure thing! Instantly download them using the form below
This type of pocket is great for jackets, pants, skirts, tote bags, pouches, and purses. If you are making a purse (or anything else), pockets can go on the inside or the outside. Just think of where you need them
. I
I
I highly recommend a zipper for outside pockets. They can be small or big. Just make sure you can reach inside. Small pockets that you can’t fit your hand in, should not be very deep. Unless of course they are designed for something specific, like an epi pen. Then they would need to be deep and narrow… but I digress. Let’s make some pockets. Because pockets are amazing!
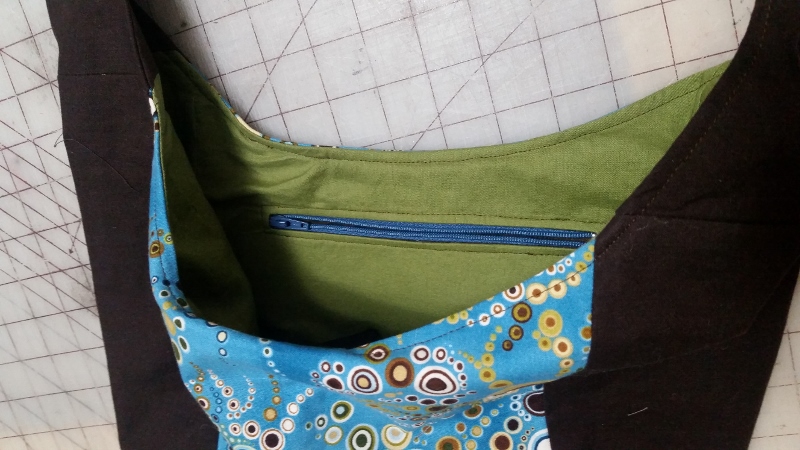
Photos in this tutorial are from the making of an Infinity Tie Strap Tote Bag
Supplies:
- Main Fabric – This is your purse body or what ever you are adding a pocket to.
- Pocket Fabric – I suggest light colored so that it is easy to see inside. Or you may want it to match your project. Fun colored pockets are also super fun.
- Interfacing – a scrap of any mid to light weight interfacing.
- Optional Zipper – longer than the opening I use these. The quality is great, they are actually YYK. And they are very affordable.
Do I really need Interfacing?
Yes and No. It is always, best to add some, but let’s talk about why you might or might not need it. But first I should mention why we use interfacing. Interfacing changes the stiffness/hand of a fabric and reinforces it. Purses are a great example of the need to stiffen fabrics. Most people like their purse to hold its shape, and using the right interfacing makes it possible to use whatever fabric you want on the outside. Reinforcement is needed in places that will be pulled on a lot (pockets) or will have something heavy attached (buttons or zipper) need that extra strength.
-
- Knit fabric – You MUST use interfacing no matter what. They make knit interfacing, make sure to watch the direction of the stretch when you apply it. Make sure it matches the fabric stretch direction.
- Zipper pocket – Can do with out unless your fabric is light weight.
- No zipper – Need interfacing unless 1 or both fabrics are stiff. Like canvas or vinyl.
- Thin fabric – Must Use Interfacing
- Thick fabric – No interfacing needed.
But what if I don’t have interfacing on hand?
You don’t need anything special, interfacing can just be regular fabric. You can use scrap fabric. I like to just use the leftovers “cabbage” from my project. When directions say to fuse the interfacing in place, you can just sew it into place. This is not always true, so you need to think about where that sewing line will be in the end. In this project though, you can just sew it down, or even pin it in place.
Design your Pocket
Figure out where you want the pocket on your project. Do you want it centered? (You can easily center a pocket by folding a pattern piece in half and then ironing the crease.) At a fun angle? Big or small? (Make sure your hand can fit inside)
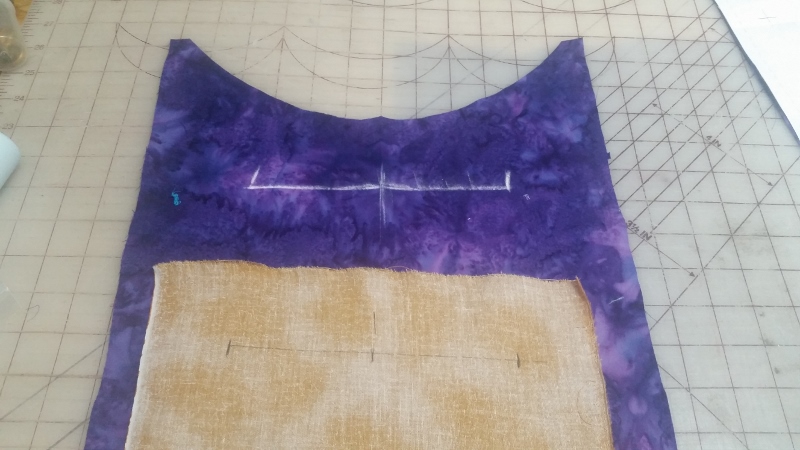
Mark a line on the right side of the fabric. Measure this line to determine pocket size and zipper length. You can always shorten a zipper, so get a longer one than you need.
Cut:
- Main fabric: Cut according to your pattern – no alterations. (you probably already did this)
- The pocket: It should twice as long as you want to pocket depth to be, as it will be folded up (in half) to create the pocket.
- Interfacing: the width of your pocket plus a few inches x 2 or 3 inches
Mark The Pocket
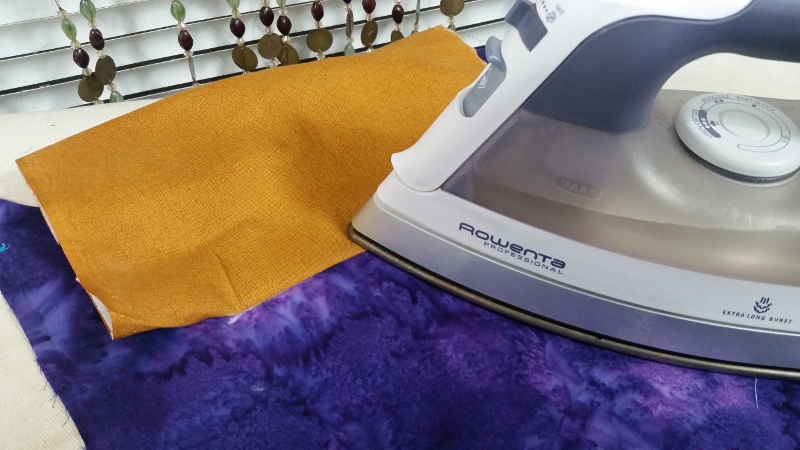
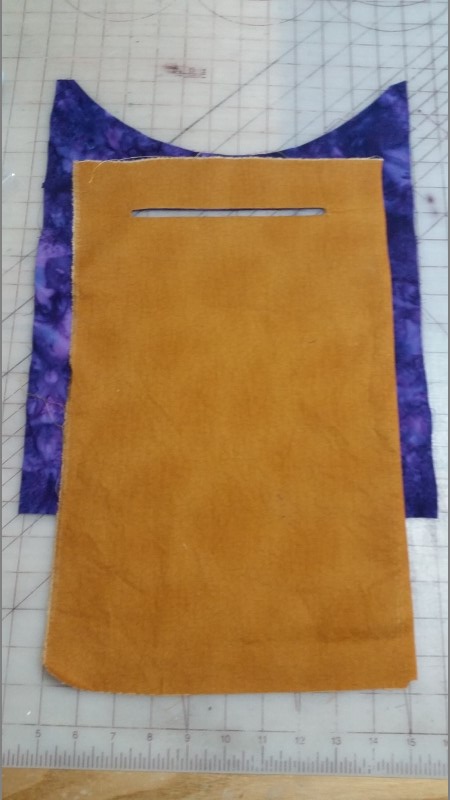
On wrong-side of pocket fabric, align interfacing along the top an inch or so down and center it, then iron it on. (my image doesn’t have interfacing because I put it on the purse body not the pocket)
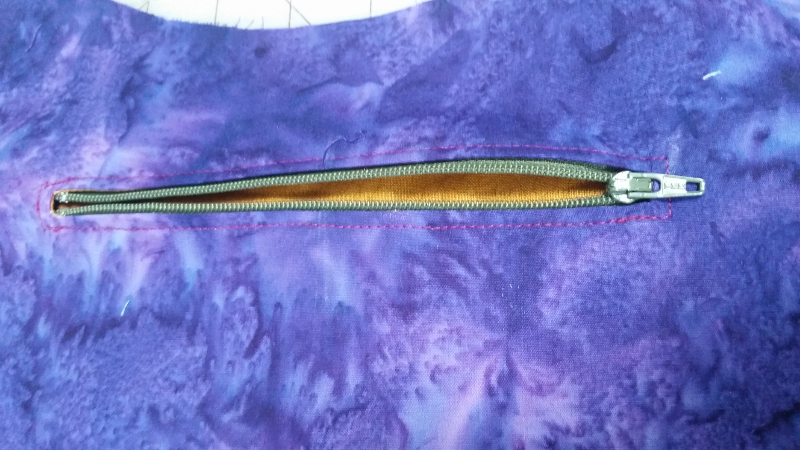
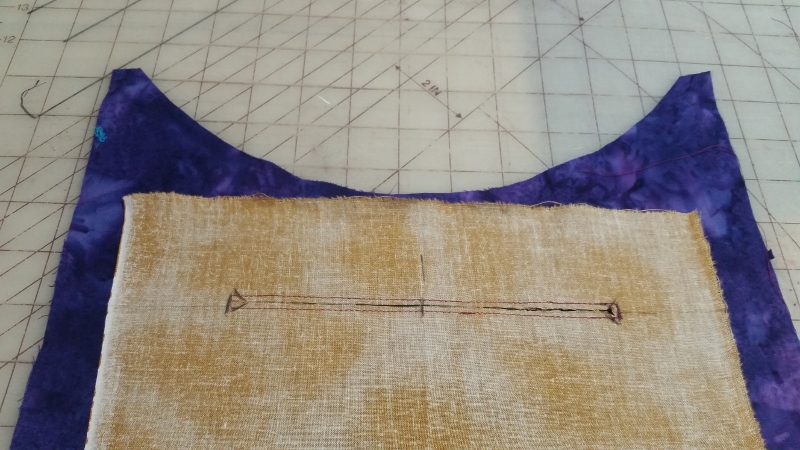
Mark the pocket slit on wrong side of pocket/interfacing by drawing a line the length of the pocket and then a line on each end, so you know where to stop. When sewing, I just align the edge of my foot with the line, but if it’s easier for you, you can draw a rectangle and follow that. Just draw 1/4″ out from each side of the line, using the same end points as marked.
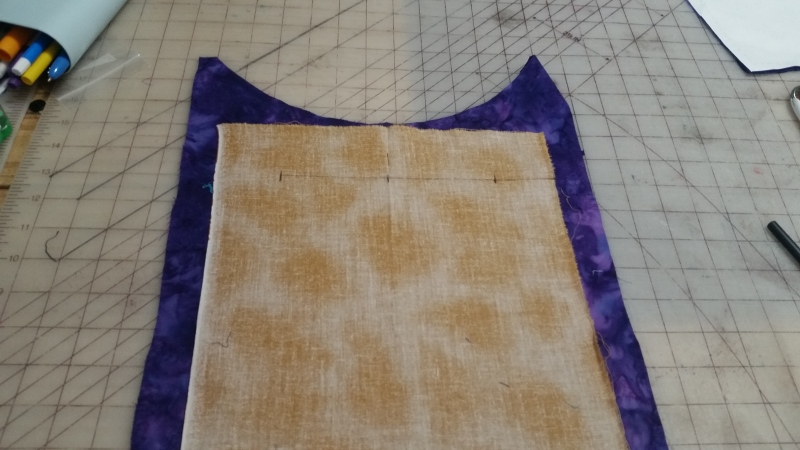
Place pocket on top of a Body piece with right-sides together. You need to line up the mark on the pocket with the mark on the body. To do this, I put a pin through the both ends of line on the pocket, then poke them into the body fabric at the same spot. Then pin the line in place or use temporary spray adhesive (my preference).
Sew the Pocket Slit
To sew the slit, you need to know how to Pivot when sewing.
Sewing Basics: How to Pivot
Sew to the corner and stop with the needle down at that corner point. It’s ok to stop a few stitches before it and then turn the wheel on your machine to take the last few stitches. Now lift your presser foot and then carefully rotate your project. Put the presser foot back down and then continue sewing.
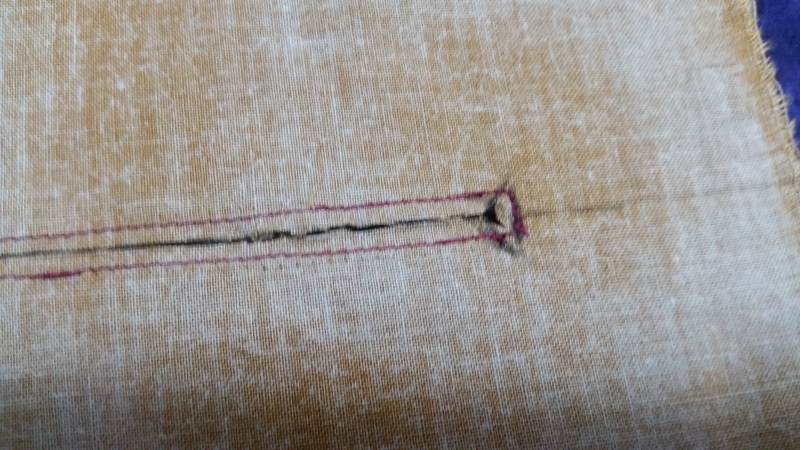
Now Sew the slit. Starting in the middle of one side, sew with your presser foot along the marked line, or sew on the rectangle you drew. Stop with needle down when you come to the end line. Pivot and sew the end, stopping with needle down to pivot to the other side, then other end, and back to the start. When sewing each end, I suggest shortening the stitch length to 1. When sewing the long edges, return stitch length to normal, about 2.5.
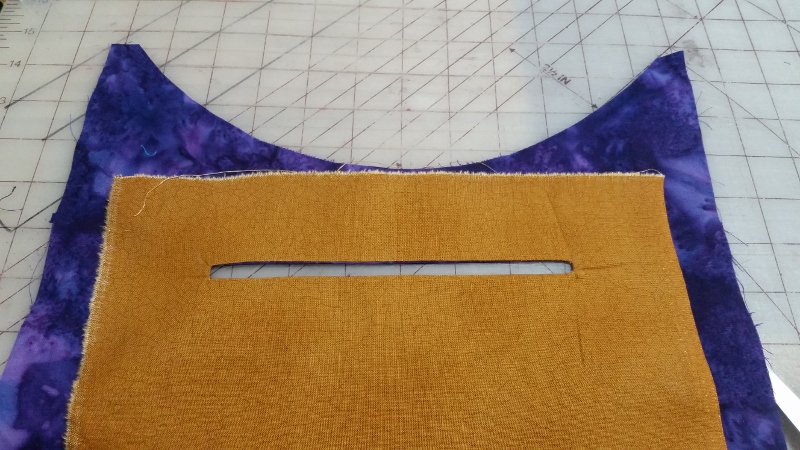
Cut The Slit
Cut a slit along the center of the now sewn rectangle. Folding it and cutting is a great way to get it started. Don’t cut all the way to the end, but stop a 1/4″ to 1/2″ (1 cm) from the end. Then cut at angles into each corner, cutting very close to stitching, but NOT through it.
Ironing
Iron the pocket toward the slit on all sides of the rectangle. I know this seems weird, but it will really help you get a good crisp edge.
Flip pocket to the inside and wiggle everything thing around to lay fat. Then iron flat, so that none of the pocket fabric is showing on the front. If there is puckering at the corners, you may need to cut a little further into the corner.
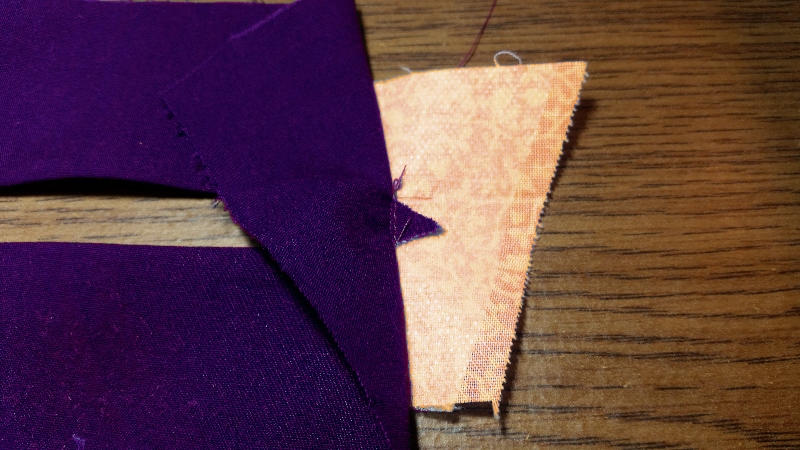
Secure the Facing Triangle Ends
With the Body Piece right-side up, turn back the Body fabric at the end of the slit. You will see a triangle of fabric at the end of the slit. Sew as close as possible to the base of the triangle at the short end of the rectangular slit. You will be sewing the triangle to the pocket fabric. Repeat: Sew down this triangle on the other end as well.
Do I have to do this?
This is a step that people have different opinions on. If you are adding a zipper, it is not totally necessary. However, if you are making this an open pocket you need to sew the triangles. By securing the triangles, you will will give your pocket better shape and keep it looking great longer.
Add Optional Zipper & Top Stitch
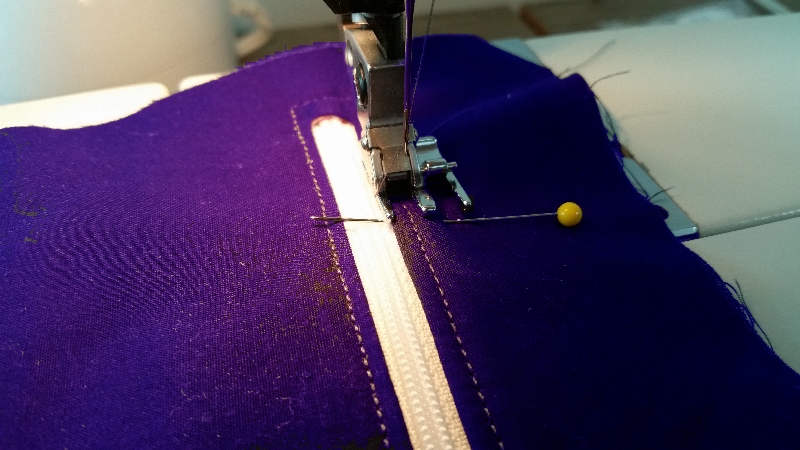
If you are adding a zipper, place your zipper behind the slit. Make sure the center of the zipper in the center of the slit. Hold zipper in place with pins, temporary adhesive, or Wonder Tape. Make sure that the metal zipper end stops are in a location that you will not hit when you sew. Zippers that are too long can be cut to length after sewing across the teeth to create a new stop. If your zipper is long, make sure the zipper pull is inside the opening so you can open it later 🙂
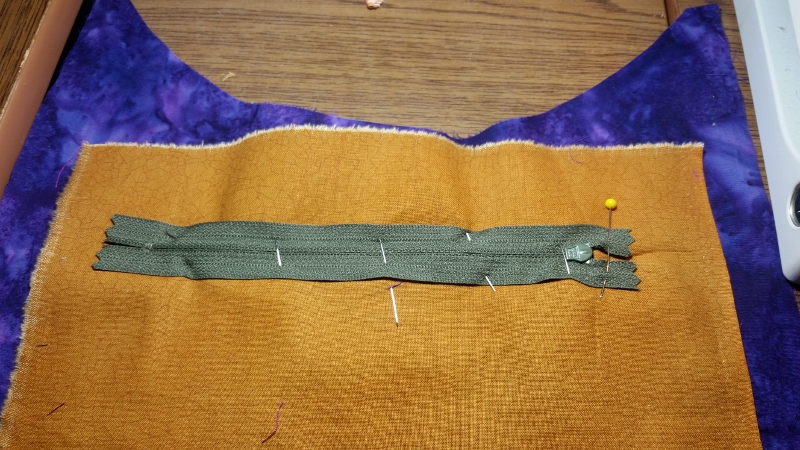
Now top-stitch (1/8″ to 1/4″) around the slit securing the zipper. If you don’t have a zipper, just top-stitch the hole.
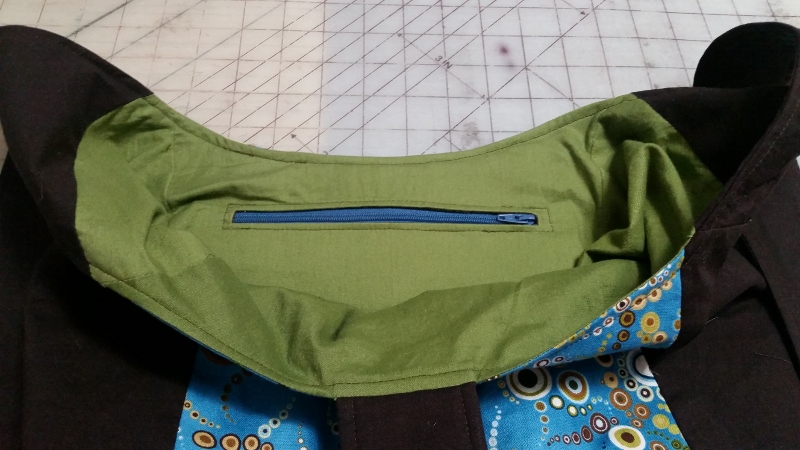
Create the Pocket
Now it’s finally time to make the pocket that you have been waiting for. Just fold bottom of pocket up to meet the top and sew along the sides and the top to close the pocket. I tend to do two rows of stitching just to make sure my pocket doesn’t get holes later. The top photo doesn’t have a zipper installed, because this work the same with out without a zipper in your slit.
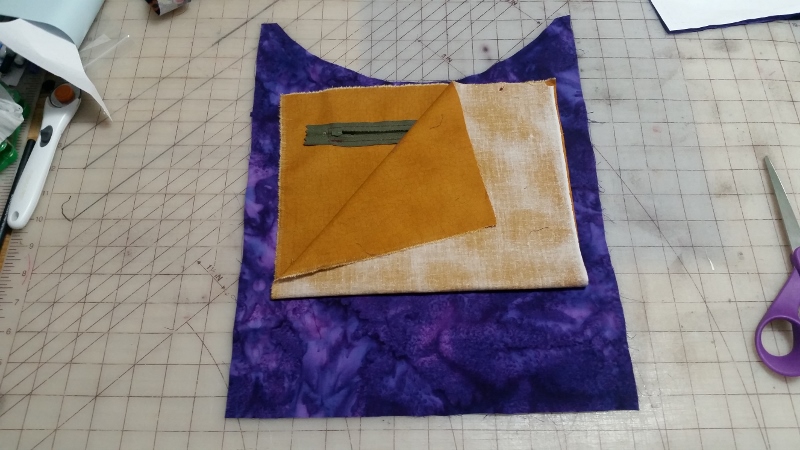
Your pocket is done!
Want these instructions as a PDF download? Sure thing! Instantly download them with the form right below here.
Want to remember this? Save your favorite Pocket pin.
Love your detailed tutorial! You did a great job explaining every step in the process.
Thank you for the tutorial. I’m new to sewing, and your directions were easy to follow. I wish I would have payed more attention when my mom was trying to teach me!! I didn’t have the patience at 8 years old, but now I’m in my 40s and I’m doing my best. I can’t imagine how much time and effort it took you to do all this…but your efforts are greatly appreciated. Thank you!
I wish I had learned more from my mother as well. I am so happy that I learned what I did. I’m glad I could help you be more successful at sewing.
Educative article, learned a lot from this report.
So glad I found your blog, and was able to learn new things.
Keep posting articles, it’s really valuable.
King regards,
Thomassen Griffin
Hi, can’t see the video link anywhere?
Please help.
Thanks
Denise
https://youtu.be/Iyxp-Ib4yI4
That is such a great tutorial l am ready to go try it out.